pigment arts pen - DIY stained-glass effect decoration
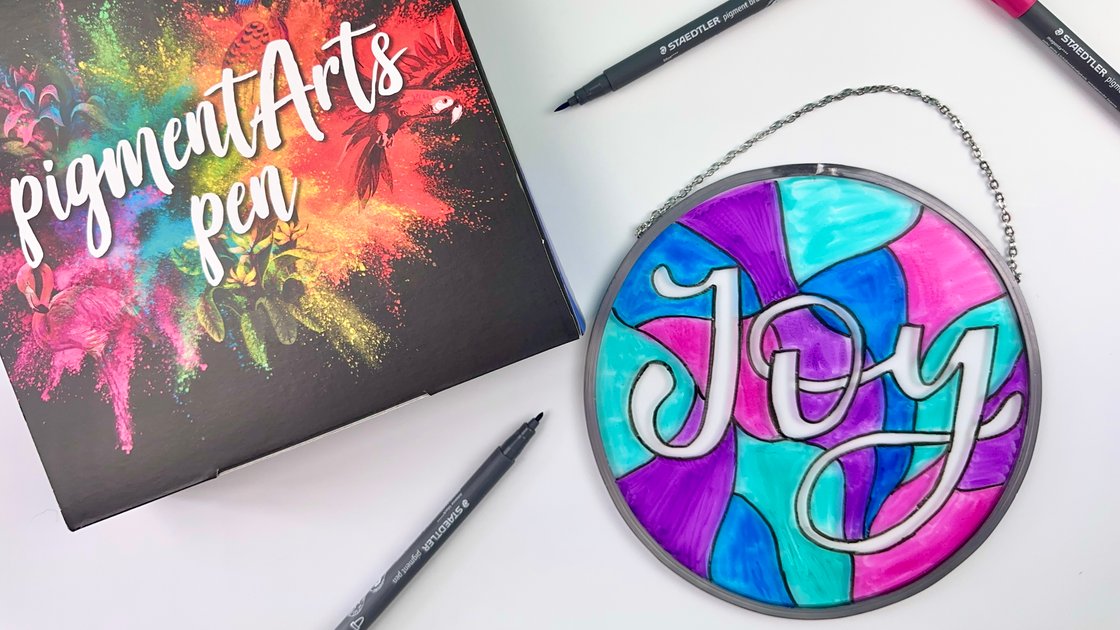
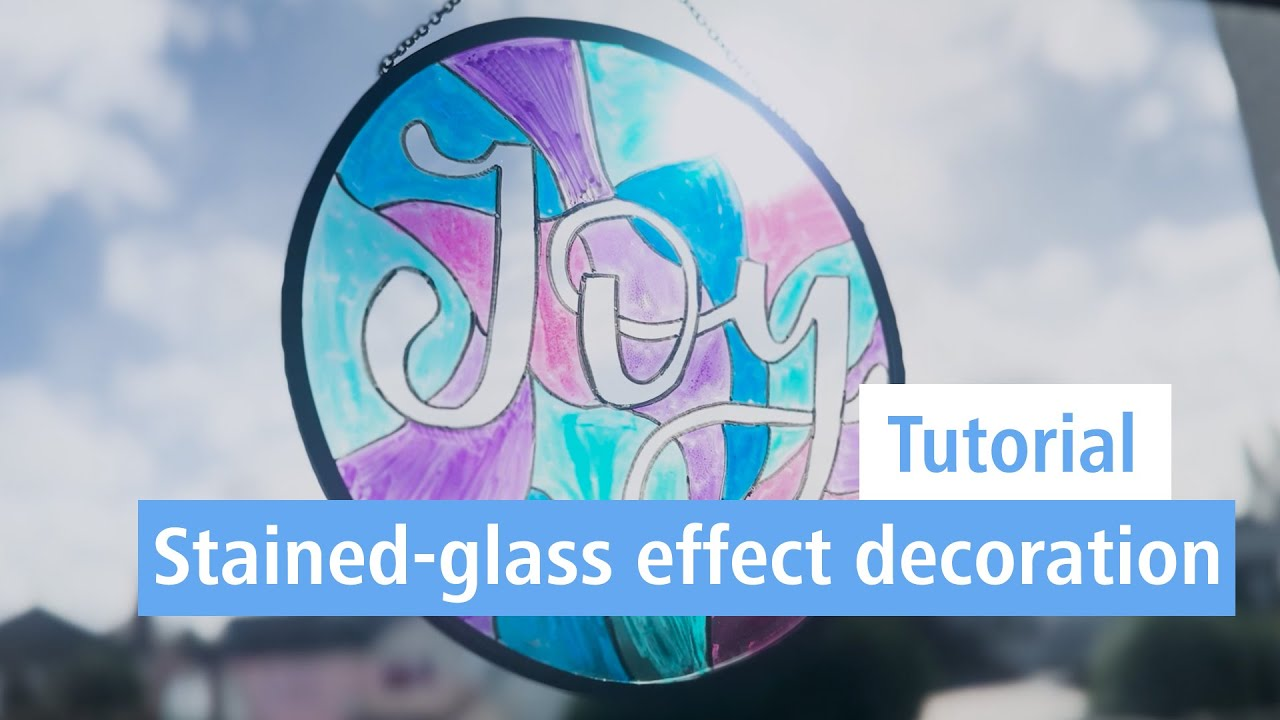
Calligraphy and lettering can be more versatile than just pen and paper. You can use pigment arts pens on various surfaces, including glass! These pens use Multi Ink and come in vibrant colours that create a beautiful transparent stained-glass effect. It looks stunning when the sun shines through it.

An article by Milly @blinklettering
- Direct to:
- Tutorial video
- Material overview
- Step-by-step tutorial
Tutorial video
Material overview
What you need
Additionally required:
Circular glass hanging decoration, Paper, Window cleaner, Cotton buds
Step-by-step tutorial
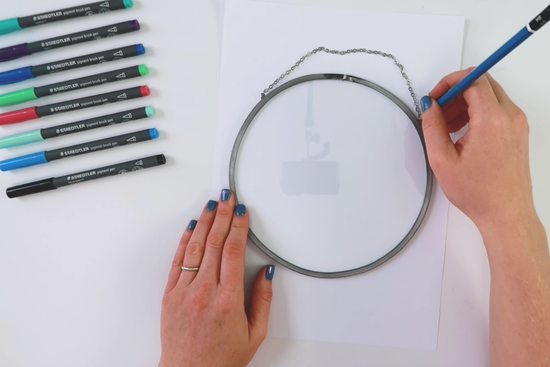
Begin by drawing an outline of the circular glass decoration using a soft pencil (Mars Lumograph 100-HB). This will serve as the base for the template.
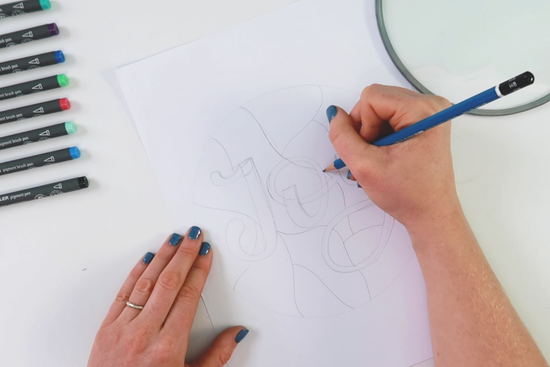
Sketch your design within the circular area. If you are creating your own unique design, ensure the letters are quite chunky so they are easy to read when the rest of the glass is coloured in. Don’t feel quite confident to create your own design? You can download this template to use.
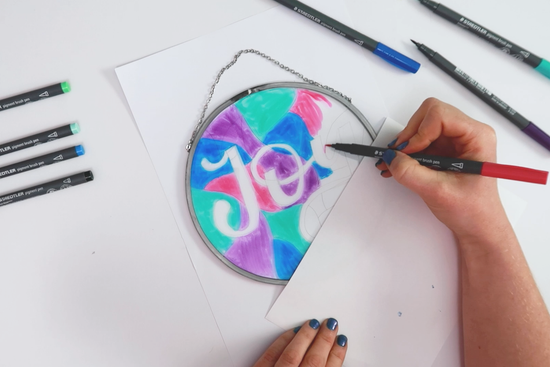
Colour in the shapes around the letters, ensuring you don’t go into the letter area. Make sure colours are alternating, so there isn’t the same colour next to each other. Don’t worry about making the edges really neat, these will be covered in the next step. The brush tips are great for this as you can use the side of the nib to create thick even strokes.
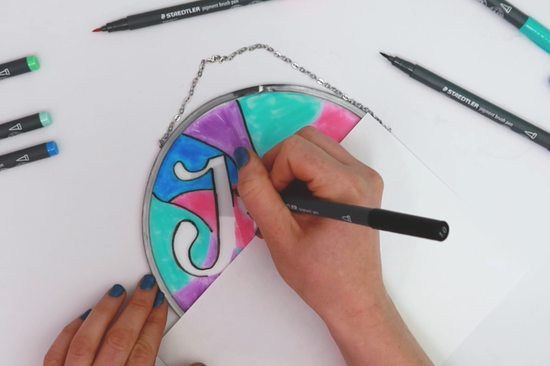
Using the intense black pigment pen, carefully draw around each of the letters and the divide lines for the colours. You can place some scrap paper between the glass and your hand to ensure you don’t smudge any ink that may still be wet.
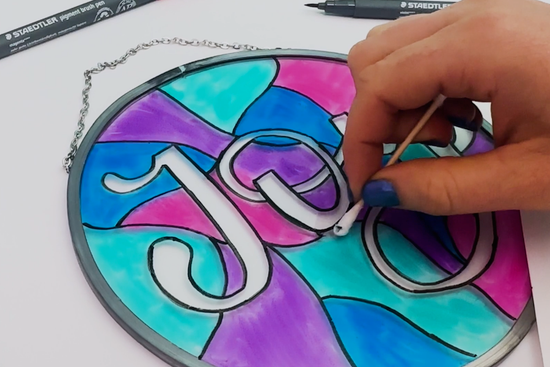
If you make a mistake, you can correct it by spray a small amount of window cleaner on to a cotton bud and they rubbing it off. Make sure you dry the area before going back in with a pen.
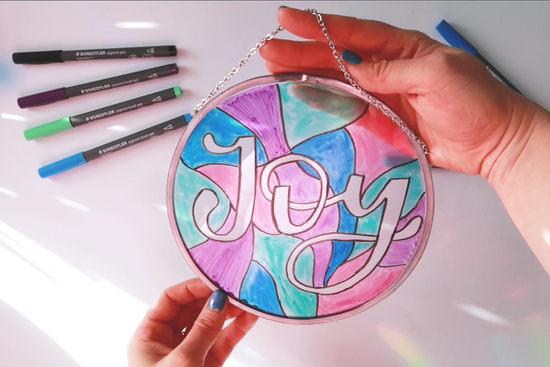
Enjoy your beautiful stained glass window decoration in the sunshine!
More about Milly: www.blinklettering.co.uk
No time right now?
Save this article as PDF!