Noris junior - Multi coloured rocket

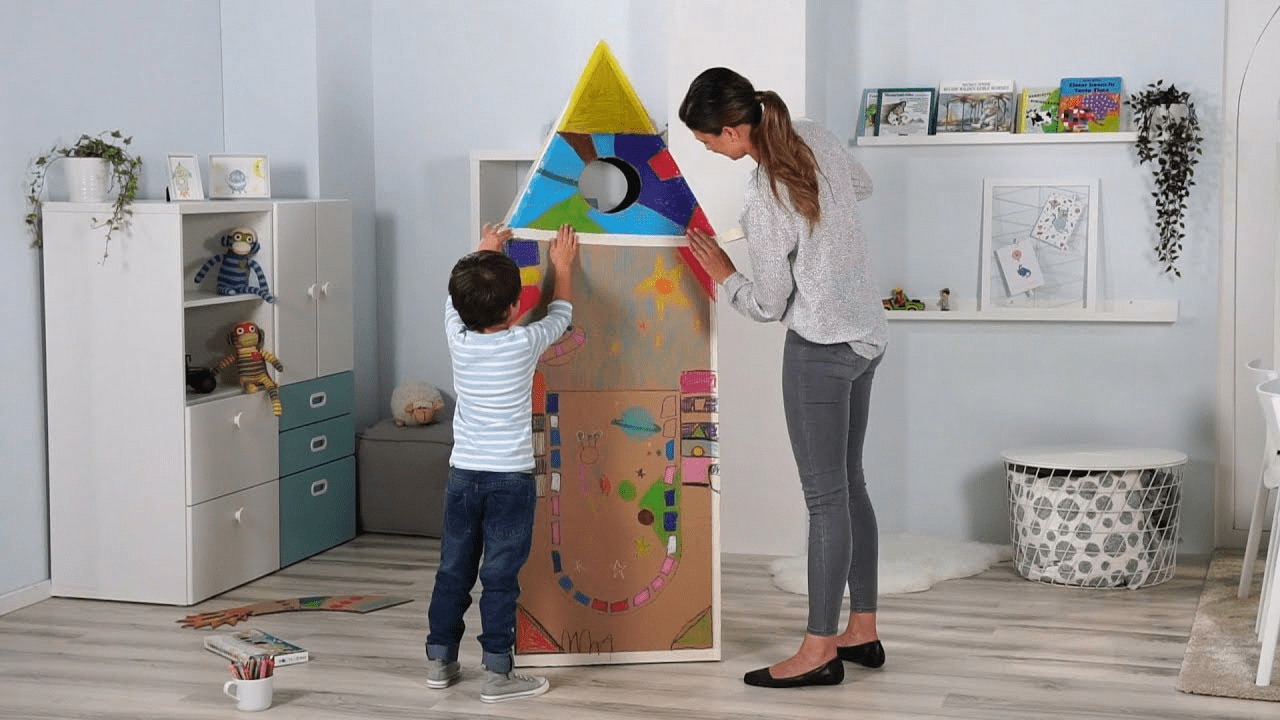
All the way to the moon and back! With Noris junior coloured pencils, you can transform a simple cardboard box into a fantastic rocket in no time at all. Noris juniors’ outstanding coverage and colour intensity mean that they will really stand out on the box. Paint your rocket in whatever colours you like. And when they go through the access hatch every child will want to be an astronaut.
Step-by-step tutorial
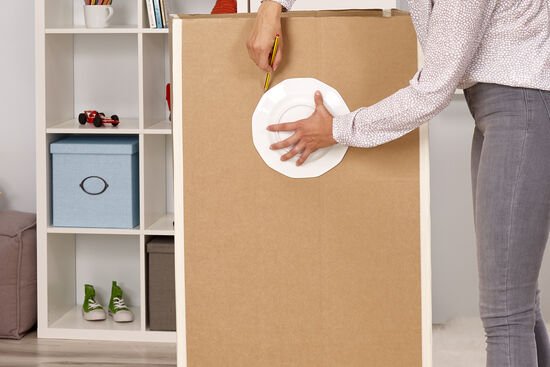
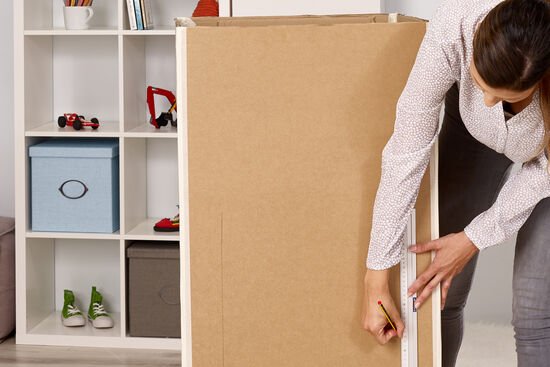
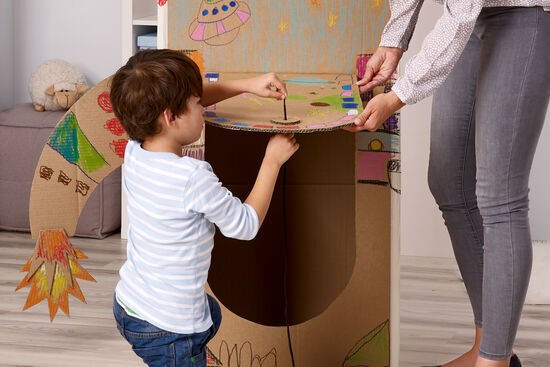
To start with, draw two window hatches on opposite sides of the box. Place a plate against the side of the box and draw round it with the pencil. Once you have drawn in the window shapes, cut them out with the box cutter.
Next, draw a U-shaped hatch on the front of the box. Cut around the U using the box cutter.
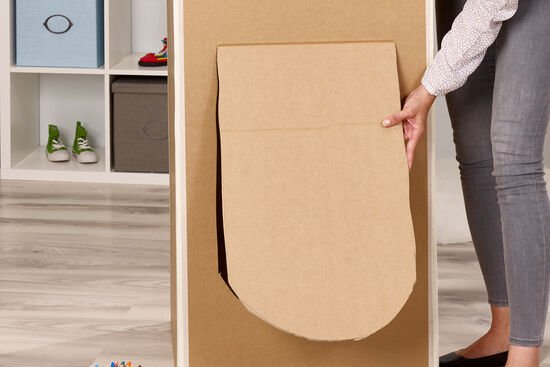
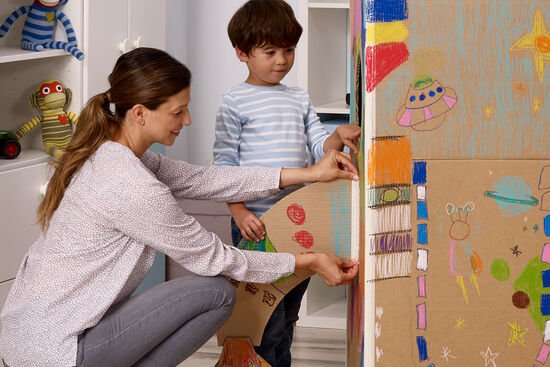
Now open the hatch carefully, creating a fold at the top. Once the cardboard is folded here, the hatch will be easy to open and close.
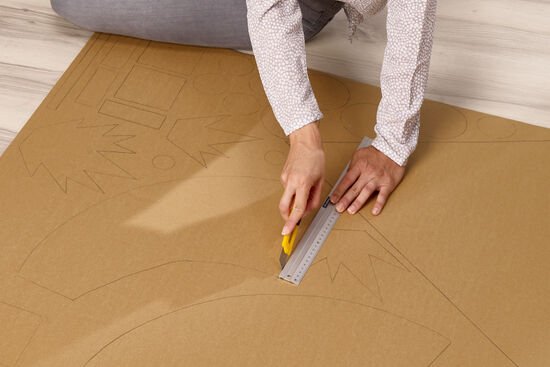
Now cut the rocket components out of a large piece of cardboard. Use these parts to make the roof, tail fins, flames and as many screws as you like to decorate your rocket.
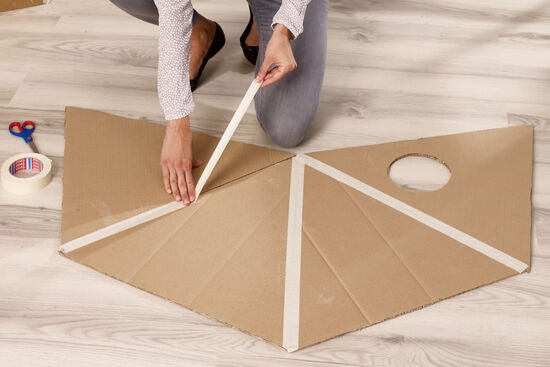
Stick four large equal sized triangles together with masking tape to form one large piece. You can draw one or two windows onto the roof if you like and cut them out as well.
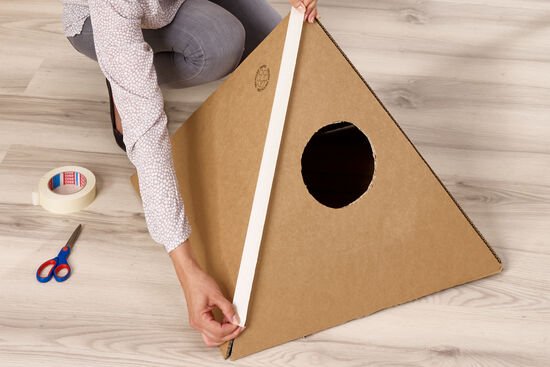
Stand the roof piece up and fold the two open ends together, fastening them with masking tape so that the roof can stand up.
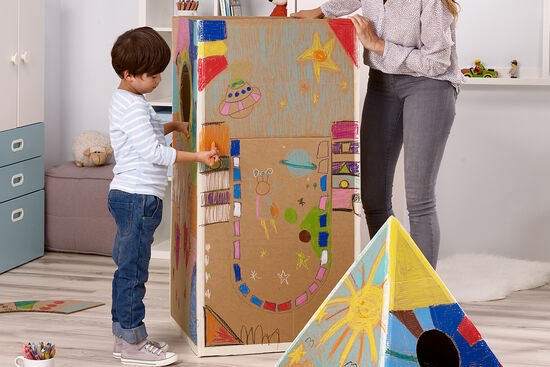
Pens and pencils at the ready! You can now use Noris junior coloured pencils to colour in the whole of your rocket’s fuselage, its roof, tail fins, flames and screws in all sorts of colours.
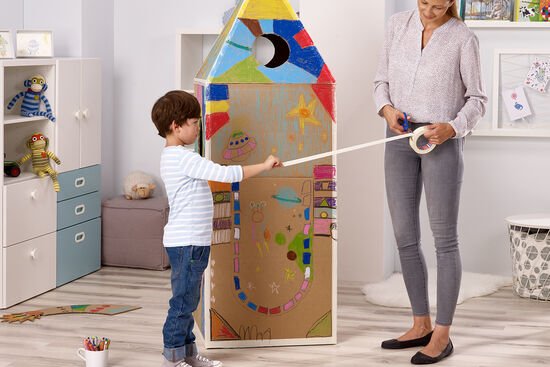
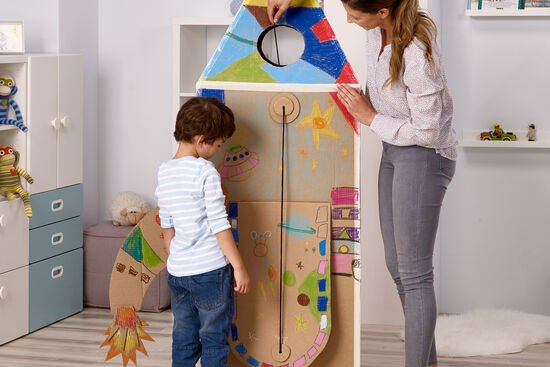
Now fix the individual components to the fuselage of your rocket using masking tape: place the roof on top and attach it firmly with sticky tape.
Then fix the flames to the tail fins with double sided sticky tape and fasten the tail fins to the left and right of the rocket using masking tape.
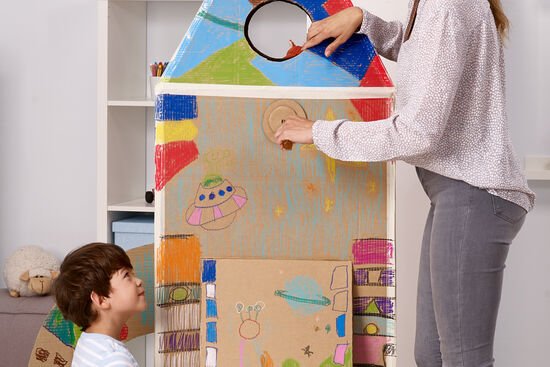
Stick a small cardboard circle onto a larger one, to strengthen the hatch where you will pull it open. Make a hole through both circles using a screwdriver. Then stick them just below the roof and push the screwdriver through again to make a hole.
Stick another cut out circle at the bottom of the hatch, in the middle, and make a hole through the circle and the hatch.
Thread the cord through the hole from underneath. Then knot the cord on the underside of the hatch.
Thread the other end of the cord through the hole at the top of the rocket and tie another knot on the underside.
Now you’ll be able to open the hatch by pulling on the cord from inside the rocket.
Material overview
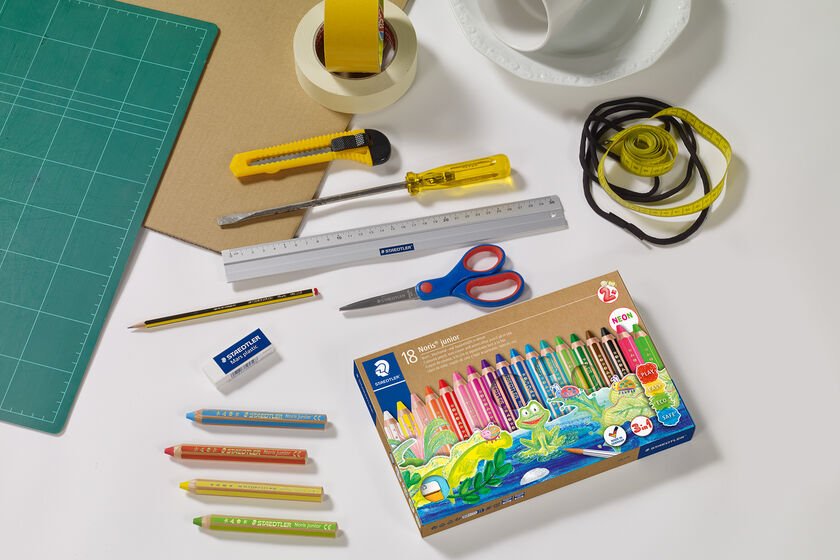

What you need
Additionally required:
A large cardboard box or large blank pieces of cardboard, double sided sticky tape and masking tape, box cutter, screwdriver, ruler, tape measure, cord (about 2 m long)
No time right now?
Save this article as PDF!