DIY Mother's Day Card
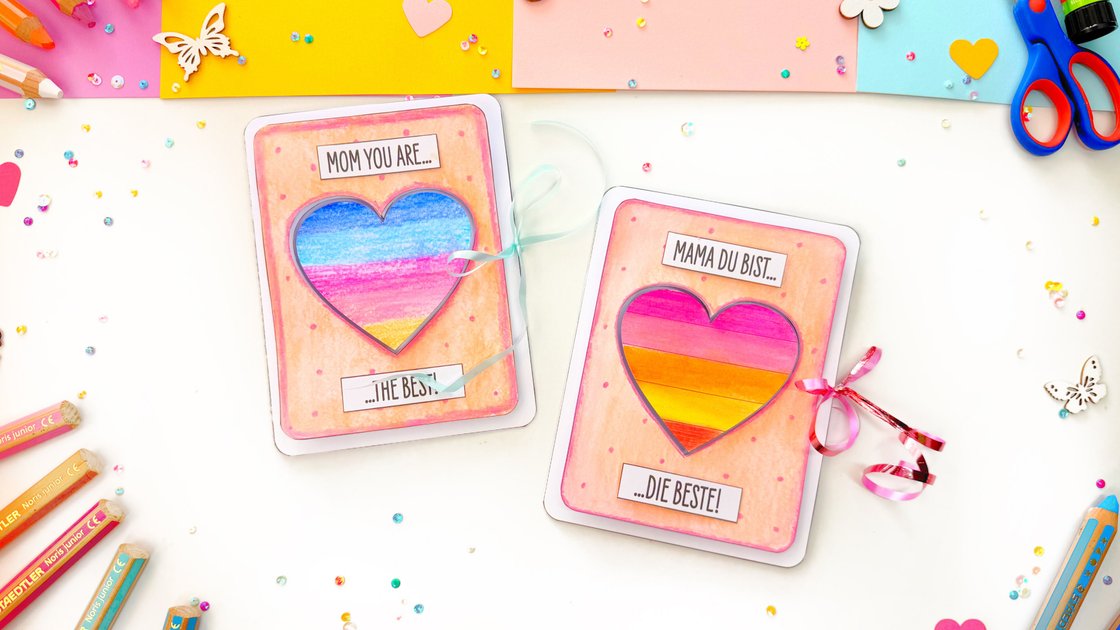
A little “thank you” for Mother’s Day – for everything mums do every single day.
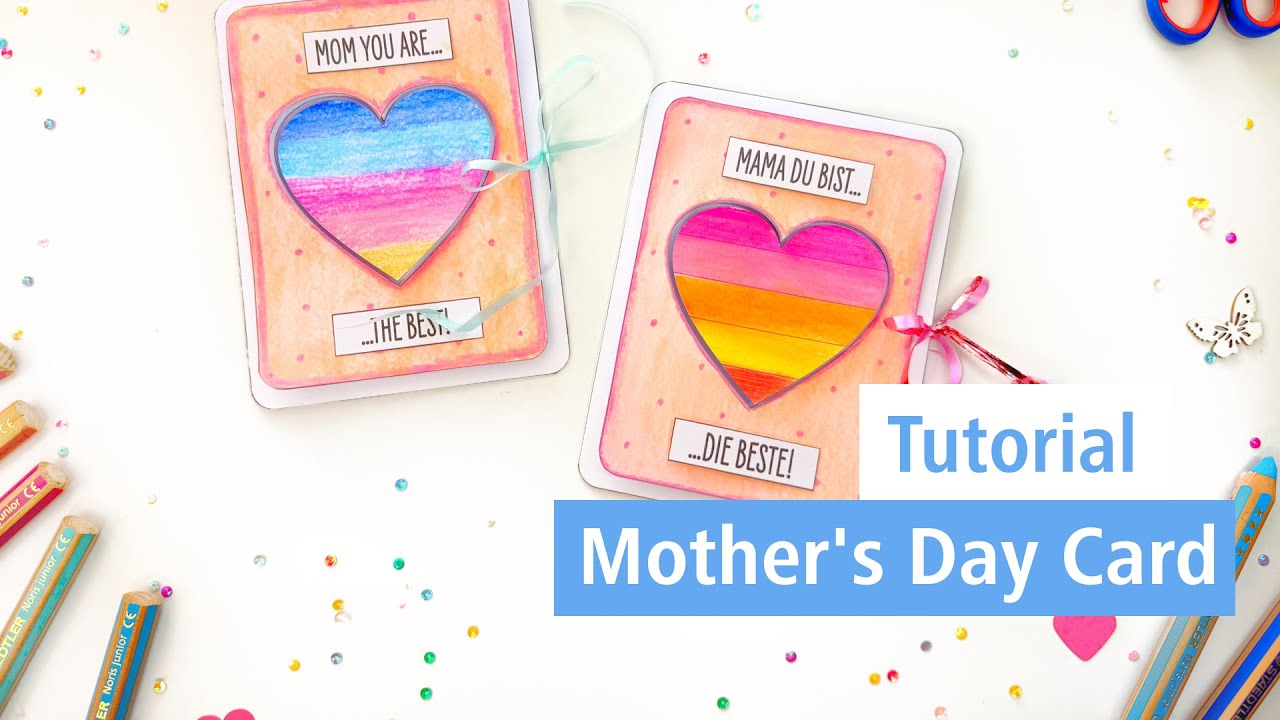
This handmade card was created using the Noris junior colouring pencils. Thanks to the beautiful watercolour effect, each card turns out unique and full of charm. With this template, you can put a smile on any mum’s face and show her just how much she’s appreciated. Have fun crafting!

An article by Maiken
- Direct to:
- Tutorial video
- Material overview
- Step-by-step tutorial
Tutorial video
Material overview
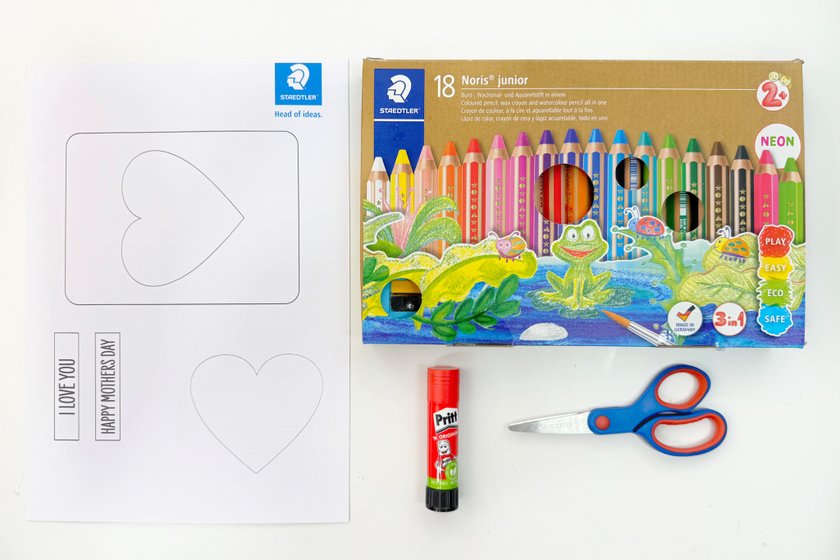
What you need
Additionally required:
- White card stock (200g)
- Glue
- A small piece of cardboard (for the 3D effect)
Step-by-step tutorial
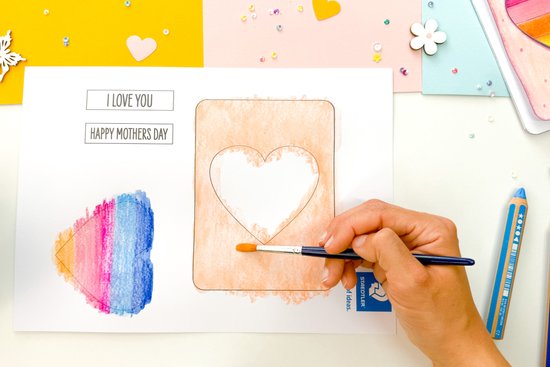
Print out the template and colour in the heart and the front border in your favourite colours. Then use the fantastic watercolour effect of the Noris junior colouring pencils by gently blending the colours with a wet brush.
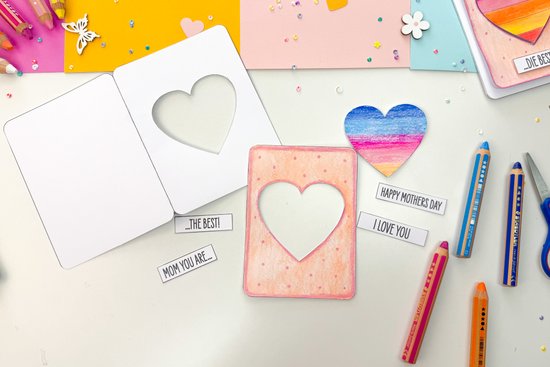
Decorate the edges of the card front with a soft pink outline and add some dots for a playful touch. Then carefully cut out all individual pieces.
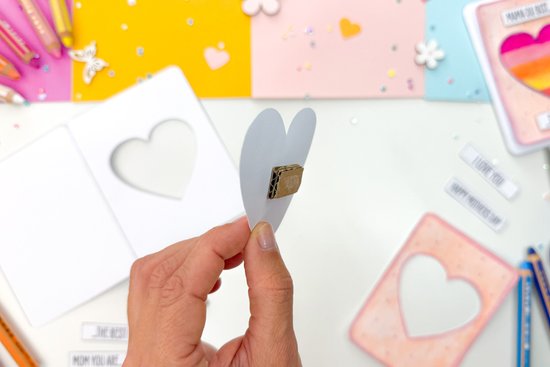
To create a lovely 3D effect, cut out three small pieces of packaging cardboard and glue them behind the heart and the card front. This gives your card a charming, raised look.
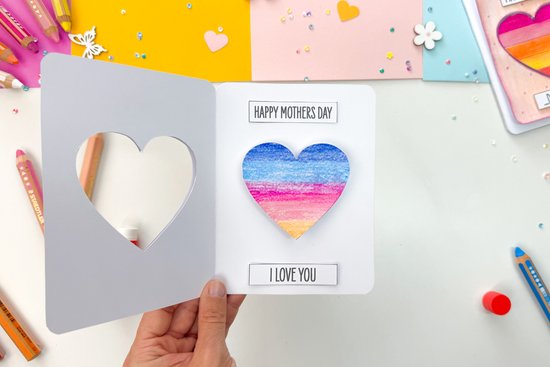
Now assemble all the parts: First, glue on the heart, followed by the decorated front of the card. Then attach the two phrases to the front, and finally, place the remaining two phrases inside the card.
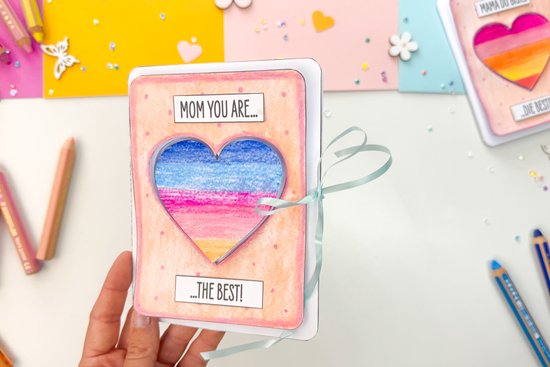
If you like, you can finish your card by tying it together with a pretty string.
Your lovingly handmade Mother’s Day card is ready!
No time right now?
Save this article as PDF!