A feature from Nadja
- Direct to:
- Materials
- Techniques
- Inspiration
A little excursion before we start:
Watercolor paints are water-based, glazing paints. They essentially consist of high-quality, finely ground color pigments, fillers, binders, preservatives and additives. If they are liquid watercolors, they also contain a proportion of water. Watercolor paints can be used to achieve color-intense results with high luminosity and color brilliance as well as creating translucent, delicate motifs. Watercolor paints cover the entire range of the color wheel, enabling (hobby) artists to create realistic watercolor paintings and colorful works of art.
The materials
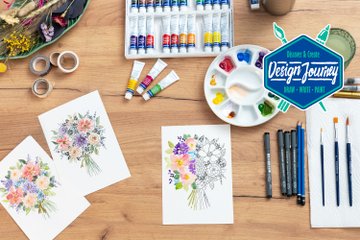
Painting with watercolors is not a form of witchcraft, even for beginners - especially if you have the right materials at your disposal. These are the materials you will need:
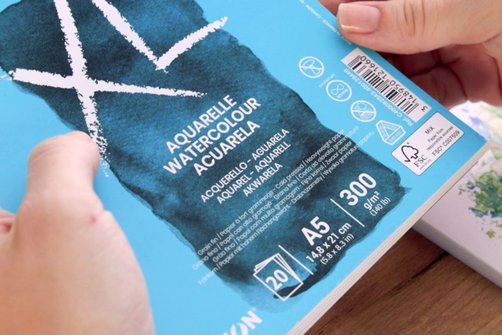
Watercolor paper:
Be sure to use this special paper for painting with watercolors, as the grammage, composition and structure of the paper are crucial for achieving beautiful watercolor effects (for beginners, cold-pressed paper with a thickness of at least 300g/m² is suitable). Canvas or normal paper is not suitable for painting with watercolors.
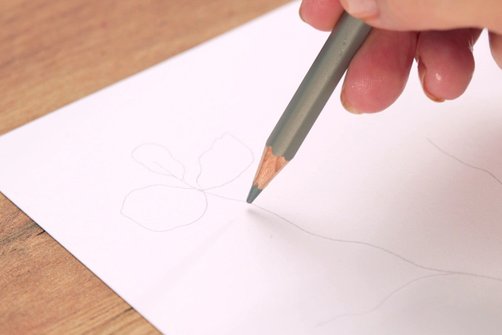
Watercolor pencil:
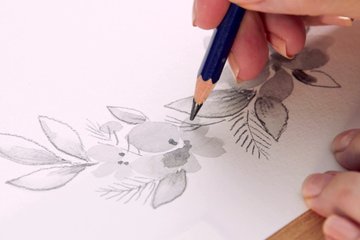
With this you can make preliminary sketches and delicate contours. The lines melt when they come into contact with water and are therefore no longer visible on the finished picture.
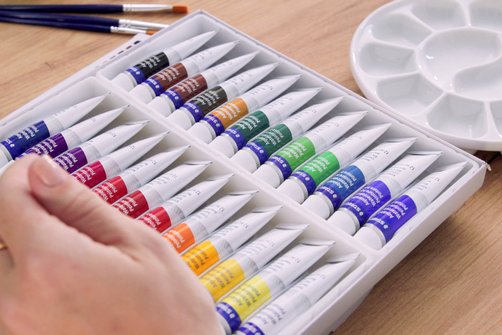
Watercolors:
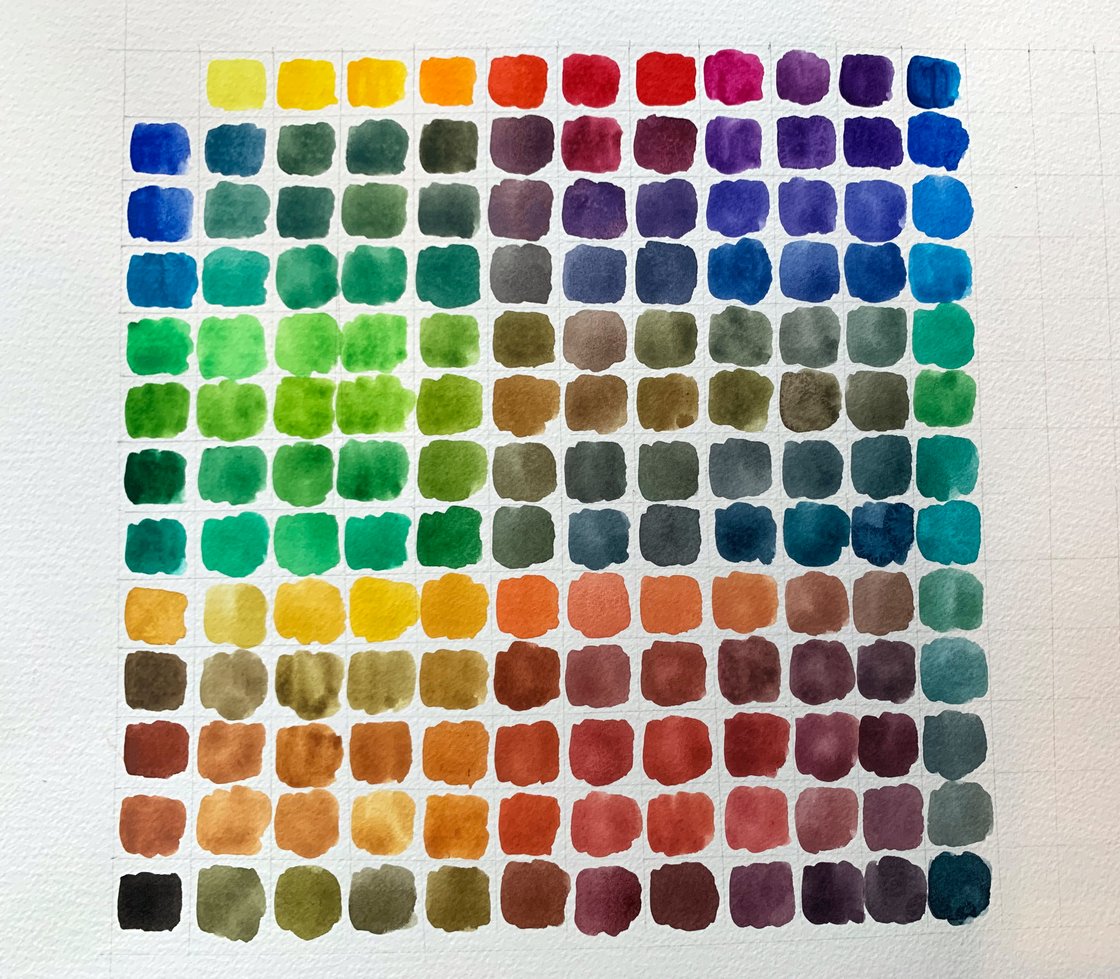
The more watercolor paints you have at your disposal, the more ideas you can realise. It is best to make a color chart with swatches of all your colors to get a good overview of how the dried colors look on paper.
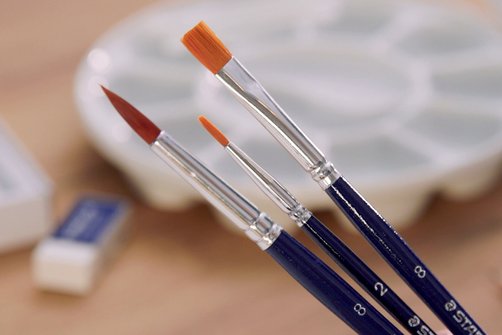
Watercolor brushes:
Depending on the shapes you want to draw, round or flat brushes are best suited. For loose flower watercolors, for example, the round brush in size 8 is best. If you want to add fine details, you can use the round brush in size 2. The size 8 flat brush is good for backgrounds.
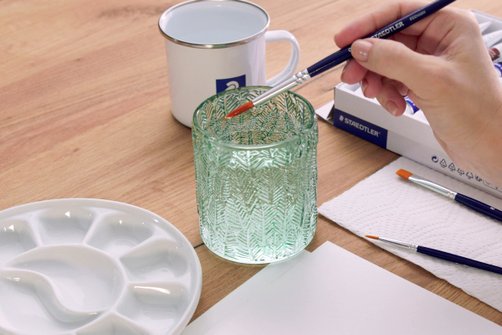
Water glass:
Having a glass full of water nearby is necessary for painting with watercolors to wet your brushes. You should change the water regularly as soon as it becomes too discolored.
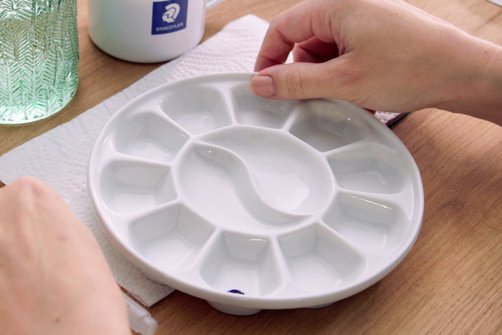
Mixing palette:
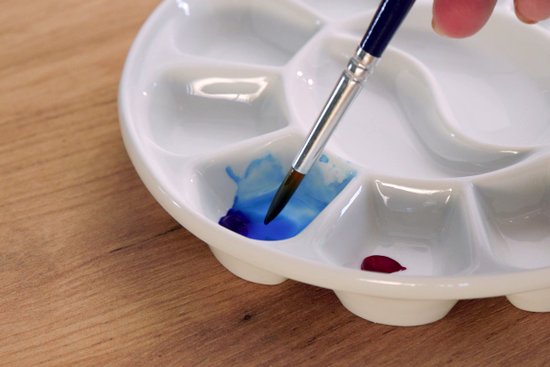
With a mixing palette you can mix different paint colors with each other or individual colors with water. If you don’t have a paint palette, you can use a plate or similar object.
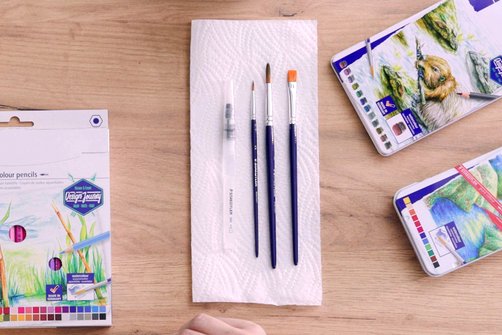
Paper towel:
Paper towels are handy to have close by as you will occasionally use them to squeeze the brushes.
Mixing methods and painting techniques
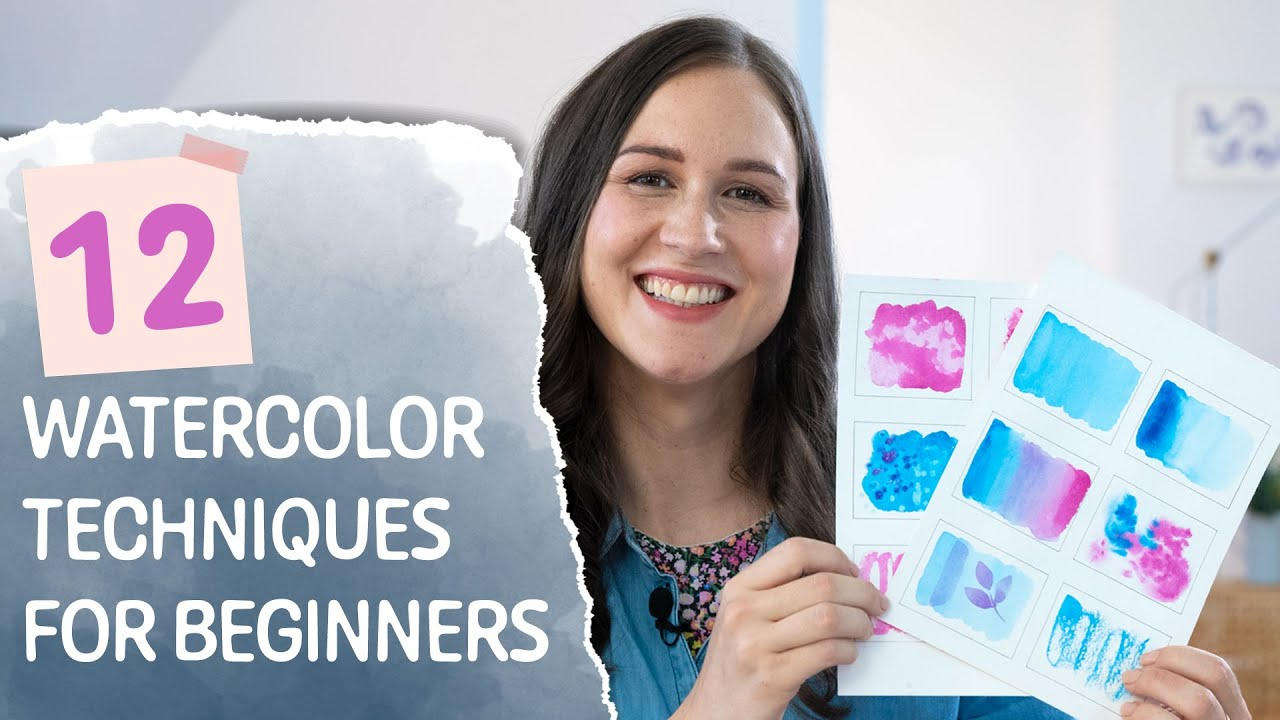
In watercolor painting there are many techniques you can use: depending on which color you choose or how you combine them, you can achieve different results, even with a single color. In the following video, Nadja gives you an overview of the different possibilities. No matter which technique is your favourite, just try it out and experiment.
Nadjas Tip:
Don't be afraid of seemingly wasting colors or paper, because only through practice will you gradually develop a feeling for the interplay of colors and water.
Before we get started and Nadja explains the 12 individual watercolor techniques, you can learn below how to mix watercolors correctly.
Mix watercolor paints
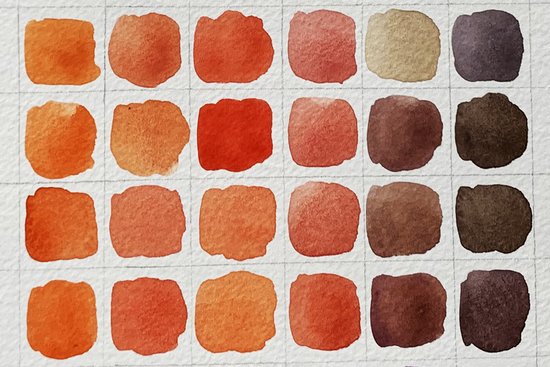
Since the watercolor paints in the tube looks much more intense than on paper, you should test your colors on a separate piece of paper before painting. You can make swatches of all the colors and to create a nice overview of your colors. You can also pre-mix different colors and test them on your color chart. This self-made color mixing chart helps you to decide which watercolor colors and tones you want to use for your motif or picture. You should consider the following in advance:
- It is best to use a palette to mix the colors.
- Always test directly how the mixed color looks on the watercolor paper.
- Note that the color tone always becomes slightly lighter after drying.
How to mix watercolor paints with water:
- Put some paint from the tube into the cup of the palette or on a plate.
- Dip the brush in water.
- Let some of the water drip onto the blob of paint.
- Add a little more water if the color is still too intense.
- Add a little color from the tube if the tone is too light.
Nadja's Tip:
It is better to start with a lighter color when painting with watercolors, as you often apply several layers. If the tone is too light, you can always paint over it afterwards. This procedure is easier than lightening too dark and dried paint afterwards.
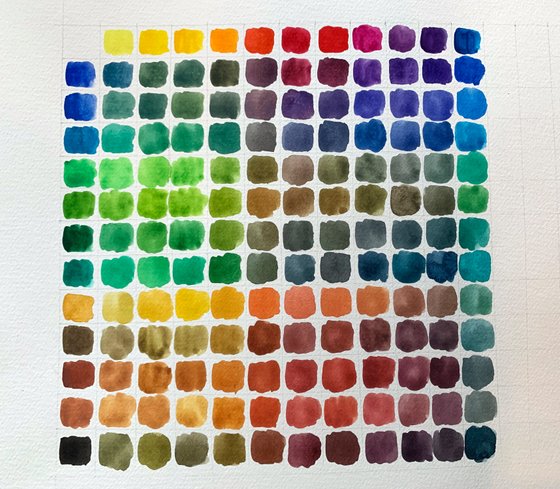
On a kind of "color recipe sheet" you can clearly see which different shades of watercolor you can create by mixing the individual colors. Below you can see an example of how a color mixing card can look:
Painting with watercolors: The 12 most important techniques
Download the exercise sheet below to try the painting with watercolor techniques and watch the video to get started:
#1: Flat wash
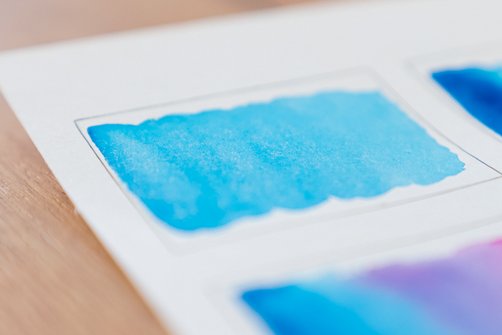
The aim of flat wash is to create an even layer of color over the entire surface. This can be a little difficult because watercolors dry quickly. If you are too slow and the edge of your brushstroke dries, you will get a hard line that you don't want in your painting. The trick is to paint quickly with the watercolors and have the right amount of water and paint on the brush. The brush should be completely wet with paint, but not dripping. A tip: wet the brush with clean water before dipping it into the paint.
#2: Gradient wash
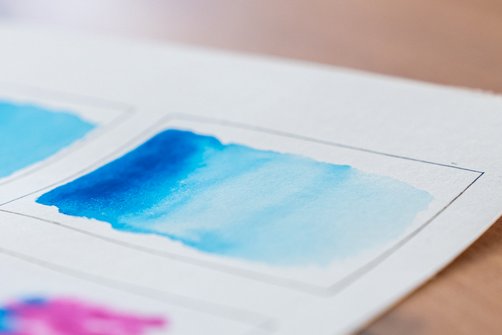
The aim of the gradient wash technique is to slowly fade the color until it is completely transparent. You start with full and dark color at one end and thin it out until the color is almost or completely gone.
#3: Color gradients
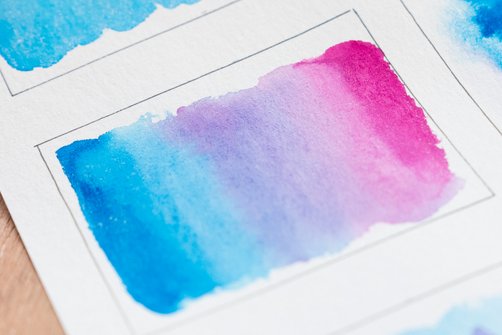
Gradients are very similar to a gradient wash. However, instead of diluting the color until it is completely transparent, a gradient wash aims to gently blend two colors together. Before you begin, you should prepare your two colors seperately by mixing them with water. Remember that the key to beautiful gradients is to work quickly and apply the second color to the paper before the first color has dried.
#4: Wet-on-wet
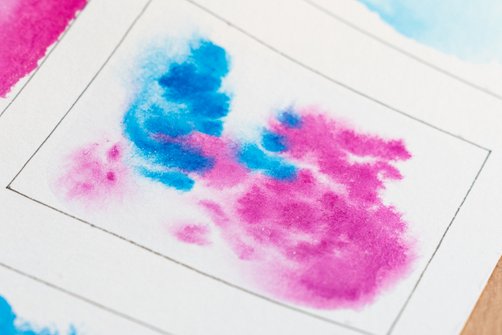
The wet-on-wet technique shows off the color pigments of the watercolors very well. First moisten the paper with water or a water-based paint. An then dab the concentrated paint onto the surface with a brush. This technique is one of the simplest and most fun there is. You can let off steam, play with the colors and create something completely unique and unexpected every time.
#5: Wet-on-dry
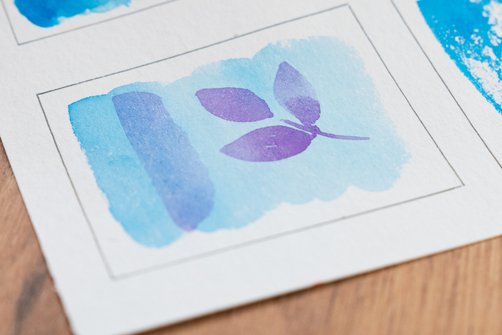
The wet-on-dry technique is often used for small motifs. Here you work with wet paint on dry watercolor paper. Let the first layer dry, then intensify the color with a second layer or paint over it with a different color. With this technique you can create different mixtures. Make sure to use quick brush strokes so that the underlying layer of paint is not dissolved by the water.
#6: Dry-on-dry
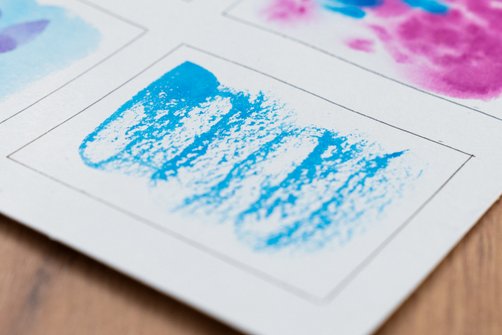
This dry-on-dry watercolor painting technique is done by applying a lot of paint color with relatively little water. You apply the paint with as little pressure as possible so that only the highest areas of the watercolor paper take on color, while the lower areas remain almost colorless. For this technique to be successful, you should choose a highly structured watercolor paper.
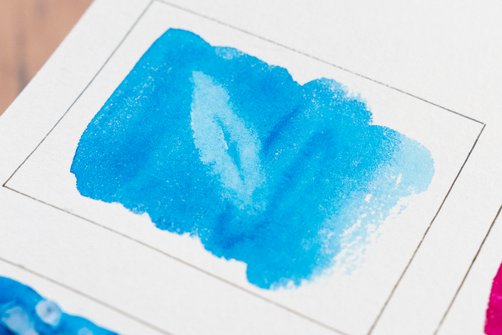
#7: Color Lifting
When painting with watercolors, you can also remove color from the paper, this technique is called color lifting. Here you "suck up" the color again with the help of a brush. Use this technique to correct small mistakes or to set special accents in your painting. It is important that the brush is almost dry, not wet.
Create watercolor effects with additional materials
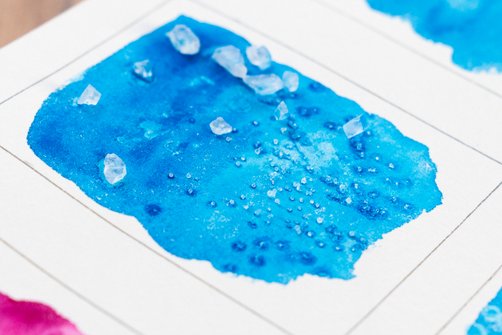
#8: Effects with salt
Paint any surface with watercolors and sprinkle the desired areas with fine rock salt or large sea salt. The decisive factors here are personal taste and the effect you want to achieve. Now let the paint dry completely and carefully remove the grains of salt. As salt binds moisture, crystal-like stains with pronounced water edges are created.
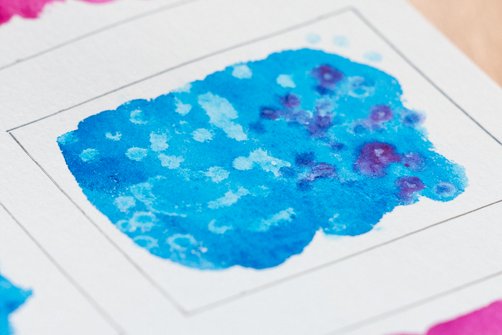
#9: Effects with cotton swabs
You can also use Q-tips to create great effects in your watercolor painting. Simply dab the tip of the cotton bud onto the wet paint. The cotton wool will absorb it and create beautiful patterns that you can set however you like. You can also dip the cotton bud into a different shade and place individual dabs.
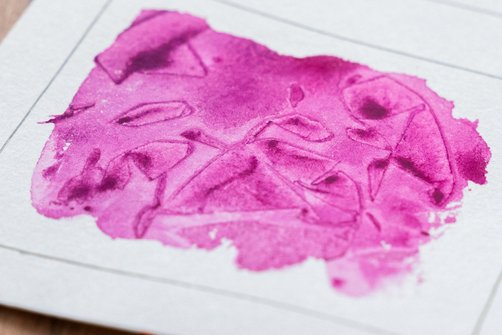
#10: Effects with foil
With this technique, you place a sheet of foil (aluminium foil, plastic wrap or cling film) on the wet paint and press it lightly together. Leave the foil on the paint until it has dried before removing it and letting everything dry completely. You can use this to create completely random and beautiful patterns on the surface.
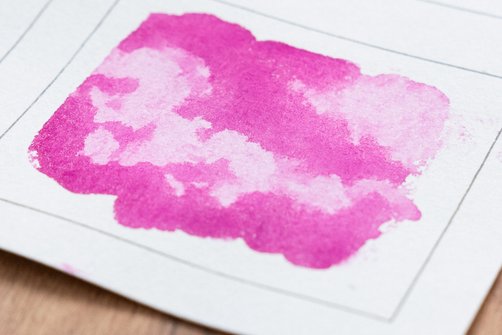
#11: Effects with a paper towel
Use a dry paper towel and gently dab or smudge the wet paint. This way you can create delicate colors and soft color gradients.
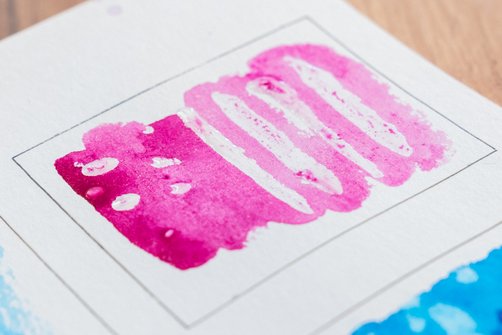
#12: Effects with masking fluid
With the help of masking fluid, you can leave areas on the paper blank, which gives the images contrast and creates accents.
It is usually made of latex and is also called scratch crepe. Masking fluid can be made into any shape and is both water and color repellent. It can also be removed without leaving any residue when you have finished painting.
Paint your first artwork with watercolors
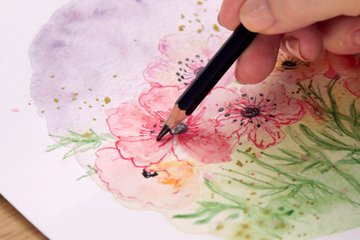
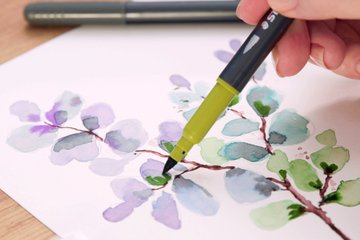
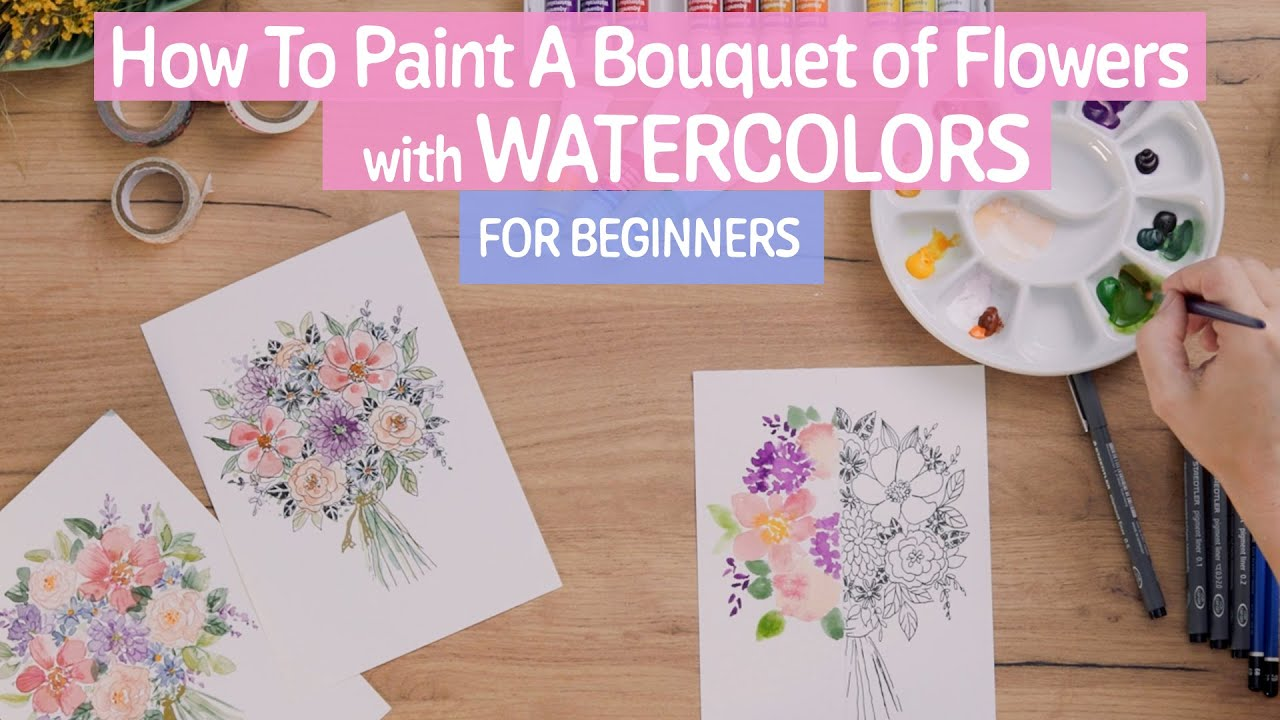
Get your brushes ready - now you can start with your first watercolor painting and try out or apply what you have learned directly! In our inspiration tutorial, Nadja shows you how to create motifs such as flowers and leaves with simple basic shapes and dabs. We have also provided you with a free downloadable template.
You can find out how to transfer the template to the watercolor paper correctly in the video on our page on watercolor painting for beginners.
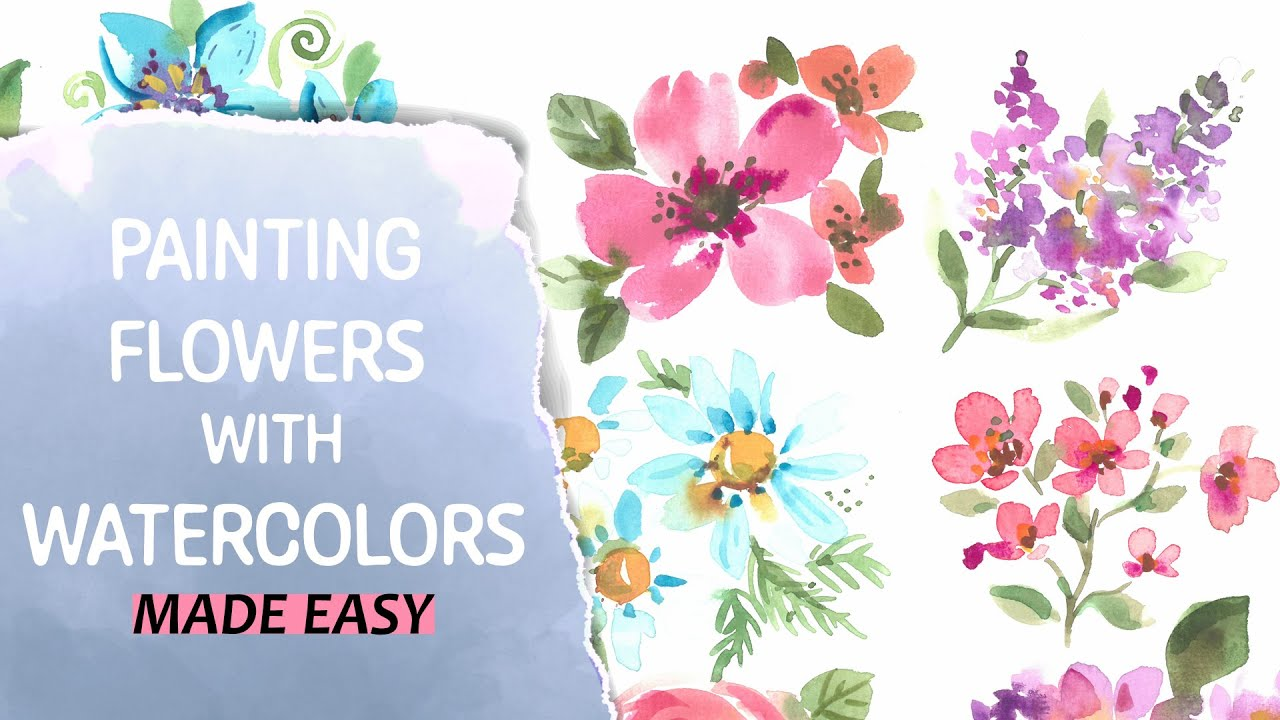
How much detail you add is entirely up to you - there are no limits to your imagination. In this video, Nadja shows you how to paint eight flowers with watercolors. You can combine them, for example, into a beautiful colorful bouquet or create a pattern with them.
Mixed Media Tutorial
In this video, Nadja shows you how you can combine the different watercolor products and techniques in a watercolor painting.
Download the motif template here.
Be inspired by the creations of other artists:
Once you've created your first watercolor painting, link to us on social media with the hashtag #myDesignJourney!
The products used in this course

Other materials needed:
- Watercolor paper
- Mixing palette
- Water container with water
- Paper towel