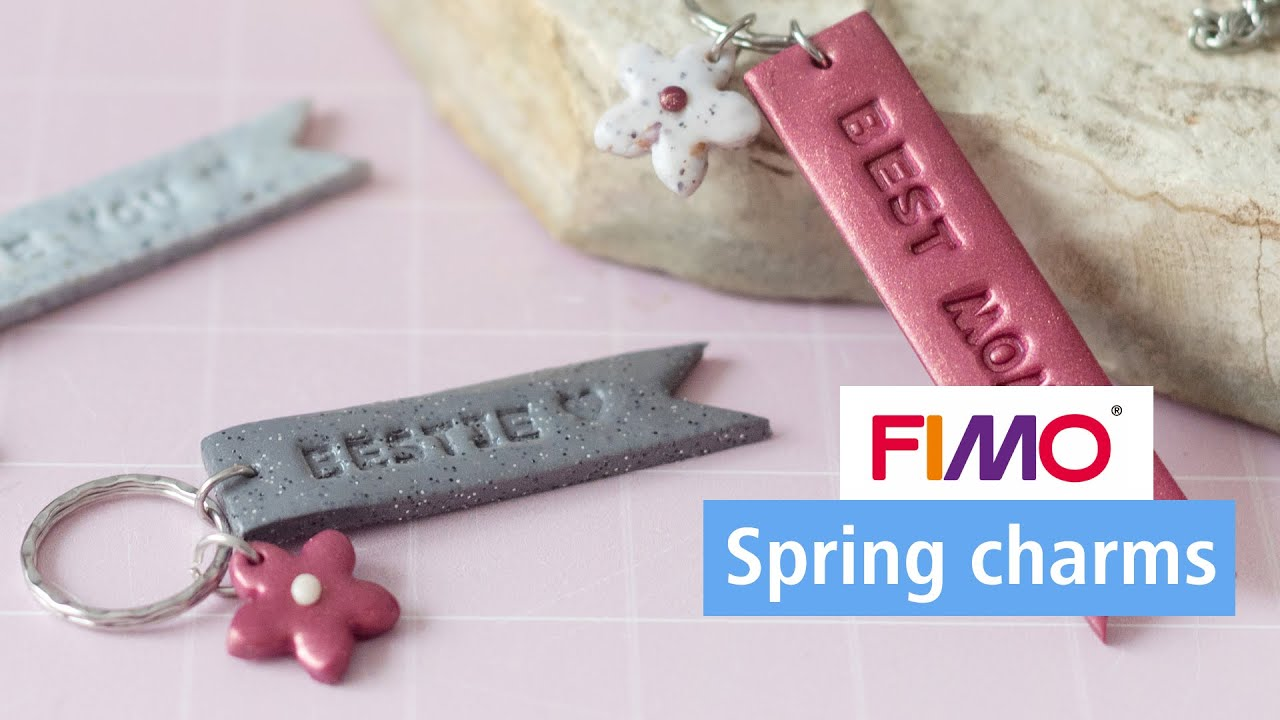
Lovely spring charm tags made of FIMO
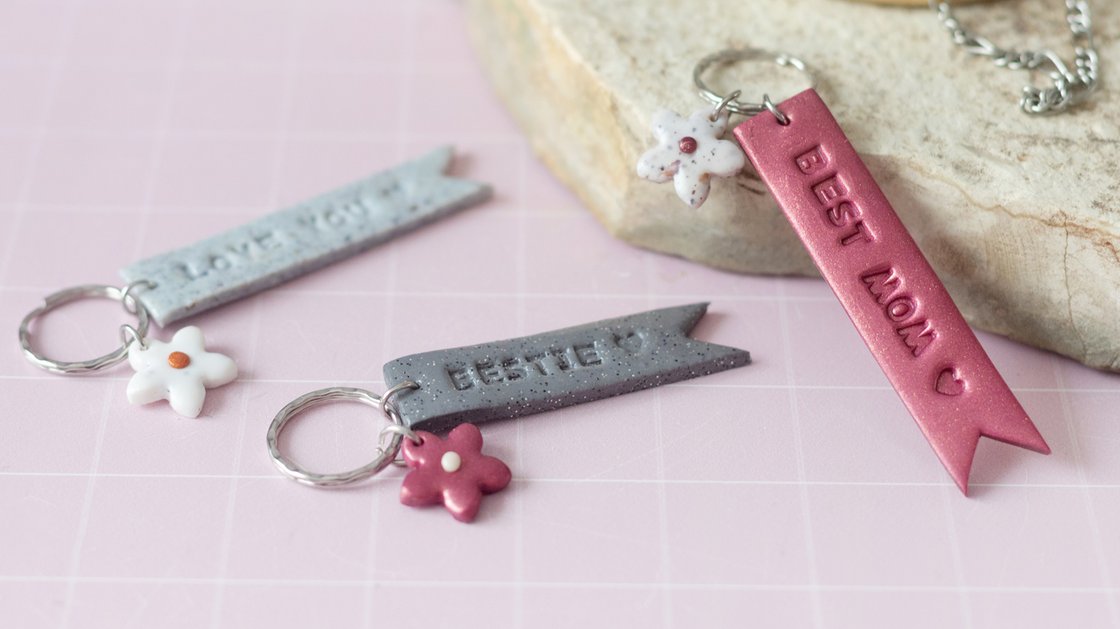
These little message keychains are not only super cute, but also perfect for giving someone a very personal note – whether it’s “LOVE YOU,” “BEST MOM,” or “BESTIE.” With the FIMO Boho Set and a few simple steps, you can create customized keychains that make the perfect small gifts for your loved ones.

An article by Lisa Tihanyi
- Direct to:
- Tutorial video
- Material overview
- Step-by-step tutorial
Tutorial video
Material overview
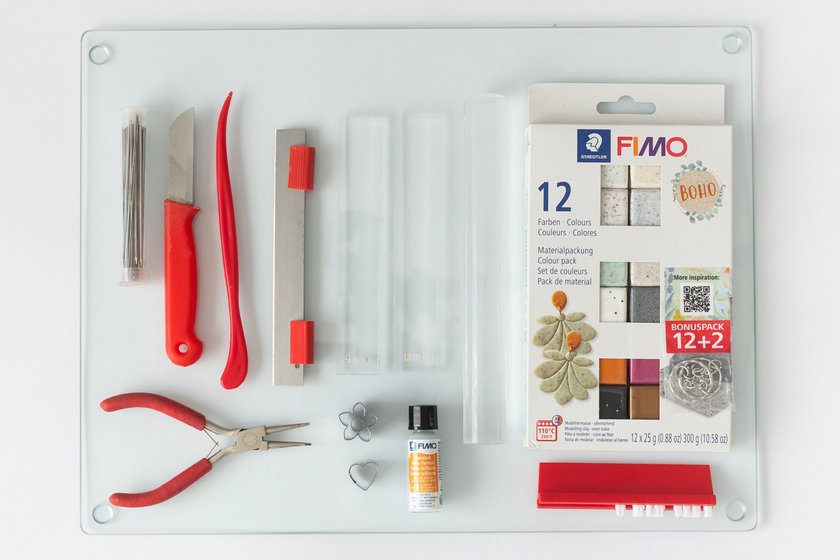
What you need
Additionally required:
- 1x Flower cutters
- 2x jewellery pliers
- 1 x needle or toothpick
- Oven thermometer
- Extra key rings, if needed
Step-by-step tutorial
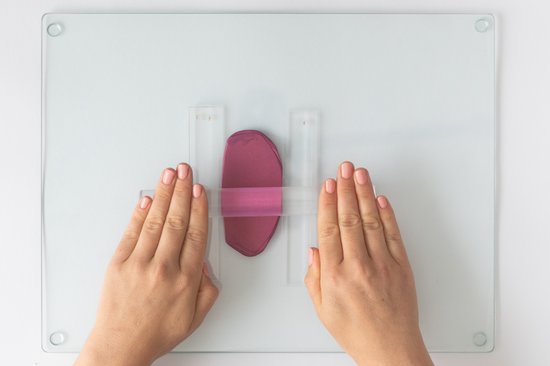
Roll out the FIMO
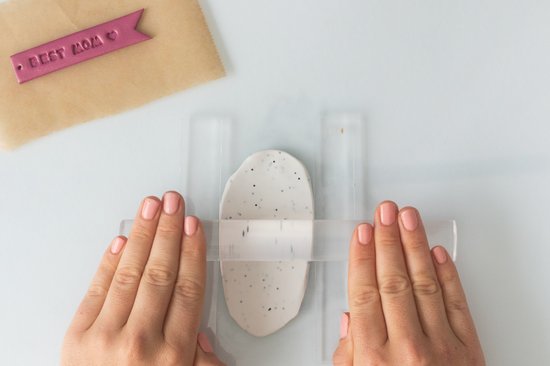
First, roll out the FIMO in the colour of your choice using the acrylic roller until it’s about 4 mm thick.
💡Tip: For an even result, you can use wooden or acrylic rods as spacers.
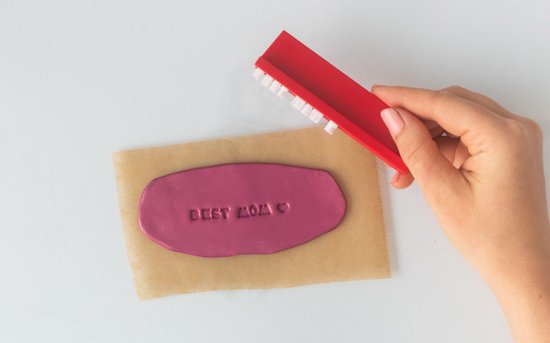
Stamp your message
Insert the letters for your message into the stamp rail. Make sure you place the letters “backwards” so that the message will later be readable. Then press the stamp with your message evenly into the rolled-out FIMO.
Cut the shape
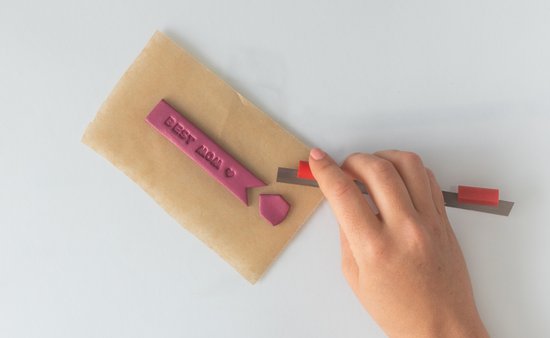
Cut out a rectangle approx. 2 cm wide around your stamped message. For the banner shape, cut out a small triangle on one end.
Make a hole
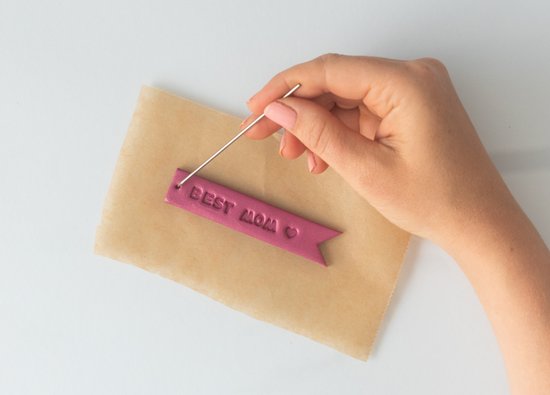
Use the needle or toothpick to poke a hole at the short end of the banner – this is where the ring will be attached later.
Prepare the flower
Roll out FIMO in a second colour to about 4 mm thick.
Prepare the flower center
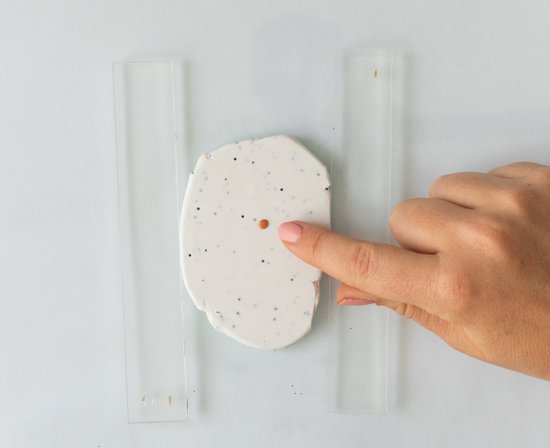
Take a third FIMO colour and shape a small ball for the flower center. Press it into the middle of the rolled-out flower colour.
Cut out the flower
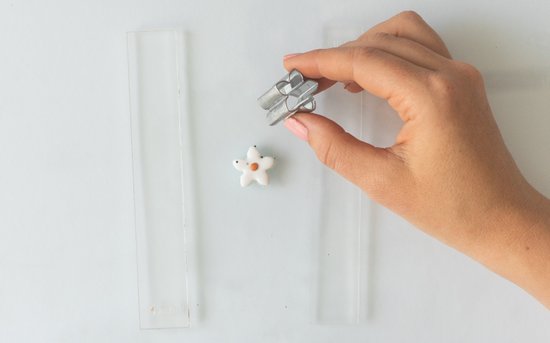
Use the flower cutter to punch out the blossom, making sure the flower center sits nicely in the middle. With a needle or toothpick, poke a hole through one of the petals. Place your pieces on baking paper. Now it’s time for the oven: harden them at 110°C (230°F) for 30 minutes. Use an oven thermometer to monitor the temperature.
Add gloss varnish!
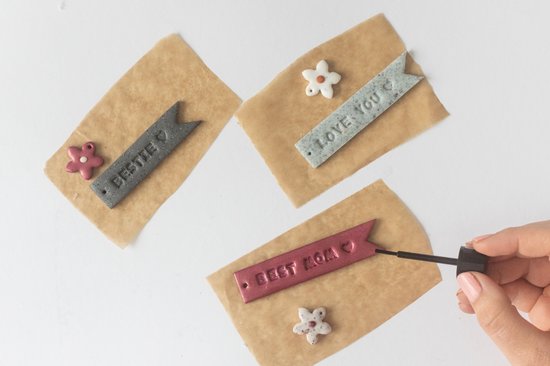
Let your hardened pieces cool down. Then coat them with FIMO Gloss Varnish for extra shine and let dry.
Put everything together
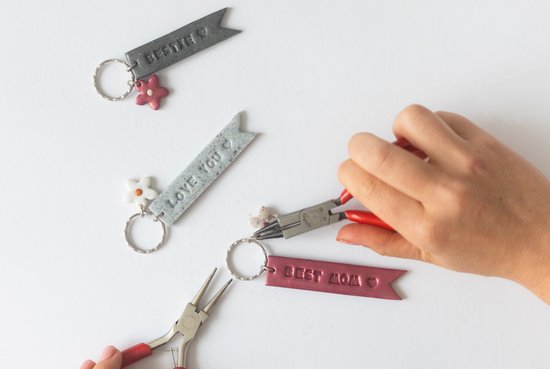
Use jewelry pliers to carefully bend the split rings sideways. First attach the banner, then the flower to the key ring.
Your personal charm tags are ready!
Whether for Mother’s Day, a birthday, or just because – these handmade keychains are a heartfelt DIY gift that is sure to make someone smile.
No time right now?
Save this article as PDF!