A feature from Nadja
- Direct to:
- Materials
- Techniques
- Inspiration
A little excursion before we get started:
Watercolour graphite pencils are water colourable, highly pigmented pencils. Their unbreakable, water colourable lead makes it possible to work with a wide range of watercolour techniques. Compared to regular pencils, the watercolour graphite pencils are even more versatile. The artist pencil is equipped with a graphite lead. Graphite is a grey/black mineral that's crystal structure enables a shiny metallic stroke colour.
What materials do you need?
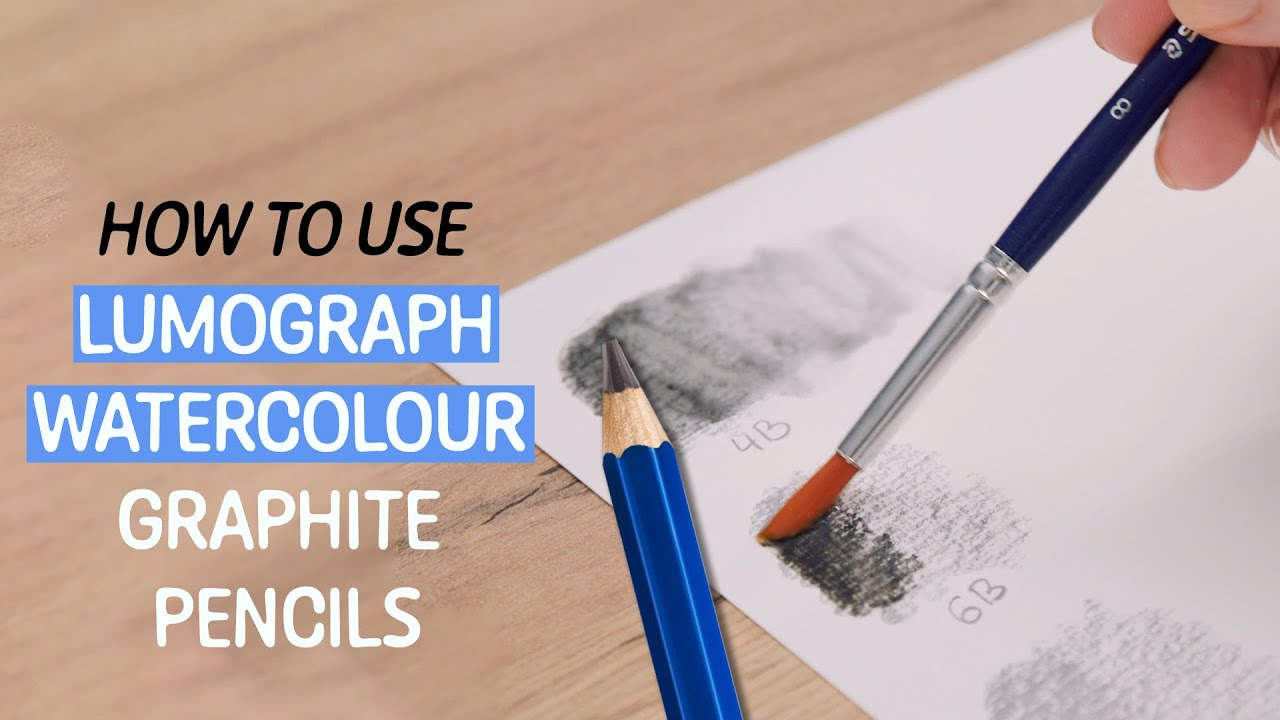
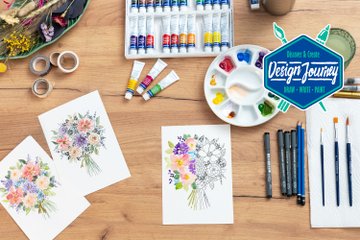
All the lines you have drawn with a watercolour graphite pencil can be gently blended with a wetted brush. You can use this, for example, to add depth and dynamism to your watercolour with shadows or to create your very own artwork using only your watercolour graphite pencils. You will need the following materials for this course:
- Watercolour graphite pencils of various degrees of hardness
- Watercolour paper
- Paint brush or watercolour brush
- Eraser
- Water container with water
- Paper towel
Painting with watercolour graphite pencils
When you work with the watercolour graphite pencils, you have three options:
- You start on dry watercolour paper and then dissolve the paint with a paint brush or water brush.
- Moisten the watercolour paper with a brush or cloth and work with the pencils on it.
- Pick up the paint directly from the tip of the watercolour pencil with a damp brush and apply it to the paper.
Nadja's Tip:
After the pencil tip has been dipped in water, the colour output is much higher. As the pencils leave an almost black line on the paper. Many watercolour enthusiasts use graphite pencils to add shadows to their works afterwards and thus give the picture more depth.
These are the techniques you can use when painting with watercolour graphite pencils
Here you can download the exercise sheet for the techniques:
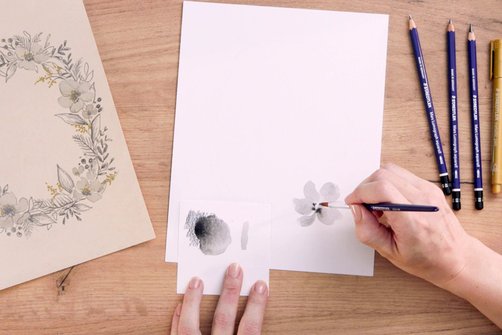
#1: Graphite from palette
Hatch an area on a piece of paper with the watercolour graphite pencil. First moisten the brush with water and then moisten the hatched area on the paper. The colour will run, and you can pick it up with the brush and draw with it as if it were a palette.
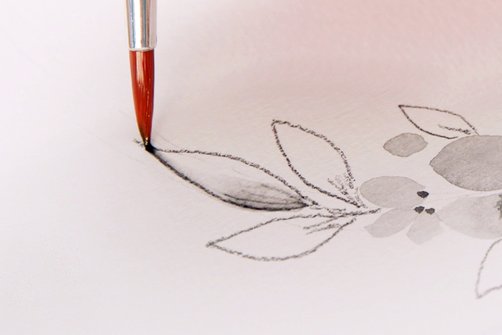
#2: Dissolving graphite
First draw with the watercolour graphite pencil on the dry paper. Later, dip the brush in water and use it to loosen the lines and strokes of the pencil from the paper. With this technique you can create beautiful shades and depth in your motif.
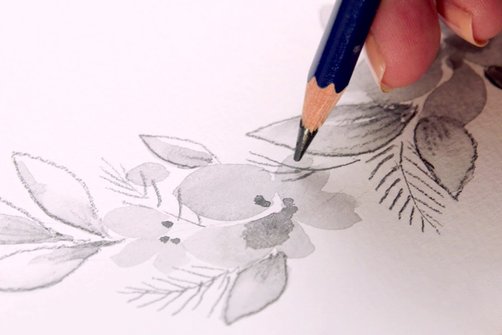
#3: Dry-on-dry
You can also use the watercolour graphite pencil like a normal pencil and draw shapes and contours on your motif without painting them with water afterwards. When you paint over the already drawn motifs, you add additional texture to your picture.
#4: Dry-on-wet
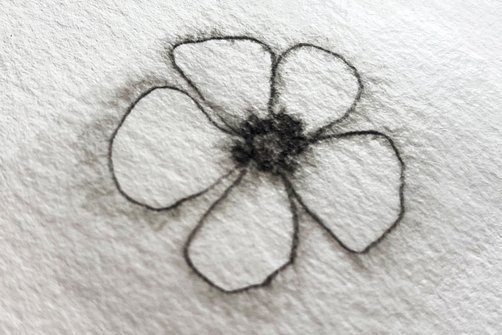
If you moisten the watercolour paper before you draw on it with the pencil, you use the so-called dry-on-wet technique. Here the colour of the pencil runs directly on the paper, and you can create beautiful shapes.
#5: Graphite from pencil tip
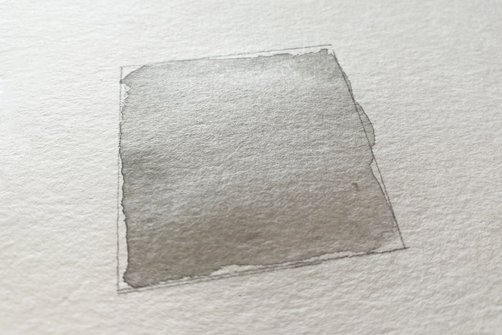
For this technique, you do not place the pencil on the paper, but take some graphite from the tip of the pencil with the wet brush. This dissolves on the wet brush and the brush "absorbs" it, so to speak. Now you can continue to paint with the brush on the paper.
#6: Wet tip
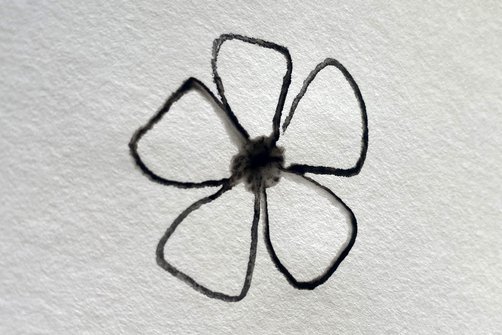
You do not have to wet the watercolour paper to dissolve graphite of the pencil. Another option is to dip the tip of the watercolour pencil directly into water. Make sure that you do this at regular intervals so that the graphite remains dissolved on the tip of the pencil and does not dry again.
#7: Soft shadows
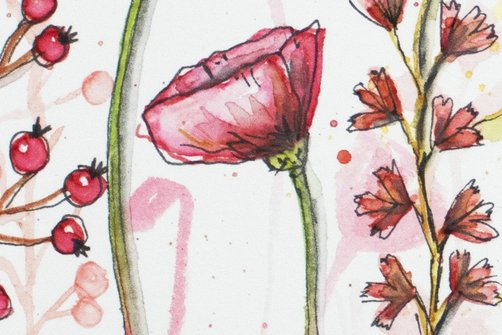
Use the watercolour graphite pencil selectively to create shading. It is best to create large, two-dimensional shading before working out your motif. To do this, hatch the area in the picture that will later be the shadow area, dissolve the hatching with a wet brush and let everything dry before painting with your other materials. You can also add fine, detailed shadows to your motifs later.
Paint your watercolour with watercolour graphite pencils
Have you learnt about the techniques and have all your materials ready? Then you can start right away to create your first watercolour with our watercolour graphite pencils!
Nadja gives you some inspiration in the video below:
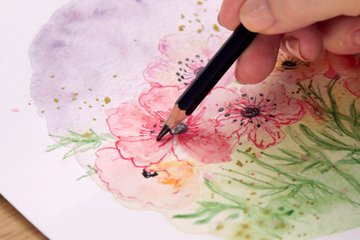
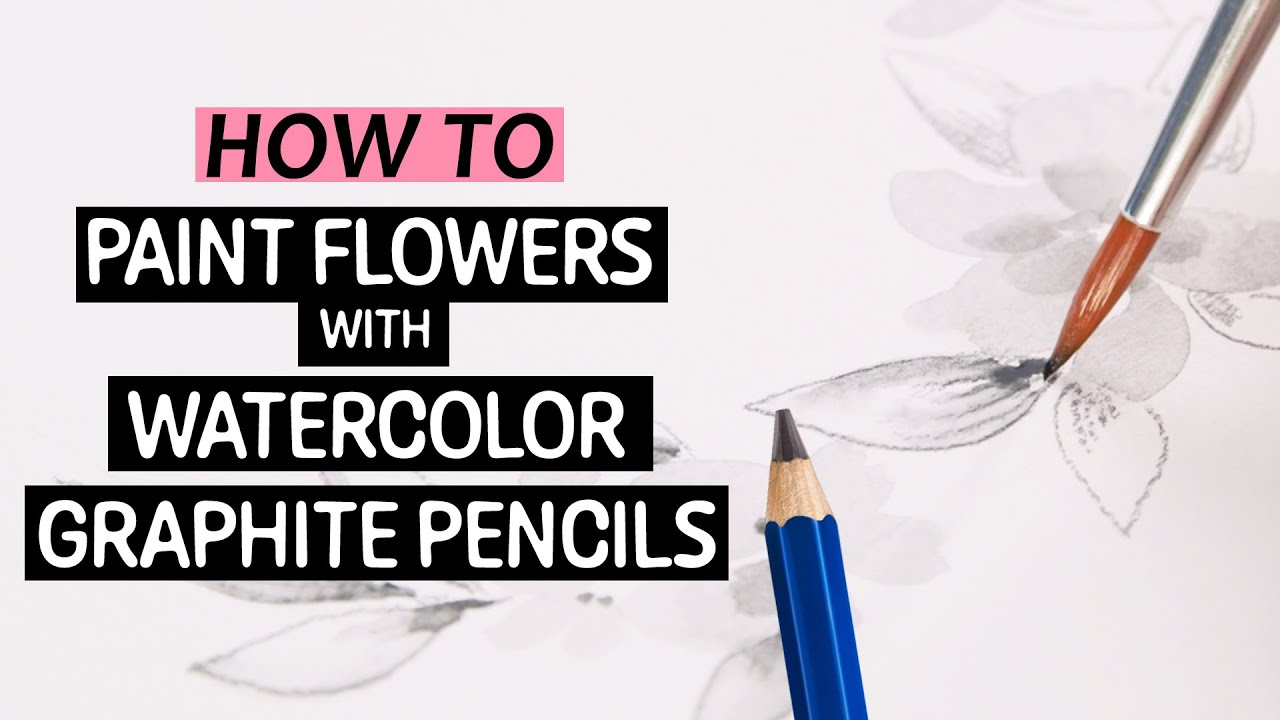
She has prepared a flower wreath as a motif for you, in which the contrast between the delicate, water coloured blossoms and the intensely black drawn leaves comes into its own particularly well and thus shows the diverse uses of the graphite pencils.
You can download the template for the flower wreath free of charge here to use during the video here.
Not sure how to transfer the pattern onto the watercolour paper correctly? Nadja explains the individual steps in more detail in the video on our watercolour painting page.
The products used

Other materials needed:
- Watercolour paper
- Water tank with water
- Paper towel