Shimmering bracelet with Mica Shift technique made from the FIMO effect metallic colours
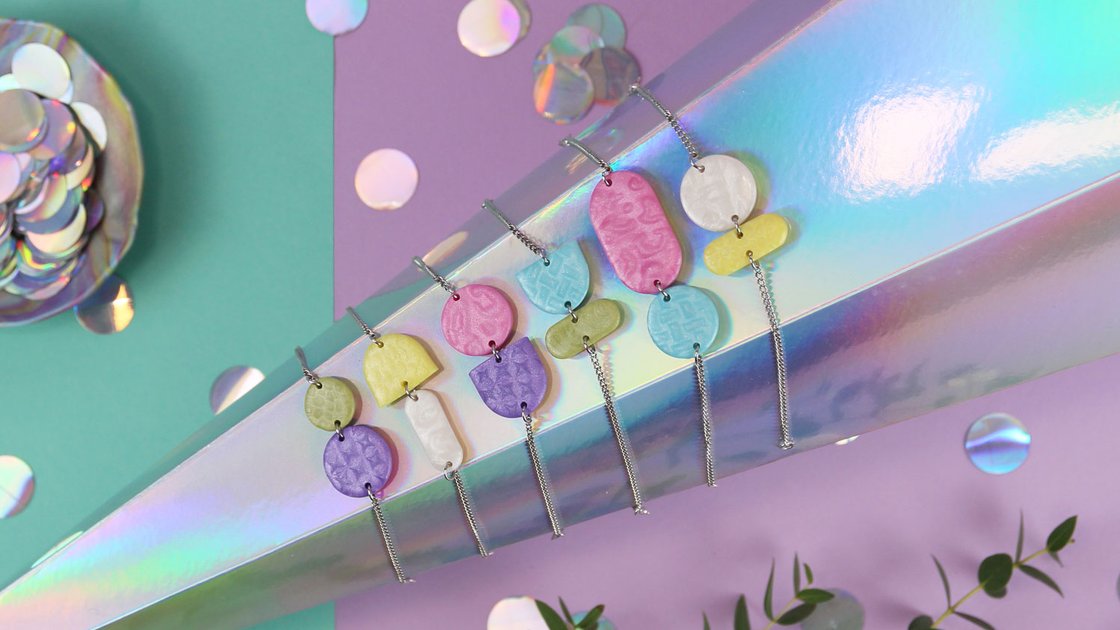
Wow, these bracelets will soon be dangling sparkling from your wrist! What´s particularly fascinating is that the pattern looks three-dimensional and yet the surface is completely smooth and even! You can easily implement the Mica Shift Technique with our FIMO effect metallic colours. We will show you how to emboss detailed patterns and then smooth the surface again while retaining the interesting grain. There are no limits to the variety of textures and colour nuances, as the effect also works with coloured FIMO effect metallic. We have put together a pastel-coloured rainbow mix for you! The sparkling pieces of jewellery are easy to make and glitter beautifully in the light. So let’s get started!
- Direct to:
- Tutorial video
- Material overview
- Step-by-step tutorial
Tutorial video
Material overview
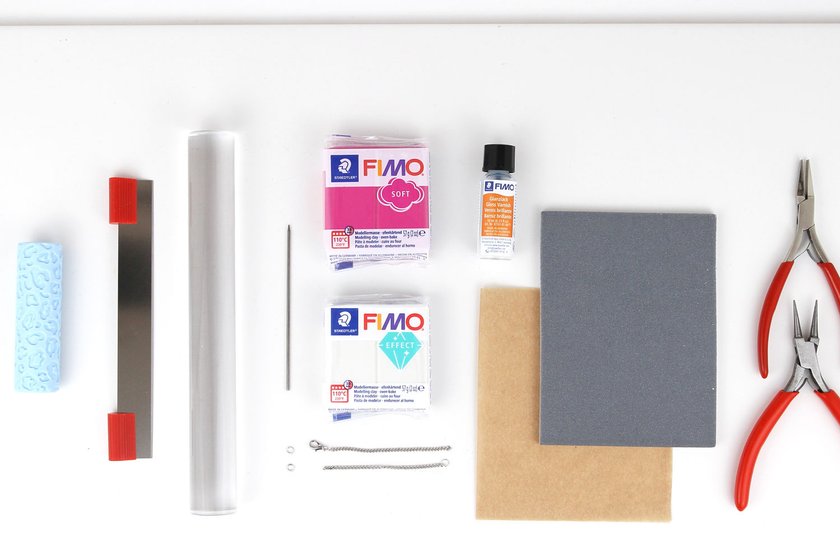
What you need
Additionally required:
split rings, chain, spacer, glass plate, texture sheets, baking paper, pliers
Step-by-step tutorial
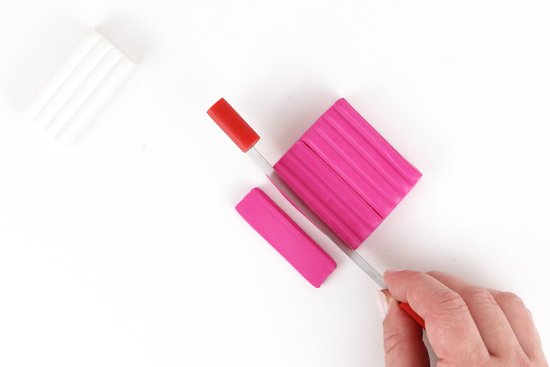
Portion out the FIMO
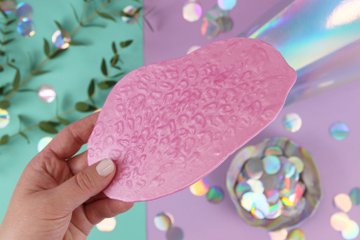
First, mix a colour of you choice. In our example, we are using a half block of FIMO effect mother-of-pearl and a rub of FIMO soft raspberry for a delicate pink shade!
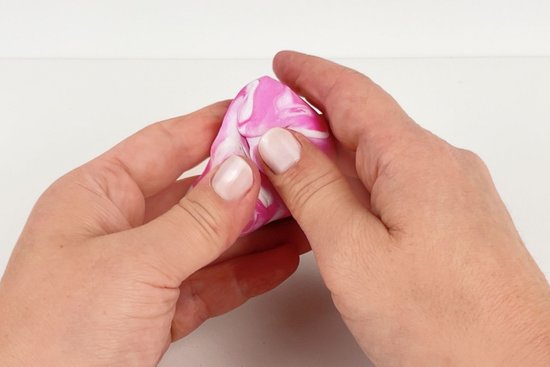
Mix the colours
Knead the two parts together until you have an even colour.
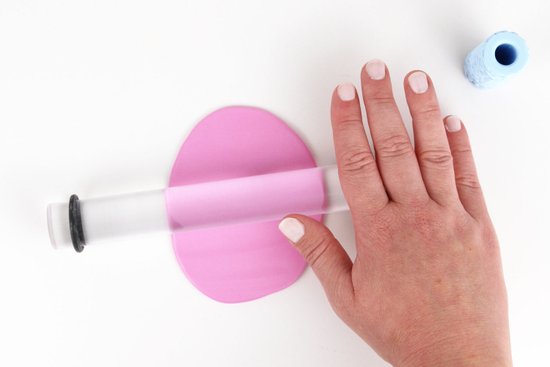
Roll out the FIMO
Then roll out the FIMO evenly. This works particularly well with a spacer (4 mm).
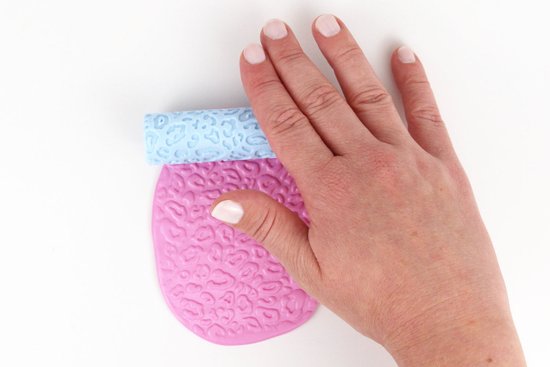
Mould the texture
The next step is to emboss the texture into the FIMO sheet. You can use a texture roller or sheets with embossed patterns. Make sure that you press the pattern in completely. This will compress the glitter particles more in the deeper areas and the FIMO will therefore be darker in these areas.
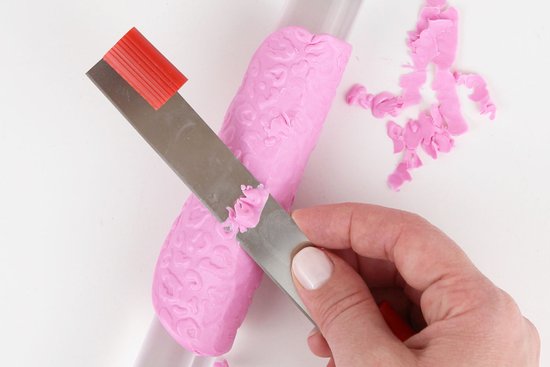
Smooth the surface
You can now cut off any raised areas of your structure. The best way to do this is to place your FIMO sheet on something round and then peel it off with a blade.
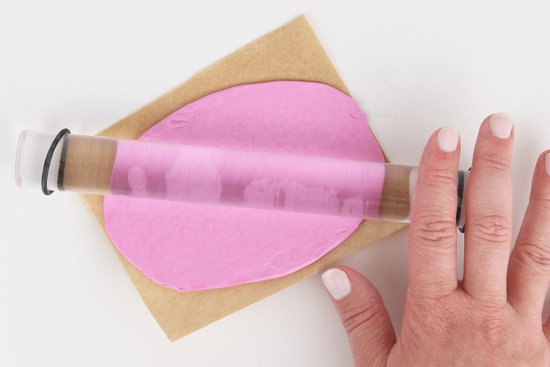
Roll out the FIMO
Now carefully roll over the surface again with you acrylic roller until it is completely flat.
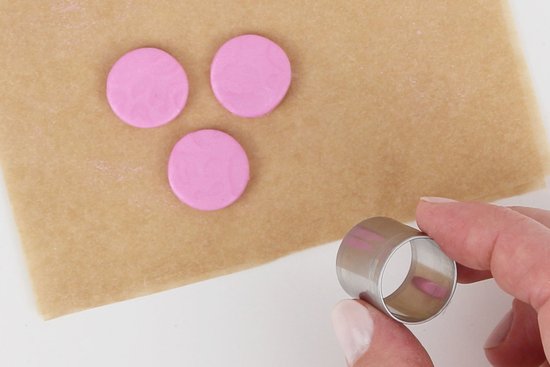
Cut out
Cut out geometric shapes from your sheets, e.g. circles.
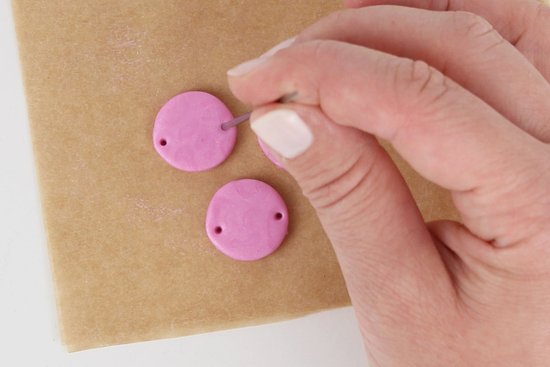
Cut out holes
To be able to join your shapes after hardening, you need to cut small holes in them with the beading needle.
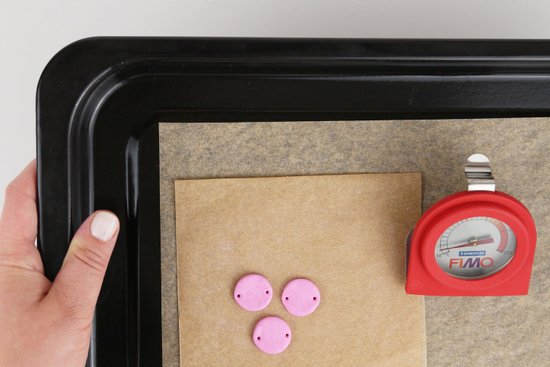
Hardening
Place all elements in the oven at 110°C for 30 minutes. This will make the mica shift even more visible.
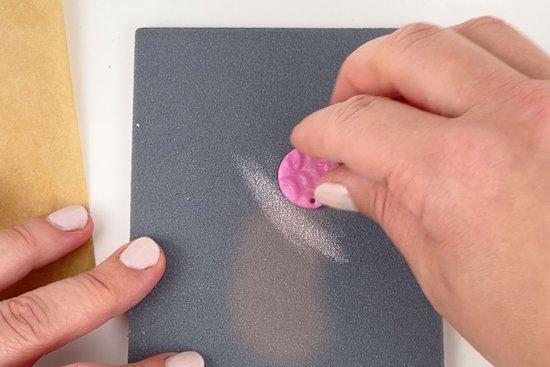
Sanding
After cooling, you can sand the edges of your small pieces of jewellery with fine sandpaper.
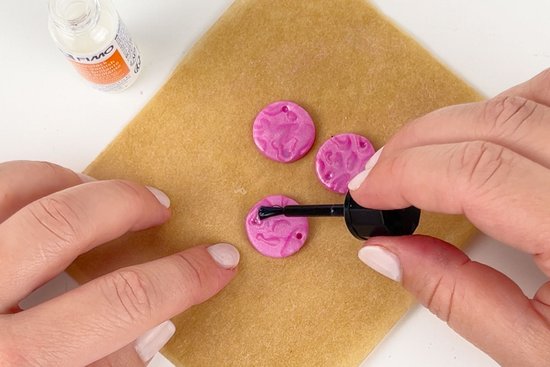
Varnish
Your circles will be particularly shiny if you coat them with gloss varnish. Allow the gloss varnish to dry well afterwards.
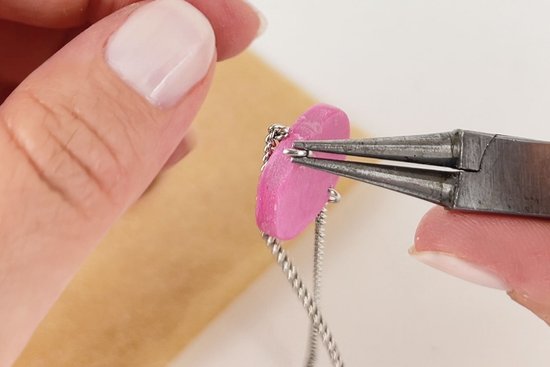
Assemble
Take a split ring and open it. Thread on your shape and a piece of chain with a clasp. Then close the ring again. Insert a split ring and another piece of chain through the other hole in your jewellery element. Of course, you can also add other shapes in different colours. And the glittering bracelets in iridescent colours are finished.
No time right now?
Save this article as PDF!