DIY school cone - a homemade pencil school cone
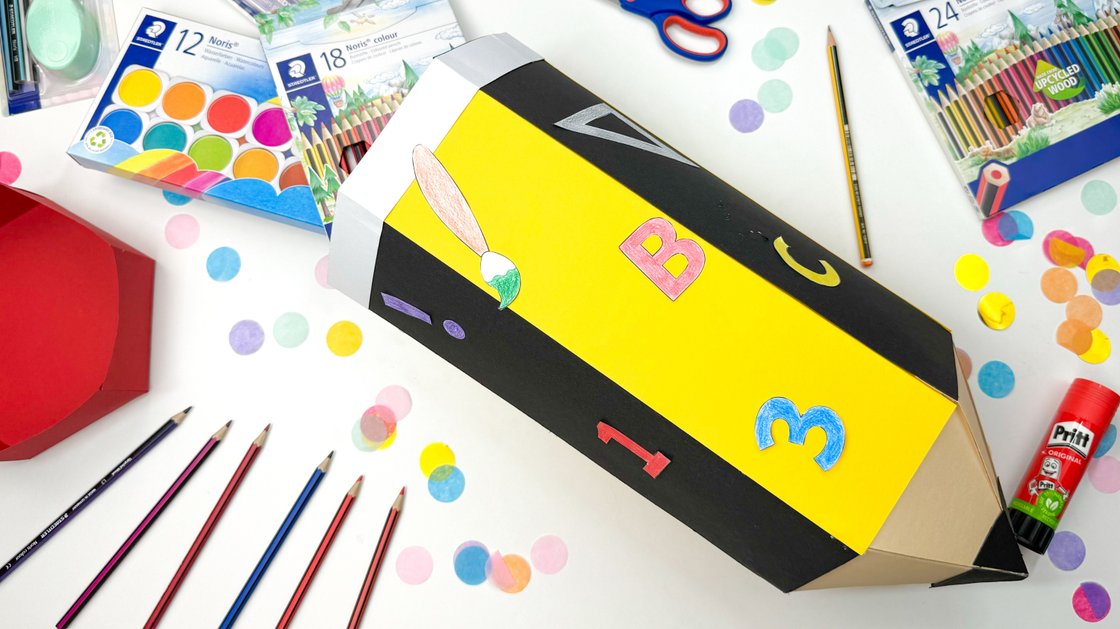
Starting school is a special moment in a child's life. To make this day special, let's make a unique school cone together - inspired by the STAEDTLER Noris pencil. You can make this school cone for yourself, but also as a gift for other children. Have fun making it!

An article by Maiken
- Direct to:
- Tutorial video
- Material overview
- Step-by-step tutorial
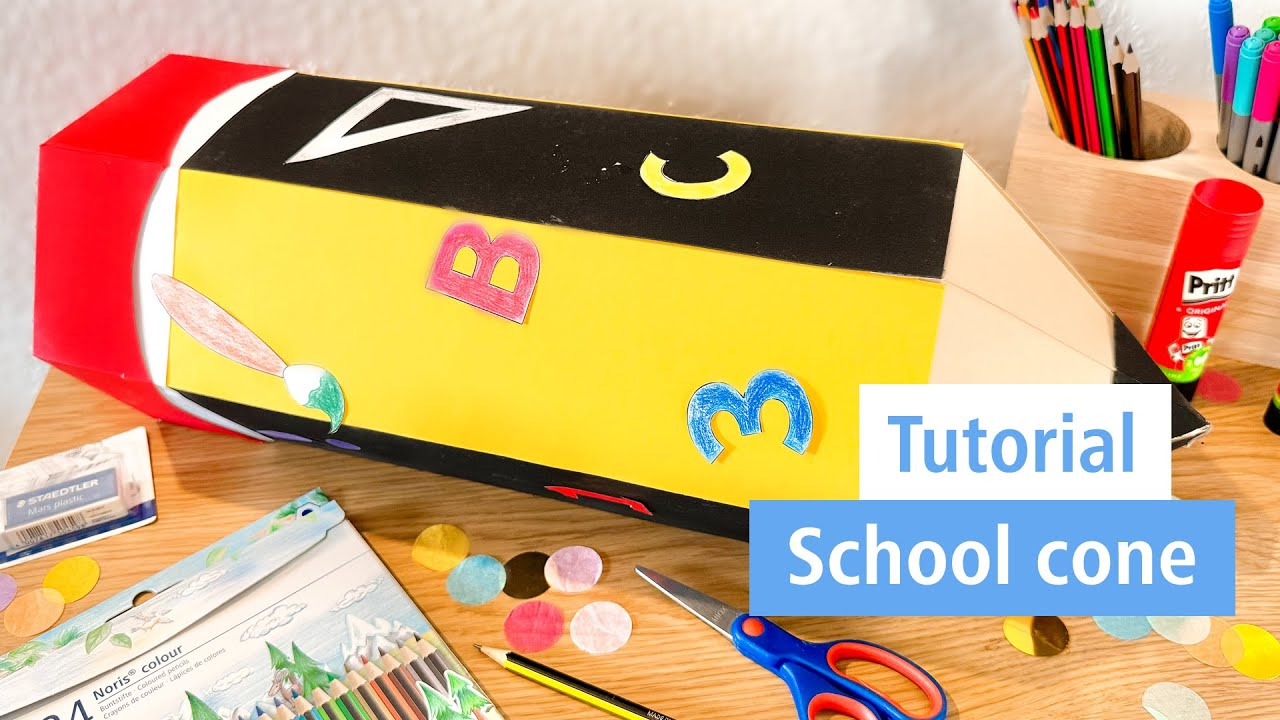
Tutorial video
Material overview
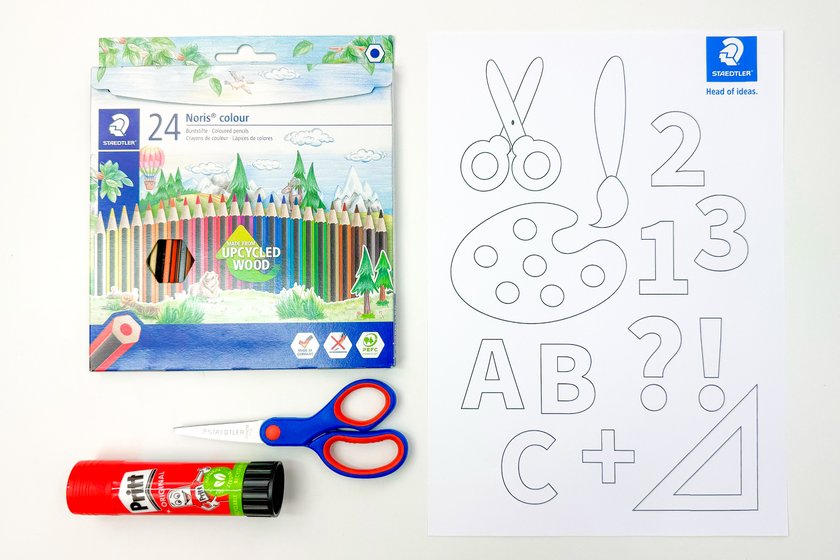
What you need
| Product | Article no. | Quantity |
|---|---|---|
| Noris® 965 Hobby scissors - Blistercard containing scissors with 17 cm blade | 965 17 NBK | 1 |
Additionally required:
Glue, Cardboard in yellow, black, red and light brown
Step-by-step tutorial
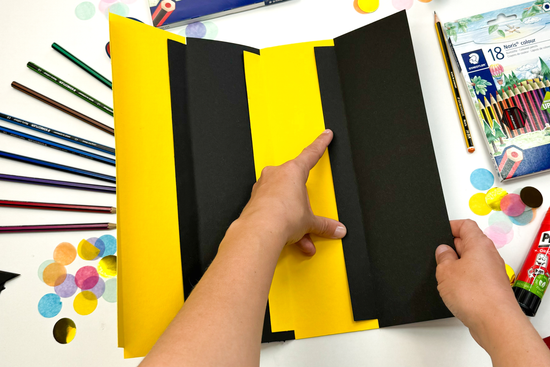
First, trace the template onto the cardboard. Then cut out all the yellow, black, red and light brown parts from the cardboard. Start with the body of the school cone and attach the black sides to the yellow sides.
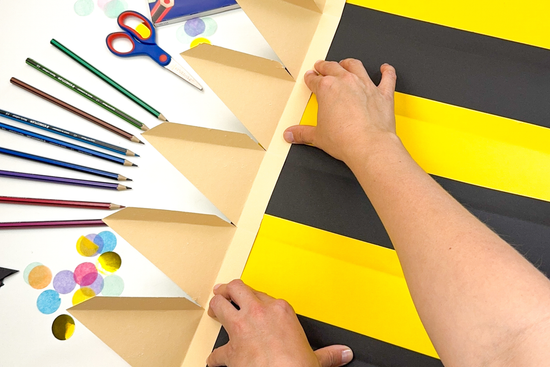
Now attach the tip of the pen. Attach it to the inside with glue and then glue the pen together.
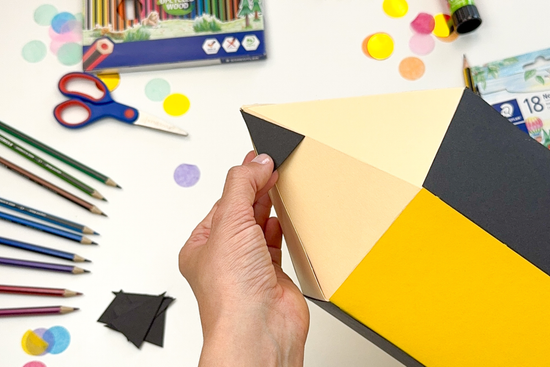
Then add the black triangles to the front of the tip.
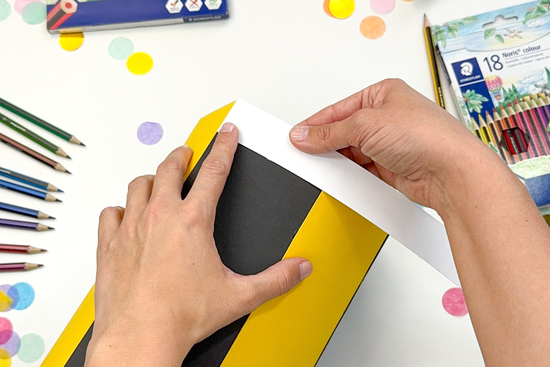
Take the white strip and stick it to the top of the pen.
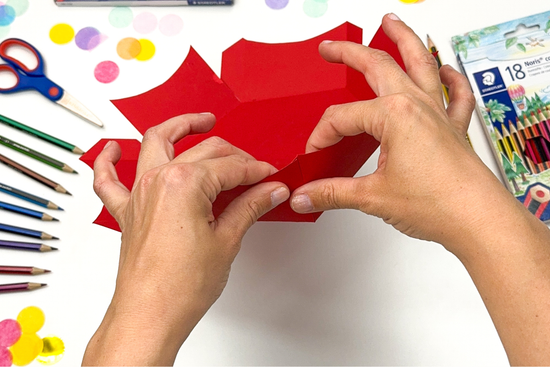
Now move on to the red lid. Gradually glue the individual sides together to form the lid of the school cone.
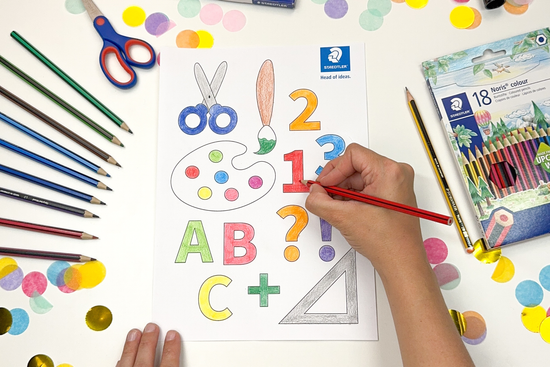
Now you can design the colourful part. Take your STAEDTLER 185 coloured pencils and start drawing. It's entirely up to you how you design your numbers and letters.
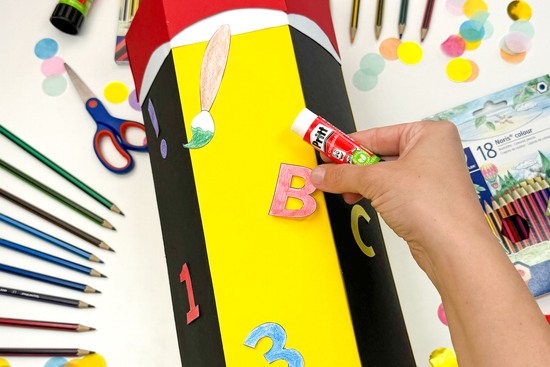
Cut everything out and attach the individual pieces to the school cone as desired.
Voilà! Your self-designed school cone is ready. You can not only design it for yourself, but also make it as a small gift for others.
No time right now?
Save this article as PDF!