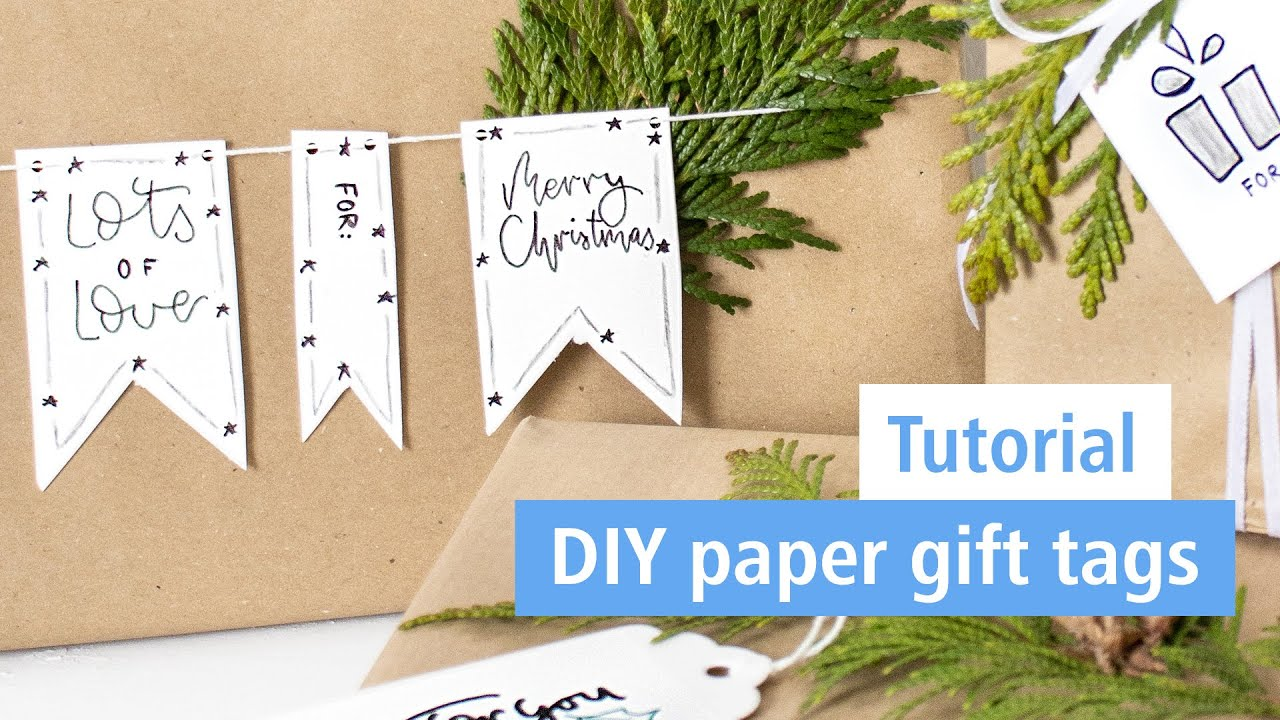
DIY paper gift tags

So that there is no mix-up of gifts, we‘ll show you how you can easily create gift tags with beautiful lettering yourself. Decorated with a small twig, they really look great on your gift.

An article by Mone
Step-by-step tutorial
Print the templates for the lettering.
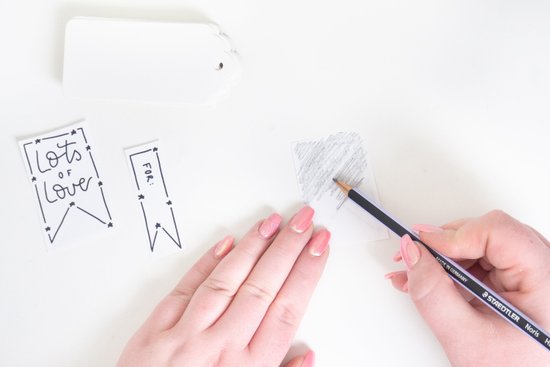
First, shade the back of the printed template with a soft pencil (2B). Draw with the pencil as flat as possible over the paper.
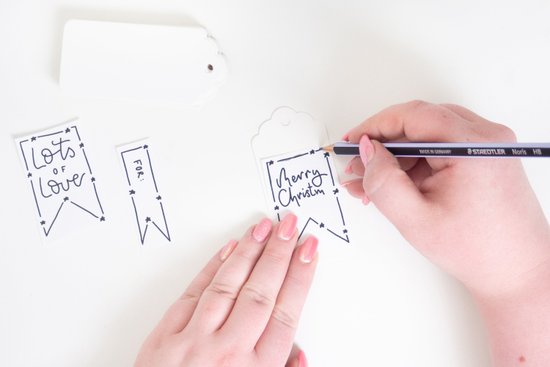
Now place the gift tag template on the tag with the shaded side facing down. Draw the motif with a sharp pencil. You can fix the template in place with paper clips.
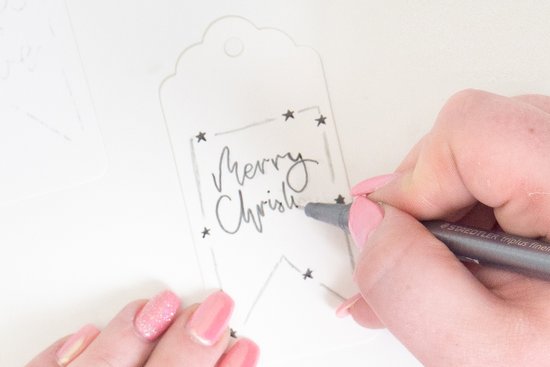
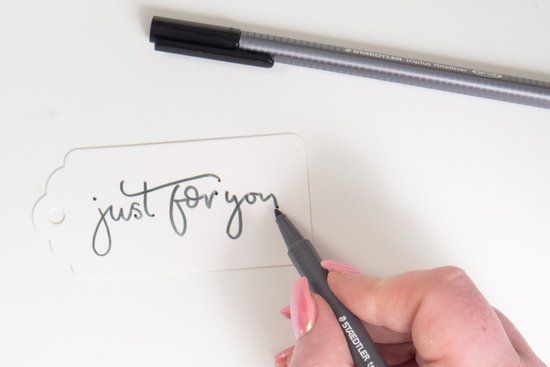
Go over the lettering all the way to the end with a triplus fineliner in grey. Small elements or a border can also be drawn with the triplus fineliner.
It also looks nice when you use different shades of grey.
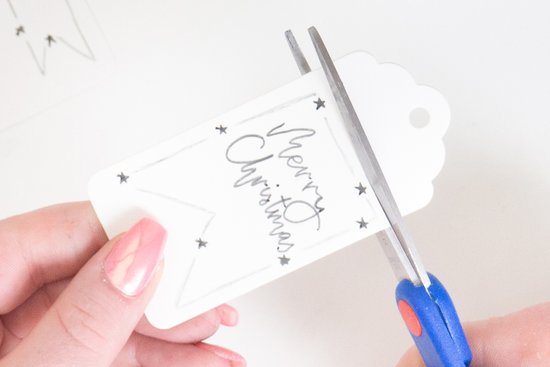
Cut the gift tag to size afterwards. Base this on the template.
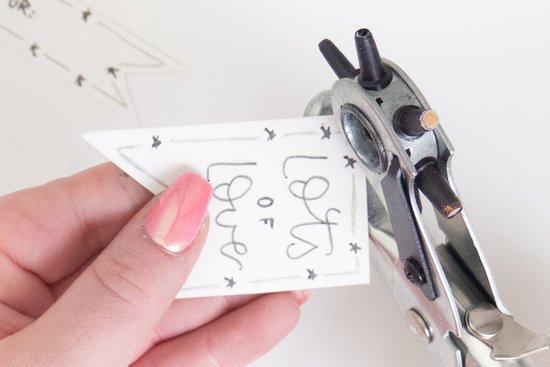
Punch a hole in the upper left and right corner.
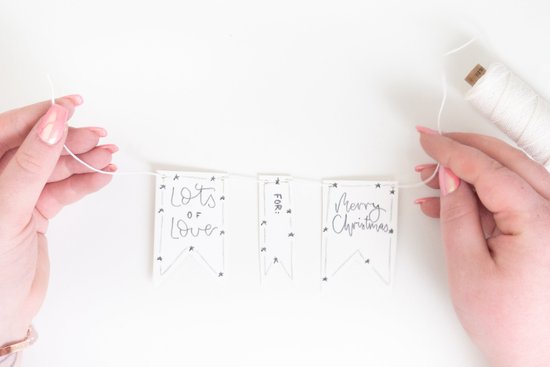
Thread the yarn through the tag. Now you can attach it to the gift as a garland.
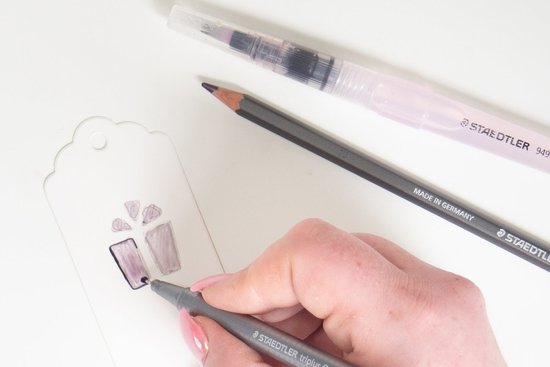
Further design possibilities „Watercolour optic“
If you want to make a tag with a beautiful watercolour effect, the Tinted watercolour pens are just the thing. Use the crayons to draw individual elements, such as for trees, stars, etc. Then paint the motif carefully with a water tank brush. Now the colours awake in a rich and living intensity.
When everything has dried well, draw a contour around the motif with the triplus fineliner.
„Bold Lettering“
Thanks to the thicker tip, the triplus color fibre-tip pen really makes your lettering stand out. It‘s great for drawing thick lines and bold letters.
Material overview
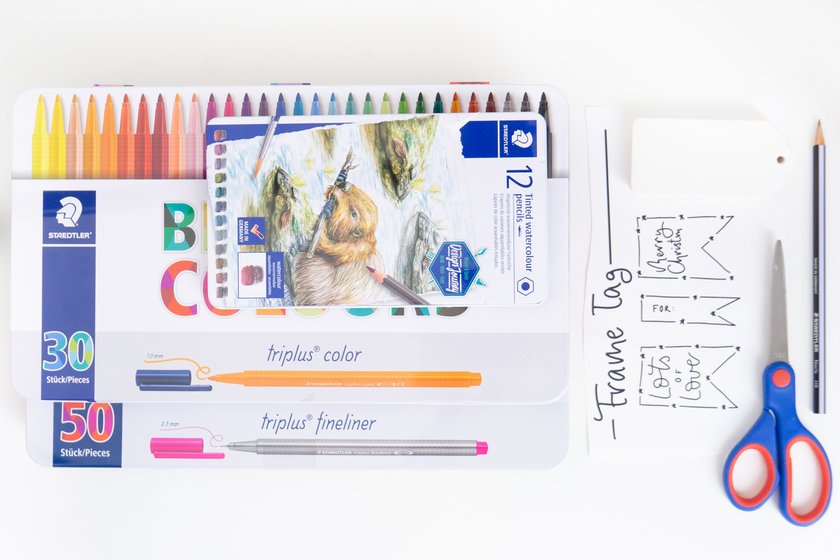
What you need
| Product | Article no. | Quantity |
|---|---|---|
| Noris® 120 Graphite pencil - Single product 2B | 120-0 | 1 |
| STAEDTLER® 949 Water brush - Blistercard containing 1 brush: round fine | 949 BK-1-C | 1 |
| Noris® 965 Hobby scissors - Blistercard containing scissors with 17 cm blade | 965 17 NBK | 1 |
Additionally required:
Gift tags or thicker paper, Template, Yarn
No time right now?
Save this article as PDF!