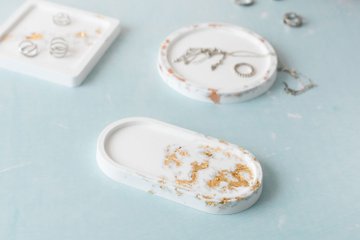
Colourful decorative tray’s made with FIMO Casting Powder
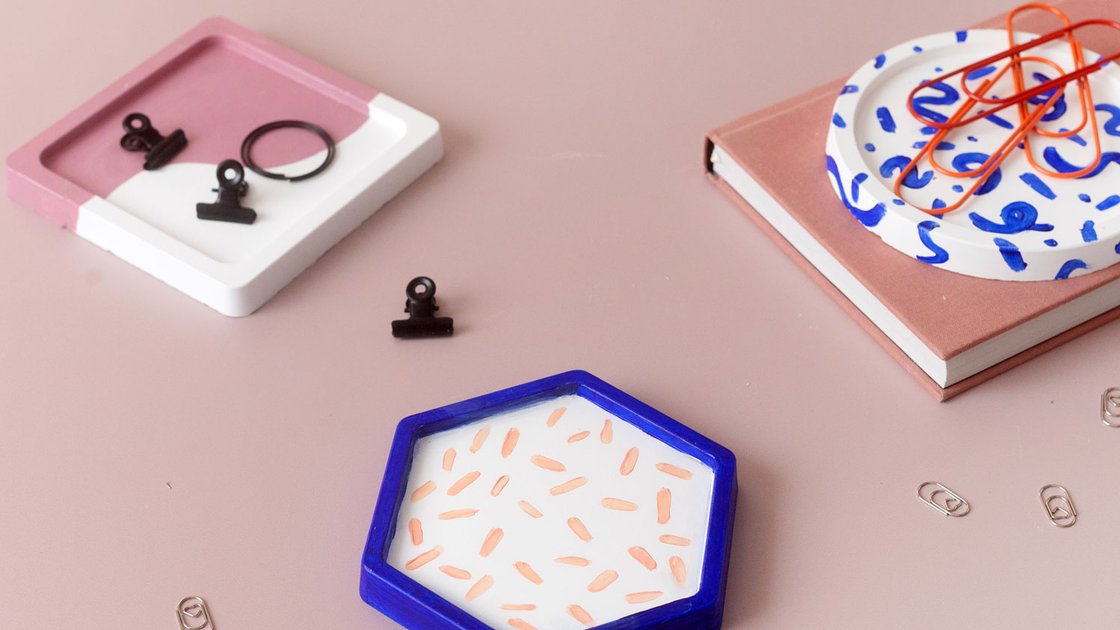
These small, colorful decorative bowls are real eye-catchers for your home. They can be quickly cast using FIMO casting powder and then transformed into unique little works of art with acrylic paint - guaranteed one of a kind!

An article by Lisa Tihanyi
- Direct to:
- Tutorial video
- Material overview
- Step-by-step tutorial
Tutorial video
Material overview
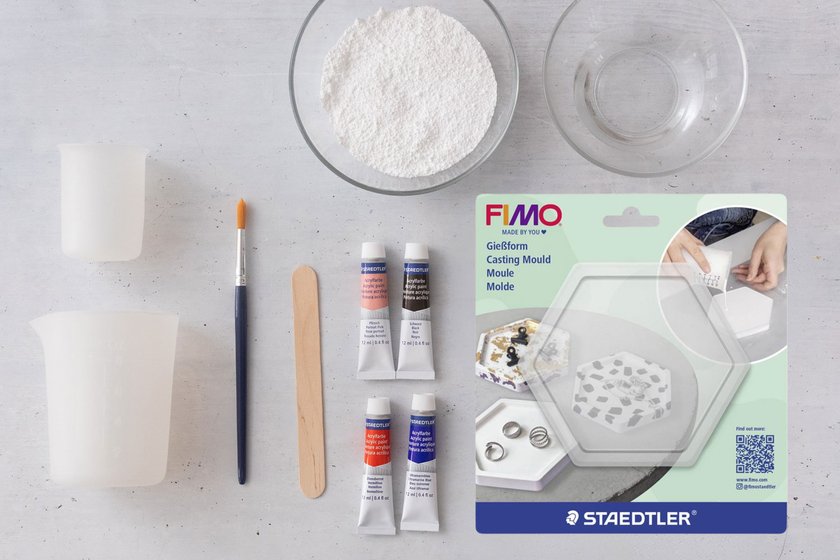
What you need
| Product | Article no. | Quantity |
|---|---|---|
| FIMO® Casting Powder Casting Powder - Single item 1 kg | 8200-0 | 1 |
| STAEDTLER® 8500 Acrylic paint - Cardboard box containing 12 acrylic paints in assorted colours | 8500 C12 | 1 |
| STAEDTLER® 989 Synthetic brush - Blistercard containing 3 brushes: #2 round, #8 round, #8 flat | 989-SBK3-3 | 1 |
Additionally required:
- Water
- Mixing cup
- Stir stick
- Kitchen scale
Step-by-step tutorial
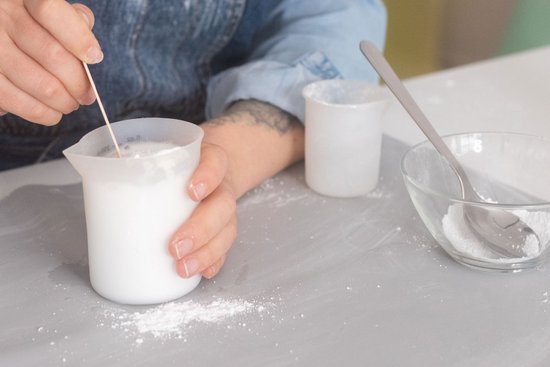
Prepare the mould and mix the casting powder
Make sure the mould is clean, dry and free from dust. Place it on a flat, level surface, as it should not be moved after pouring.
Mix the powder according to the instructions on the packaging, using a ratio of 3:1 (FIMO Casting Powder to water). Stir slowly and evenly for about 1 minute until you achieve a smooth, thick consistency.
Quickly and easily calculate the right amount of FIMO Casting Powder and Water for your casting mould:
- Place your empty casting mould on a kitchen scale and tare the scale, including the mould, to 0 grams or milliliters.
- Then fill the mould with water up to the desired level.
- Enter this value below in the calculator - whether in grams or milliliters - and it will instantly show you how much FIMO Casting Powder and Water you need to mix for your individual mould.
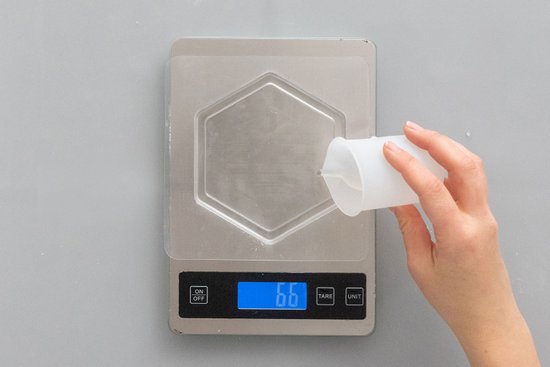
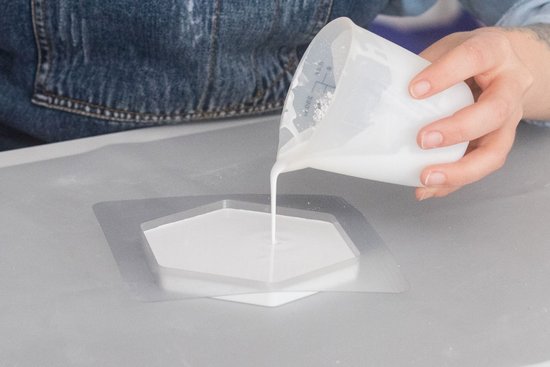
Pouring
Slowly pour the mixture into the mould until it is completely filled. Gently tap the mould with your fingers to release any air bubbles from the mixture.
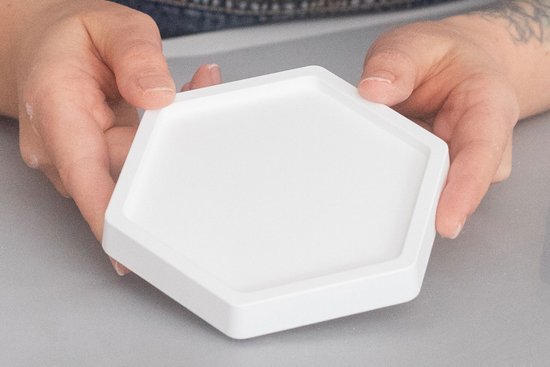
Drying
After around 30 minutes, you can remove the bowl from the mould.
Place it on a wire rack to dry completely, allowing air to circulate evenly.
It will be fully cured after 24 hours - after that, you can continue decorating.
Painting with acrylic paint
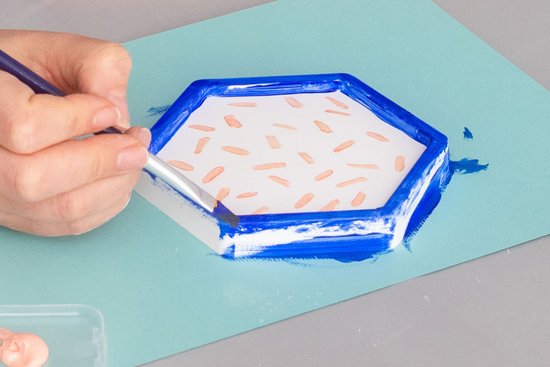
Now for the creative part: paint your bowl however you like using acrylic paints.
Patterns such as stripes, dots, flowing lines, colour blocks or graphic designs work particularly well.
Apply thin layers to keep the surface smooth and even. If using multiple colours, allow each layer to dry slightly before applying the next to avoid smudging.
Your very own mini bowl is ready - simple, playful or bold, exactly as you imagine it.
With a bit of colour and creative patterns, each piece becomes a unique item that brightens your everyday life and also makes a lovely gift.