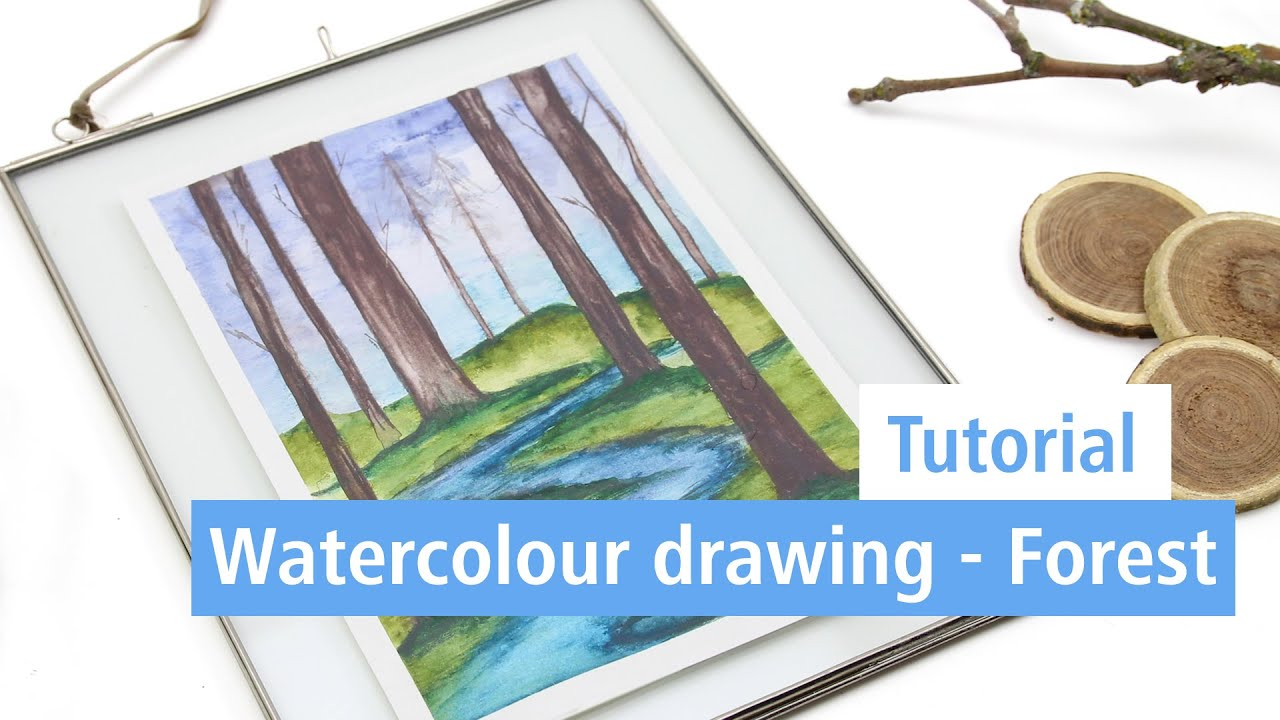
Watercolour Drawing - A View into the Forest

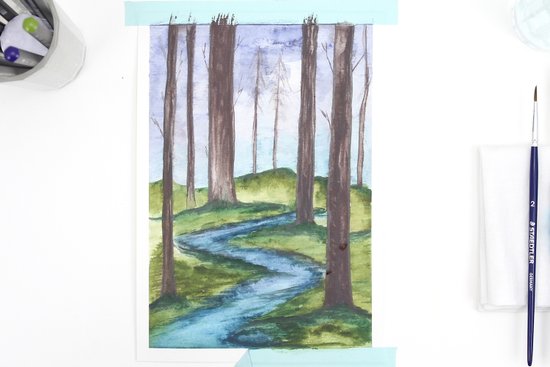
A small stream meanders between the trees, you can hear birds chirping in the distance and smell the wonderful fresh forest scent. Our "view into the forest" will remind you of those blissful moments of peace even when you're in your own home.
The sparkle you can create with the wet brush is just as fascinating as nature. Matt dark tones turn into radiant colours!

An article by Theresa
Step-by-step guide
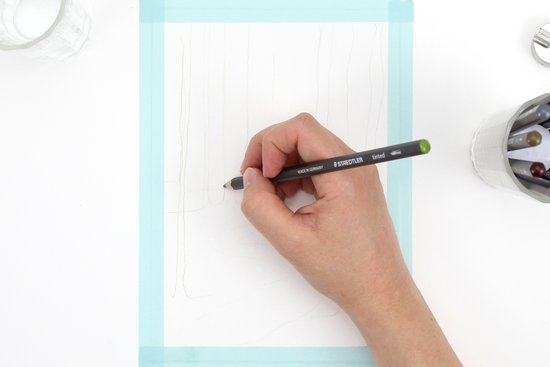
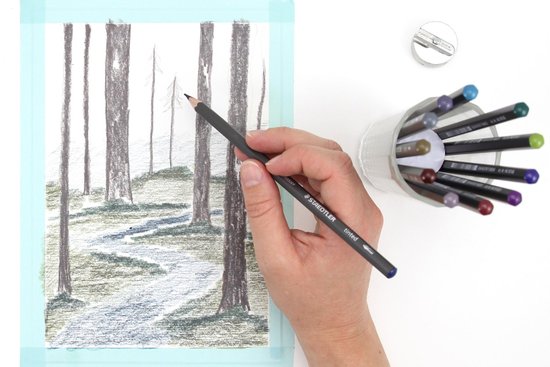
Sketch
First tape the paper onto a firm base using adhesive tape so that it does not curl up too much later when painting with the watercolours. Use the light green pencil to lightly sketch how you want your forest to look. Start with the horizon and small stream, then decide where the trees and moss carpets should go.
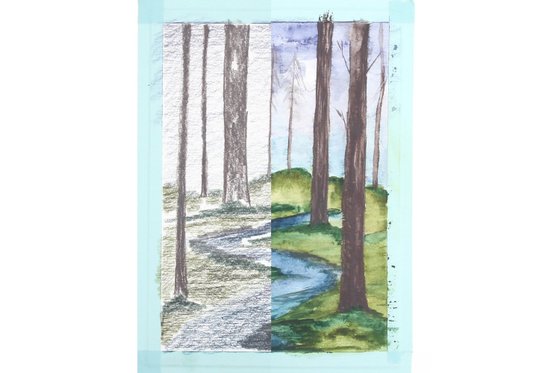
Colouring
Next, colour the whole sheet with the different coloured pencils. Colour the sky very gently in blue, the stream slightly harder and almost cover the forest floor. Give the trees a lush contour and fill the trunks completely with colour.
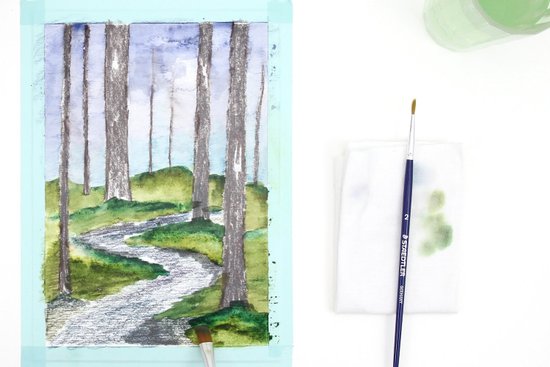
Painting with watercolours
Now it gets colourful! Pick up the brush and bring the colours to life. You can paint areas like the sky really well with the flat brush. The round brush is ideal for the soft shapes like the forest floor or the meanders of the stream. The less water you use, the stronger the colours. Always let the colours dry so that the colours do not run unintentionally. It will also give you sharp borders.
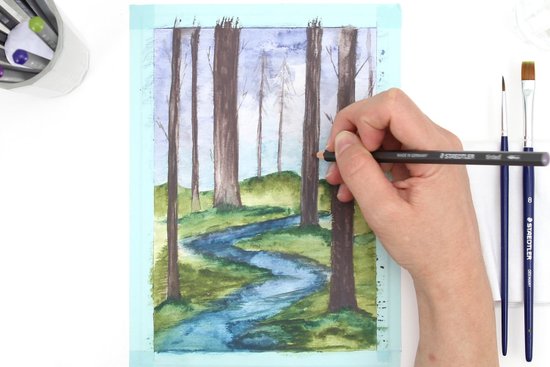
Highlights
Once the picture has dried completely, you can add some details. You can redraw sharp borders and darker areas with the pencil. If you want to create some brighter points of light, simply remove some of the pigment with a damp brush.
Drying
Let the picture dry completely and then carefully remove the adhesive tape. Your very own view into the forest is ready and perfect for daydreaming!
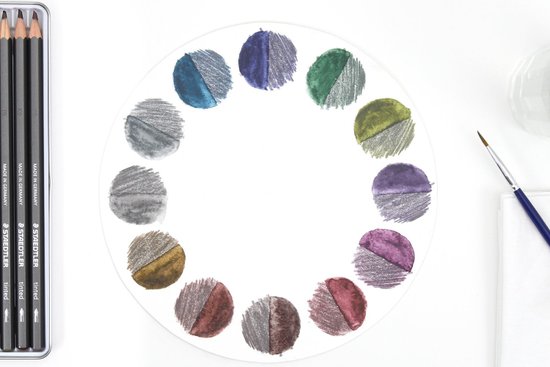
Our Tinted Watercolour Pencil is very special. The graphite-tinted watercolour pencil allows you to achieve two very different effects with the same pencil: When used dry, the 14610 T creates subtle natural colours with a dark graphite character. Mixed with water, the colours come to life while retaining their muted character and, in this way, create atmospheric natural colours.
Material overview
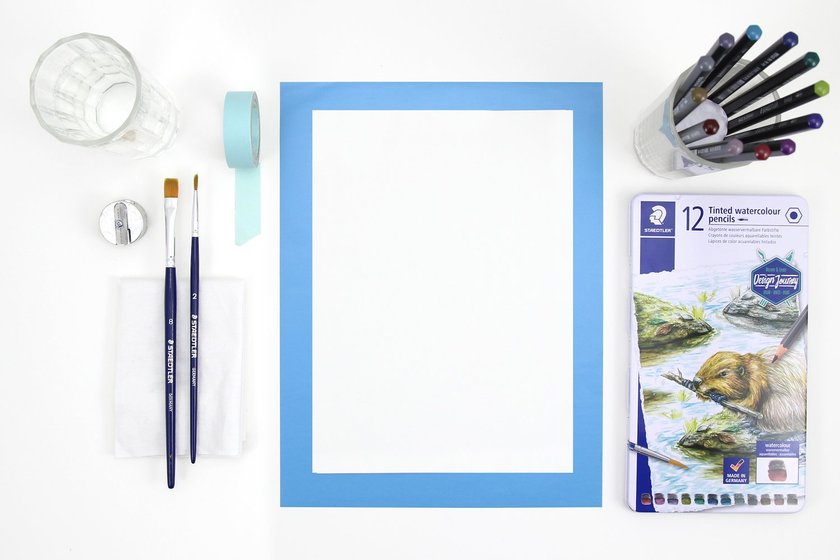
What you need
| Product | Article no. | Quantity |
|---|---|---|
| STAEDTLER® 989 Synthetic brush - Blistercard containing 3 brushes: #2 round, #8 round, #8 flat | 989-SBK3-3 | 1 |
Additionally required:
Watercolour paper (e.g. DIN A5), removable adhesive tape, glass of water, cloth
No time right now?
Save this article as PDF!