Handicraft tutorial for kids - Reindeer ornaments
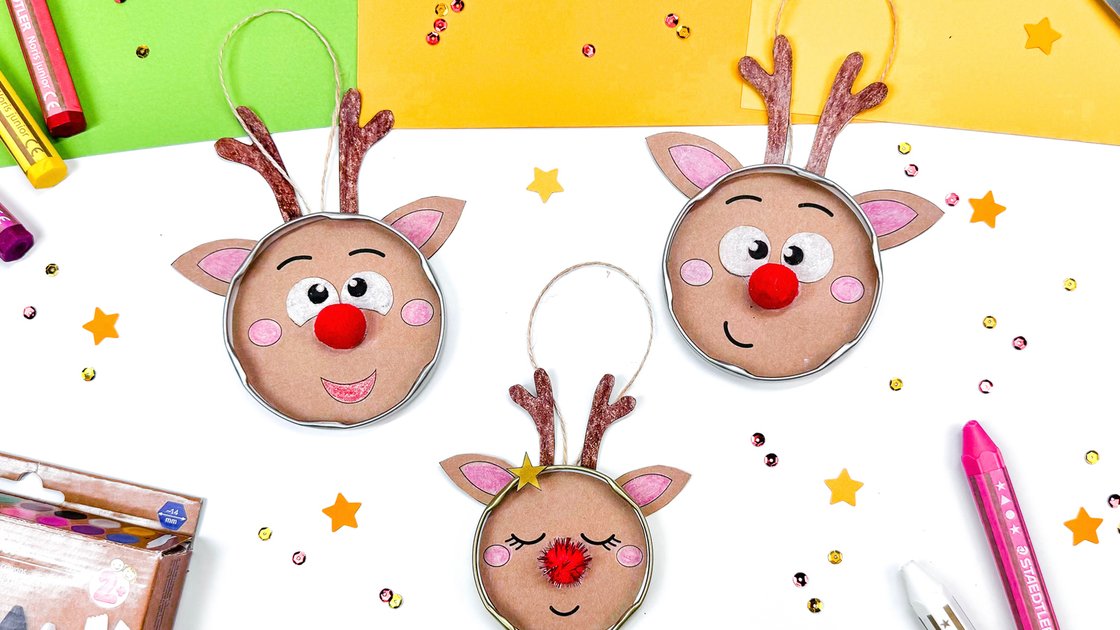
Christmas is just around the corner, making it the perfect time to get creative! With our simple upcycling idea, you can quickly craft charming tree ornaments. Using just a few materials, you’ll create adorable reindeer that will add a special touch to your Christmas tree. Thanks to the template and the brilliant Noris wax crayons, crafting is easy and fun for the whole family. Immerse yourself in the festive crafting spirit and transform jar lids into festive decorations – sustainable, quick to make, and beautiful to look at!
- Direct to:
- Tutorial video
- Material overview
- Step-by-step tutorial
Tutorial video
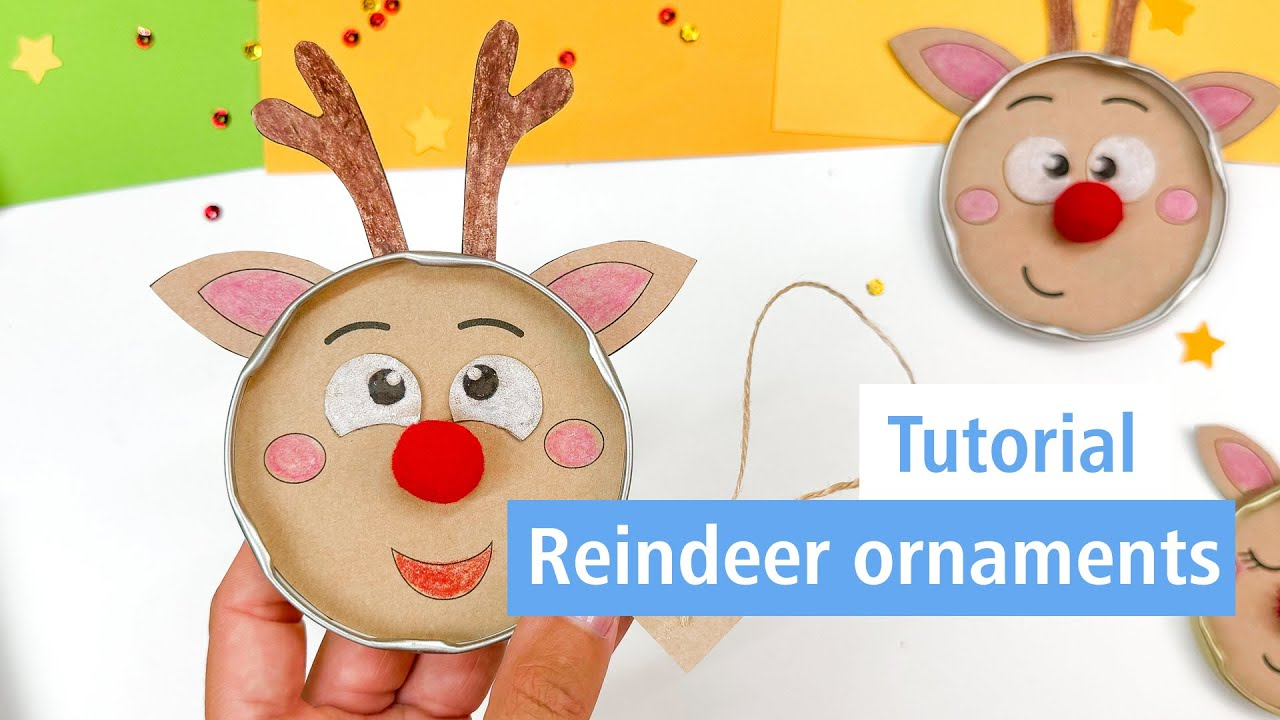
Material overview
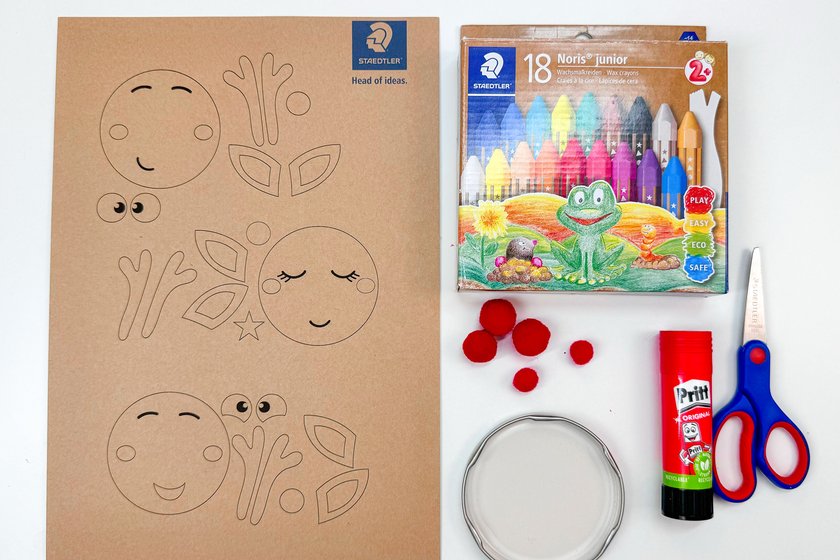
What you need
| Product | Article no. | Quantity |
|---|---|---|
| Noris® junior 224 Wax crayon - Wallet containing 18 wax crayons in assorted colours | 224 C18 | 1 |
| Noris® 965 Hobby scissors - Blistercard containing scissors with 17 cm blade | 965 17 NBK | 1 |
Additionally required:
- 160g Kraft Cardstock
- Glue
- Cord
- Red Pom-Poms
- Jar lids
Step-by-step tutorial
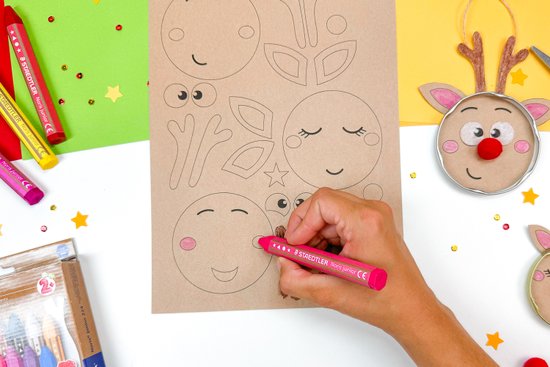
Print the template on 160g kraft paper and color the antlers, cheeks, eyes, and ears.
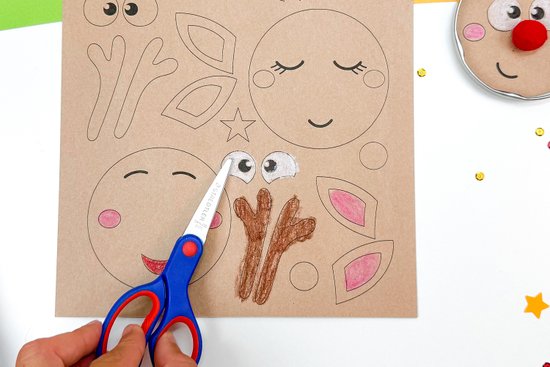
Cut out the pieces.
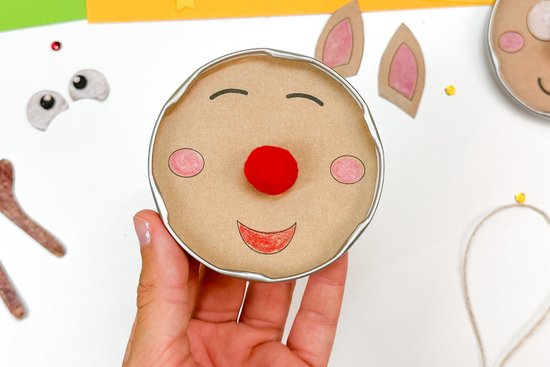
Place the reindeer’s face in the jar lid and add a red nose.
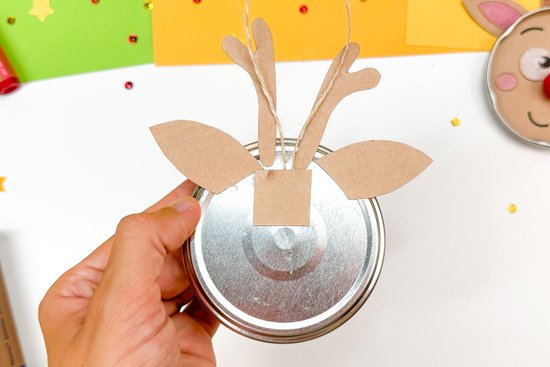
Attach the individual parts and glue a small piece of string to the back so that the ornaments can be hung on the Christmas tree.
No time right now?
Save this article as PDF!