Handicraft tutorial for kids - Santa Clause tealight craft
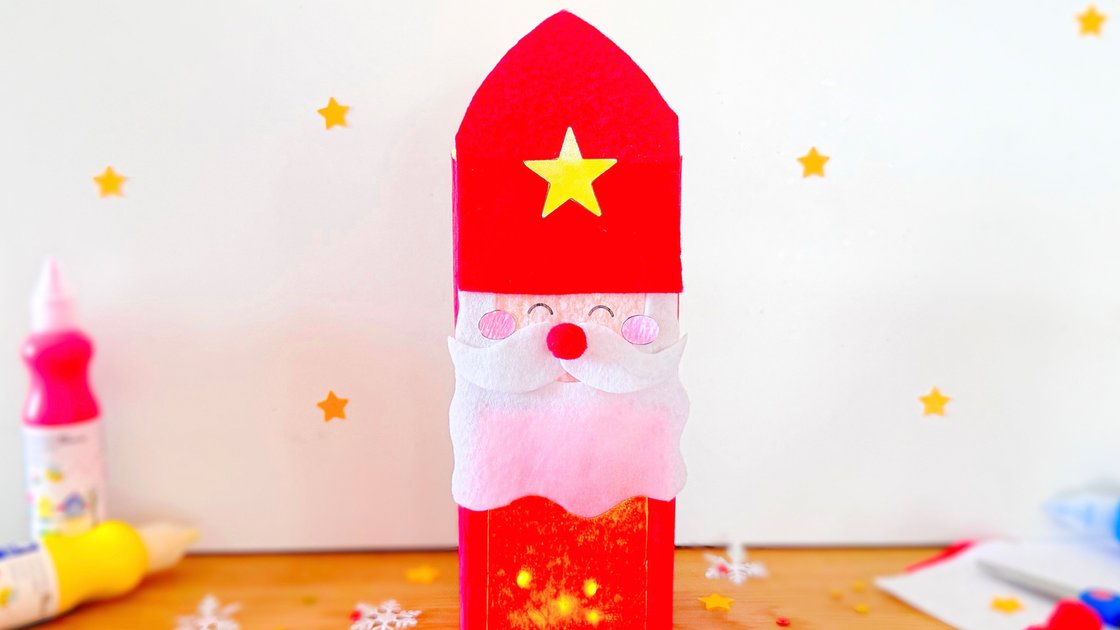
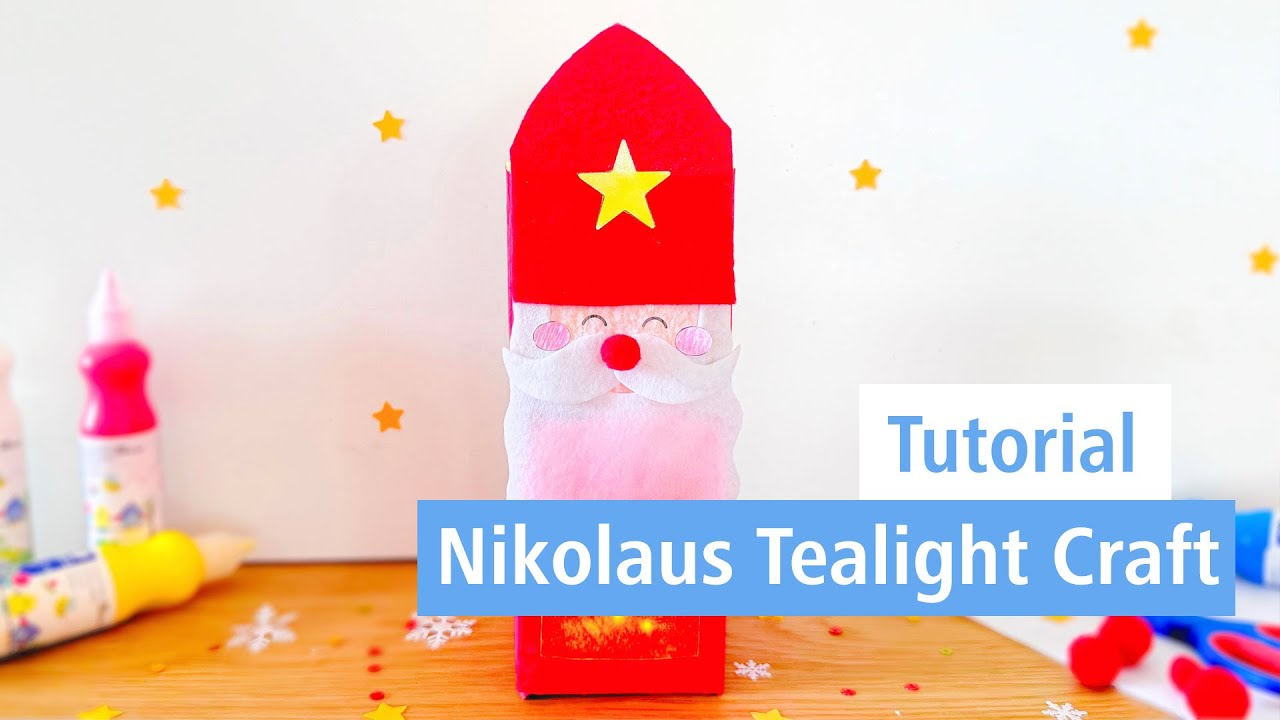
Transform an empty milk carton into a festive Santa Clause – a simple upcycling idea for the Christmas season! With the vibrant STAEDTLER Tempera paints, your Santa Clause will be colourful and unique. Thanks to our crafting template, the project is easy and lots of fun. This creative DIY idea is perfect for giving new life to old materials and is sure to bring Christmas cheer! Enjoy crafting!
- Direct to:
- Tutorial video
- Material overview
- Step-by-step tutorial
Tutorial video
Material overview
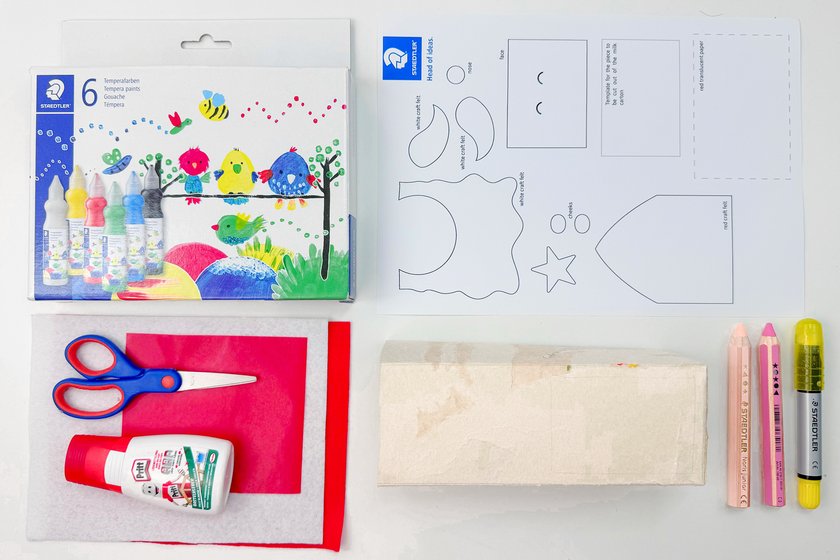
What you need
| Product | Article no. | Quantity |
|---|---|---|
| Noris® 965 Hobby scissors - Blistercard containing scissors with 17 cm blade | 965 17 NBK | 1 |
Additionally required:
- Cleaned milk carton
- Glue
- Red and white craft felt
- Red pom-poms
- LED lights
- Red transparent paper
Step-by-step tutorial
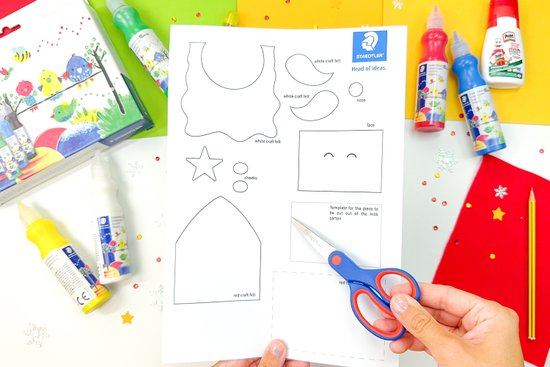
Print out the template, transfer the beard and hat onto the red and white craft felt, and carefully cut out the pieces.
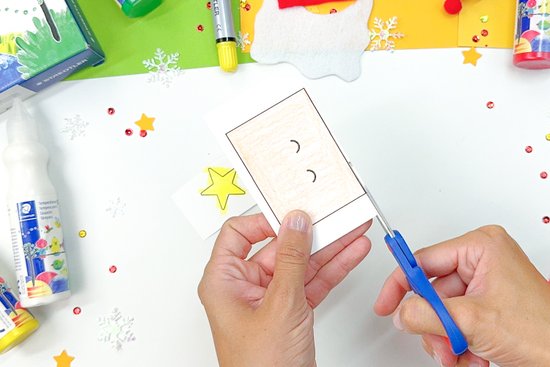
Colour the face, cheeks, and star for the hat, then cut out these elements.
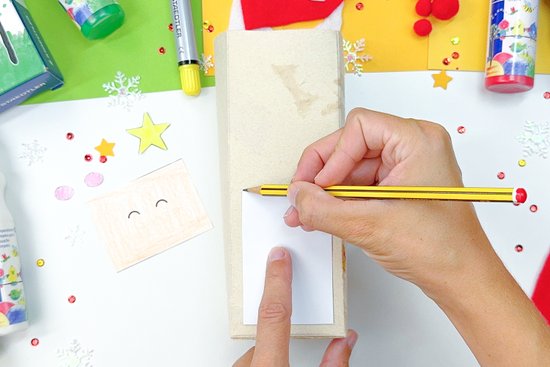
Take the cleaned milk carton and cut out a window.
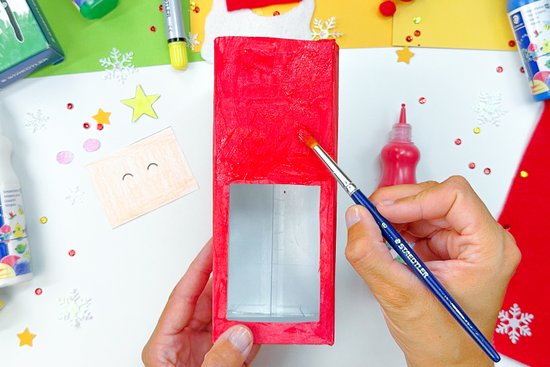
Paint the entire milk carton with red Tempera paint and allow it to dry completely.
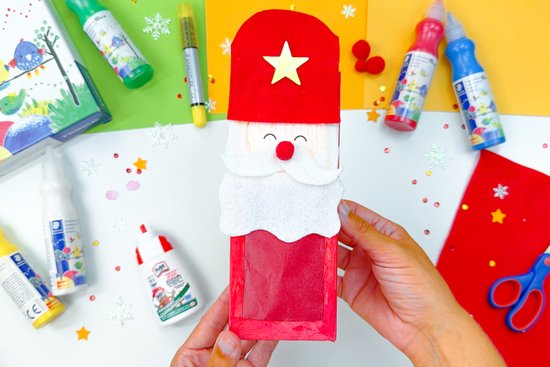
Once the paint is dry, first glue the face onto the carton, then add the beard, nose, and hat. Don’t forget to attach the pink cheeks and the red transparent paper inside the window.
Your handmade Santa Clause tealight is now complete. Enjoy it!
No time right now?
Save this article as PDF!