Picture frames made of FIMO
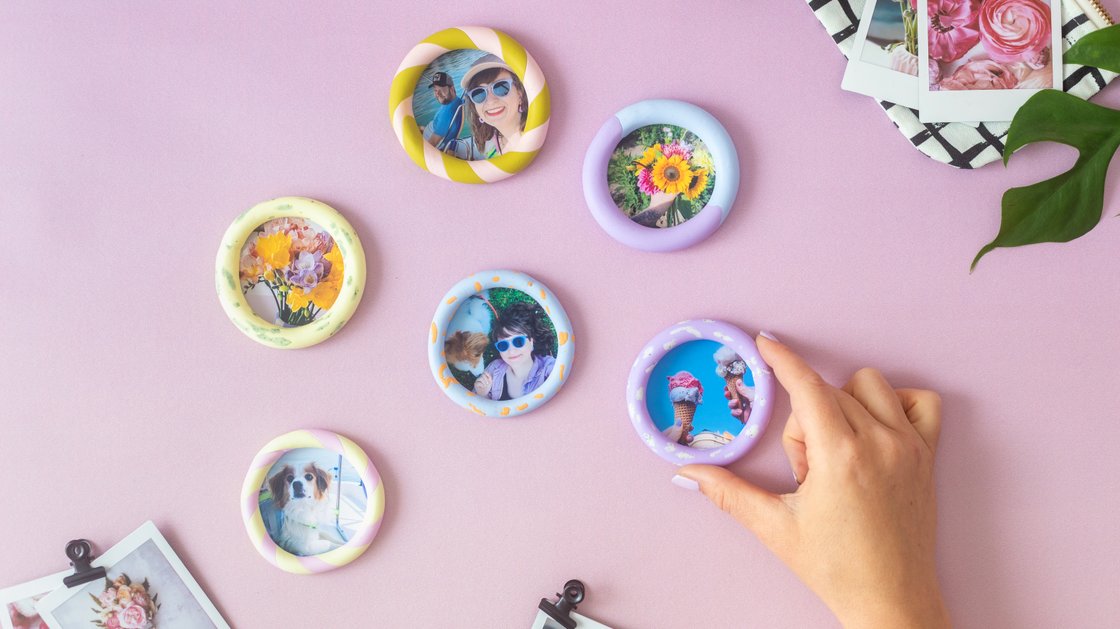
These small, colorful FIMO picture frames instantly add a cheerful touch to your fridge or magnetic board!
They’re perfect for showcasing your favorite snapshots, Polaroids, or mini prints—and they make wonderful, personal gifts for friends or family.
With the FIMO Spring Set, you can create happy pastel colors and a variety of patterns. Whether you go for a twisted candy look, sweet speckles, or a modern color-blocking style, you can customize the frames entirely to your taste.

An article by Lisa Tihanyi
- Direct to:
- Tutorial video
- Material overview
- Step-by-step tutorial
Tutorial video
Material overview
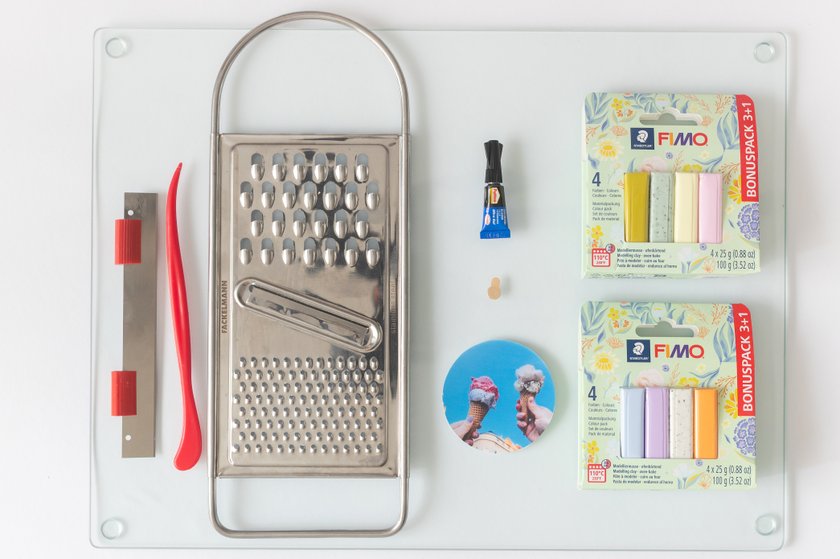
What you need
| Product | Article no. | Quantity |
|---|---|---|
| FIMO® soft 8020 Oven-bake modelling clay - | M8020 | 1 |
| FIMO® 8711 Modelling tools - Wallet containing 4 different modelling tools | 8711 | 1 |
Additionally required:
- Kitchen grater
- Superglue
- Magnets (0,5 cm diameter)
- Pictures
- Oven thermomether
Step-by-step tutorial
1. Create different pattern
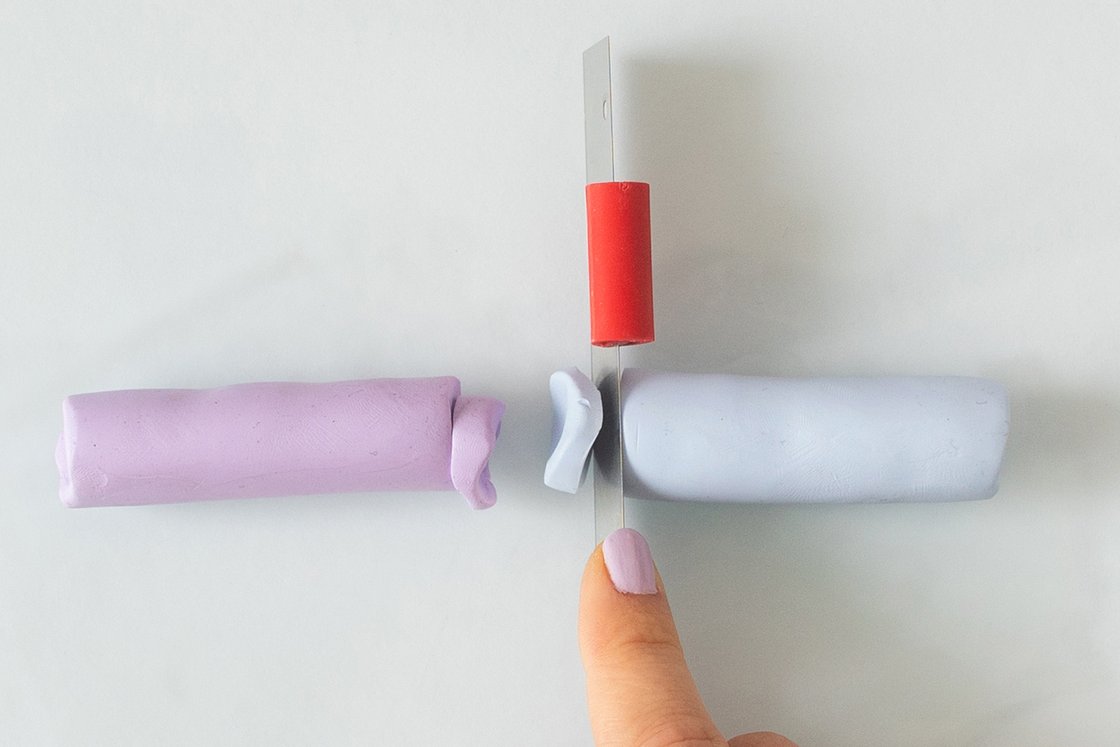
Pattern: Colour Blocking
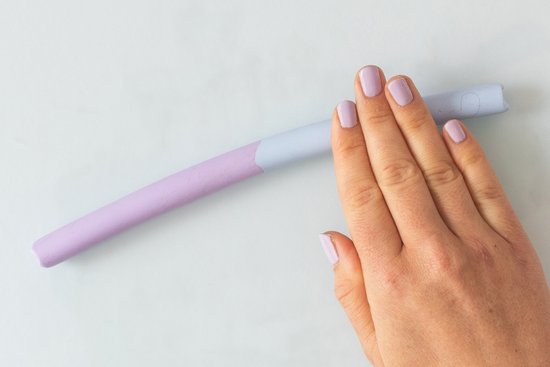
Roll two different FIMO colors each into a strand. Trim the ends neatly and press them together. Gently roll with your hands until the transition is smooth and even.
Pattern: Twisted
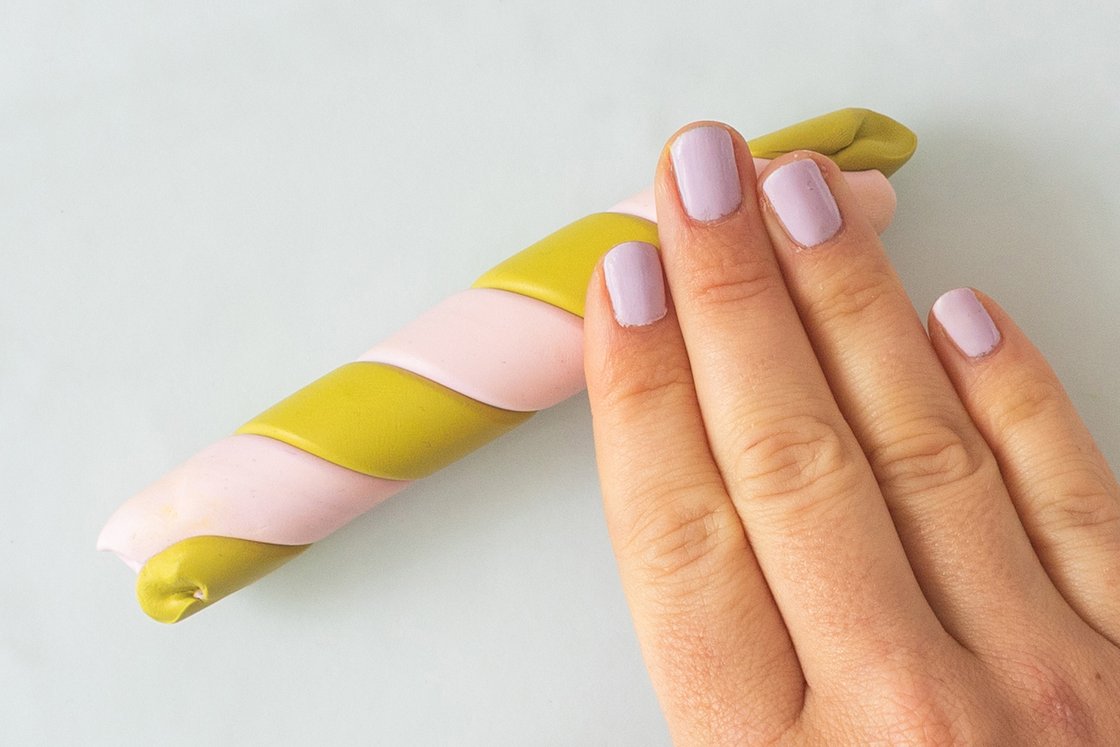
Roll out two strands, place them side by side, and twist them together. This creates a cool, diagonal stripe pattern. Roll over the twisted strand with your hands until the pattern is nice and smooth.
Pattern: Speckled
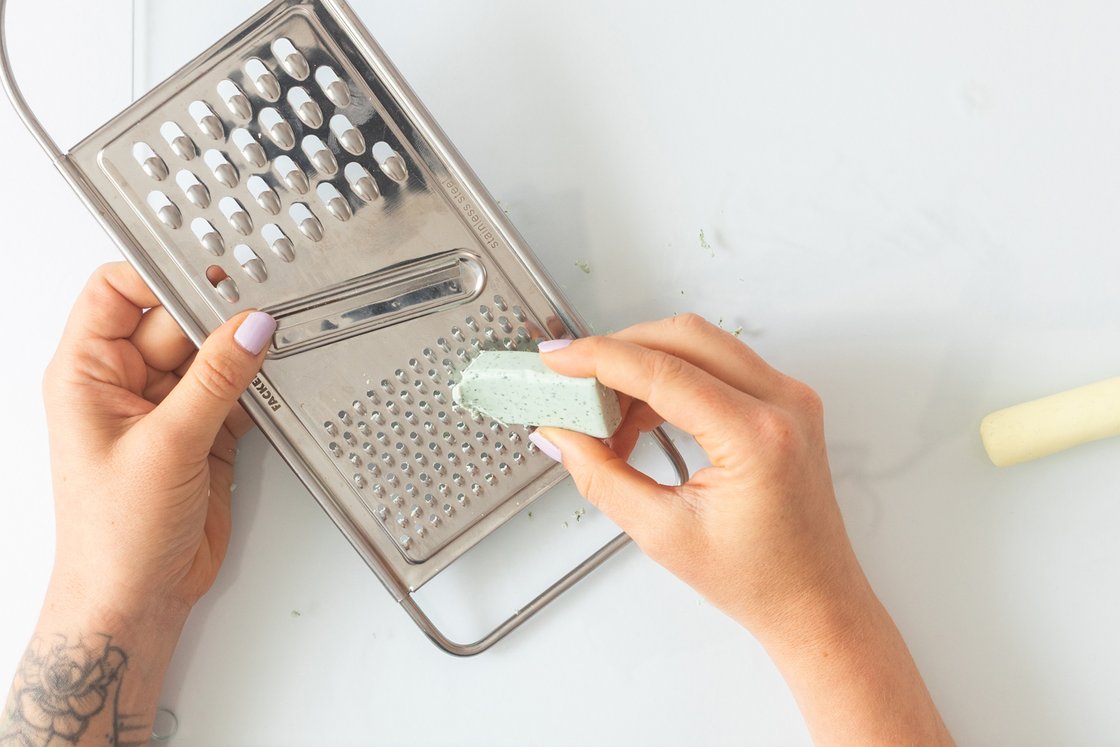
Grate small bits of FIMO using the kitchen grater and spread them on your work surface. Roll out a strand in a second color and gently roll it over the speckles—this creates a beautiful sprinkled effect.
Roll FIMO into a Strand
No matter which pattern you choose, roll the FIMO into a strand about 1 cm thick. For a frame that fits a photo with a 7 cm diameter, your FIMO strand should be about 21 cm long.
💡Tip: For an even result, you can use a glass plate to roll over the FIMO.
Shape, join and harden the FIMO
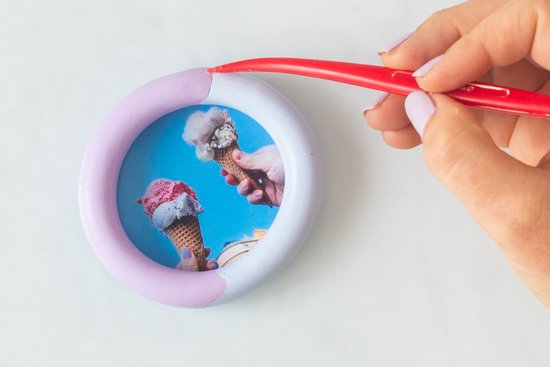
Form the strand into a circle around your photo to check the size. Trim the ends cleanly and press them together. Smooth the seam with the modeling tool until it disappears. Bake the FIMO frame in the oven at 110 °C (230 °F) for 30 minutes to harden.
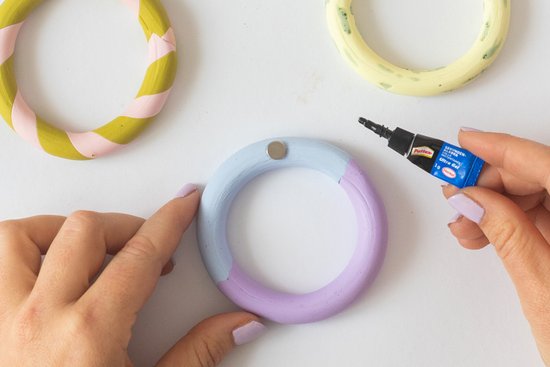
Attach the magnet
Glue a small magnet to the back of your frame. Now you can simply slide in your photo - the frame will hold it securely in place.
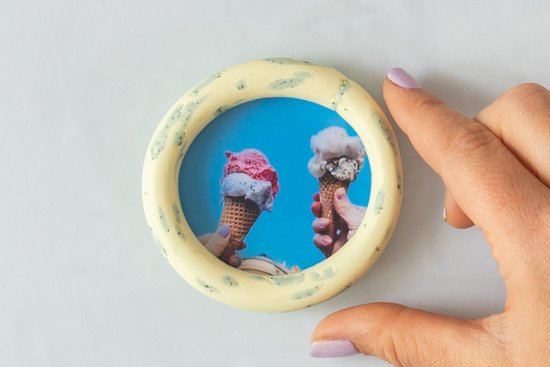
Your personalized magnetic FIMO picture frame is ready!
Whether on the fridge, on a magnetic wall, or as a little gift—these colorful eye-catchers bring joy and keep beautiful memories on display.
No time right now?
Save this article as PDF!