Handicraft tutorial for kids - Rainbow Ladybird
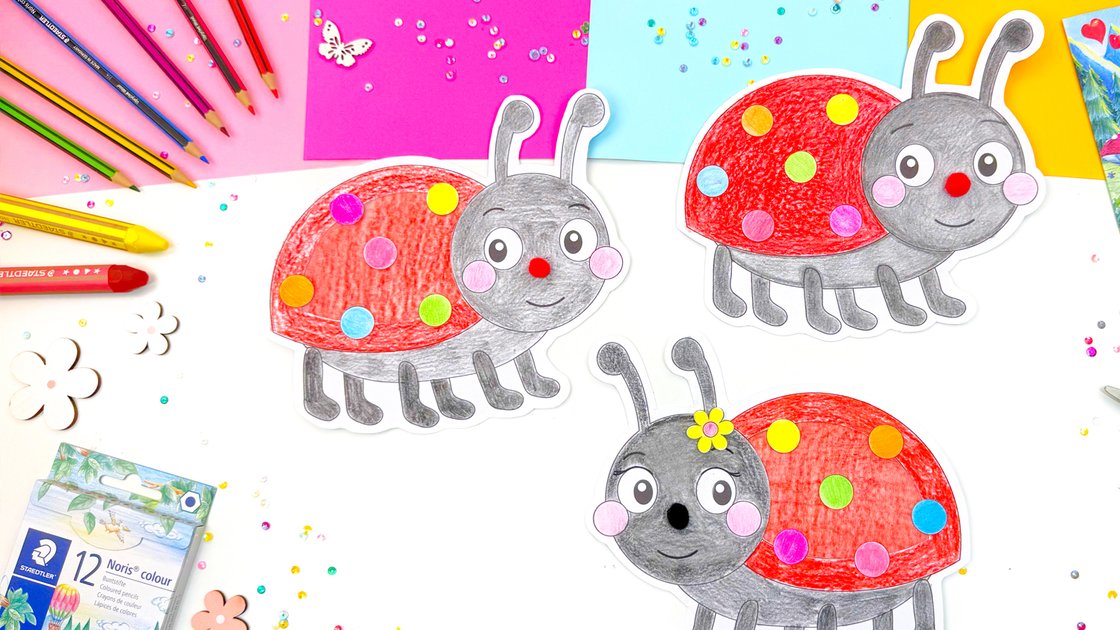
On 6 May, we celebrate World Kids Colouring Day – a day when children around the globe are encouraged to express their creativity and do something good at the same time.
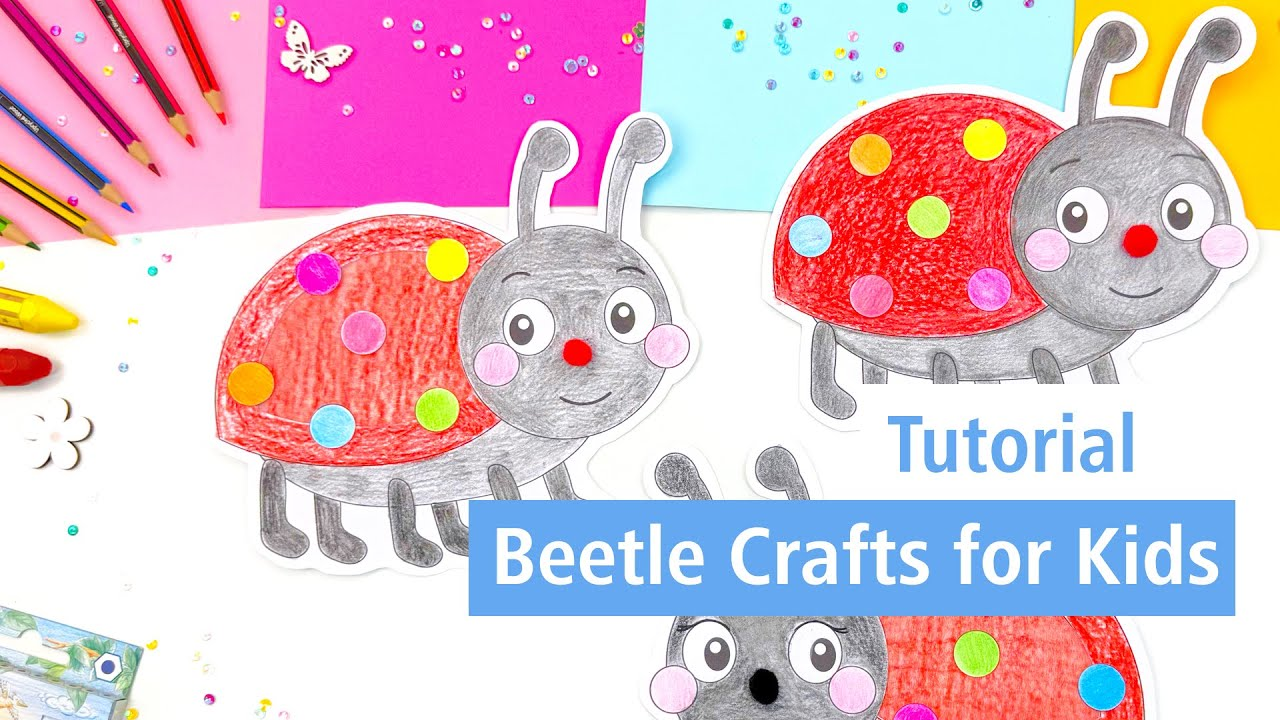
Our colourful Rainbow Ladybird is a joyful craft idea that brings fun, inspires children, and spreads a little bit of luck into the world. Whether at home, in nursery, or at school – let’s draw, craft and create something meaningful together: full of creativity, happiness, and community spirit.

An article by Maiken
- Direct to:
- Tutorial video
- Material overview
- Step-by-step tutorial
Tutorial video
Material overview
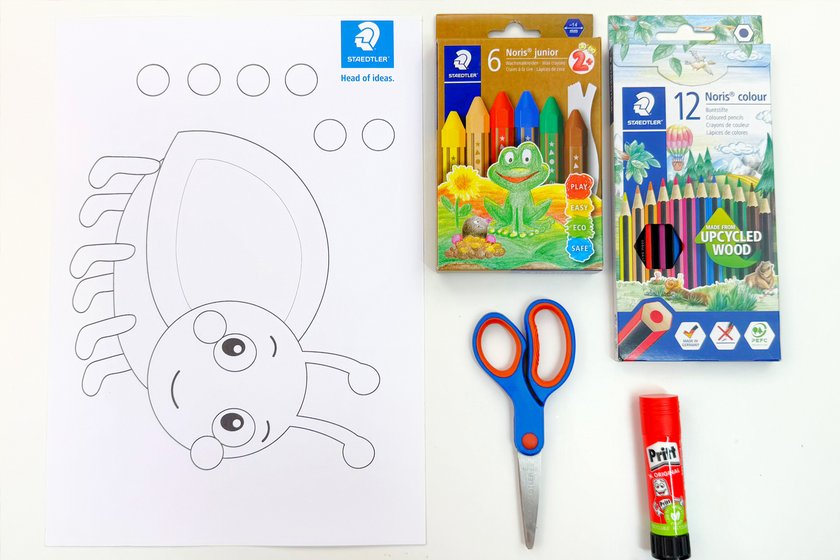
What you need
| Product | Article no. | Quantity |
|---|---|---|
| Noris® 965 Hobby scissors - Blistercard containing scissors with 14 cm blade | 965 14 NBK | 1 |
Step-by-step tutorial
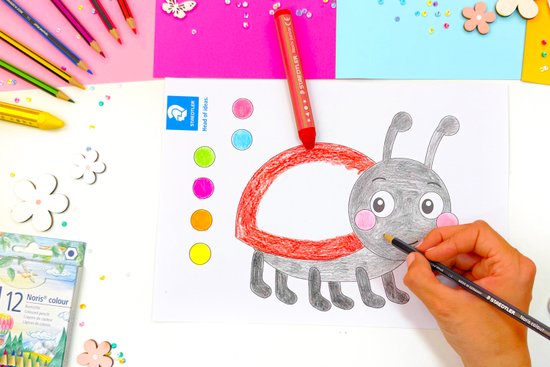
Print out the Rainbow Ladybird template:
Use wax crayons to colour in the wings.
Colour in the body, head and spots using colour pencils.
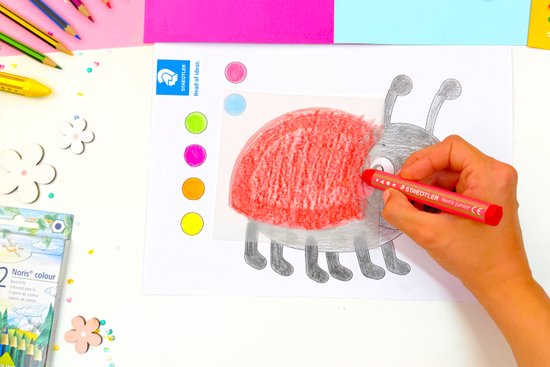
Place a sheet of tracing paper over the ladybird’s wings and trace their outline. Then colour in the traced wings using wax crayons.
Tip: If you prefer not to use transparent wings, simply colour the entire wings directly on the card – no cutting needed.
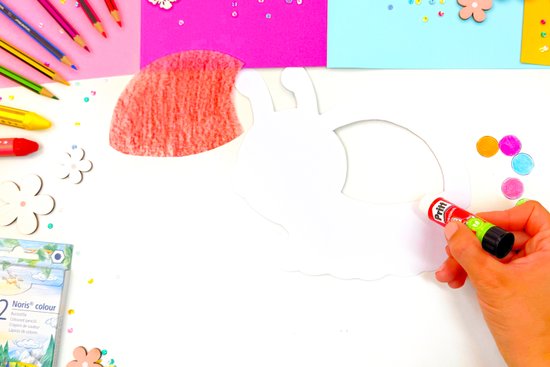
Now cut out all the parts and glue your colourful Rainbow Ladybird together.
No time right now?
Save this article as PDF!