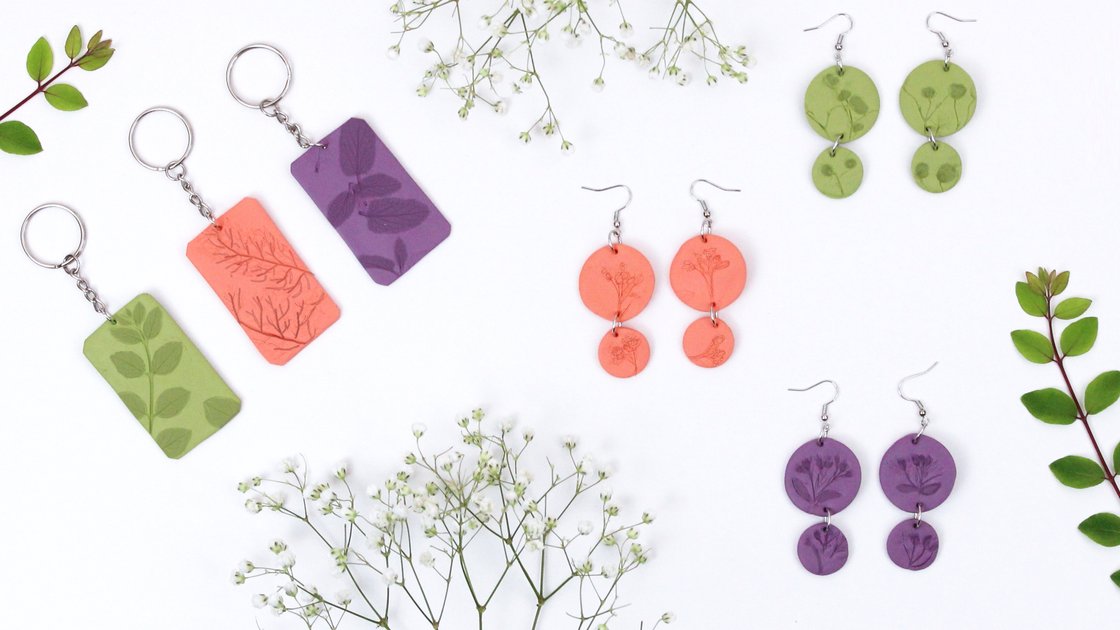
Floral prints on keyrings and earrings
It’s a shame that beautiful flowers are so short lived...
But we’ll show you a great way to preserve delicate flowers forever! This way, you can always wear a petal from your bridal bouquet, a leaf from your favorite plant or a reminder of your perfect holiday. We use the new trend colours pure, so you can combine them perfectly and the delicate impressions are really good.
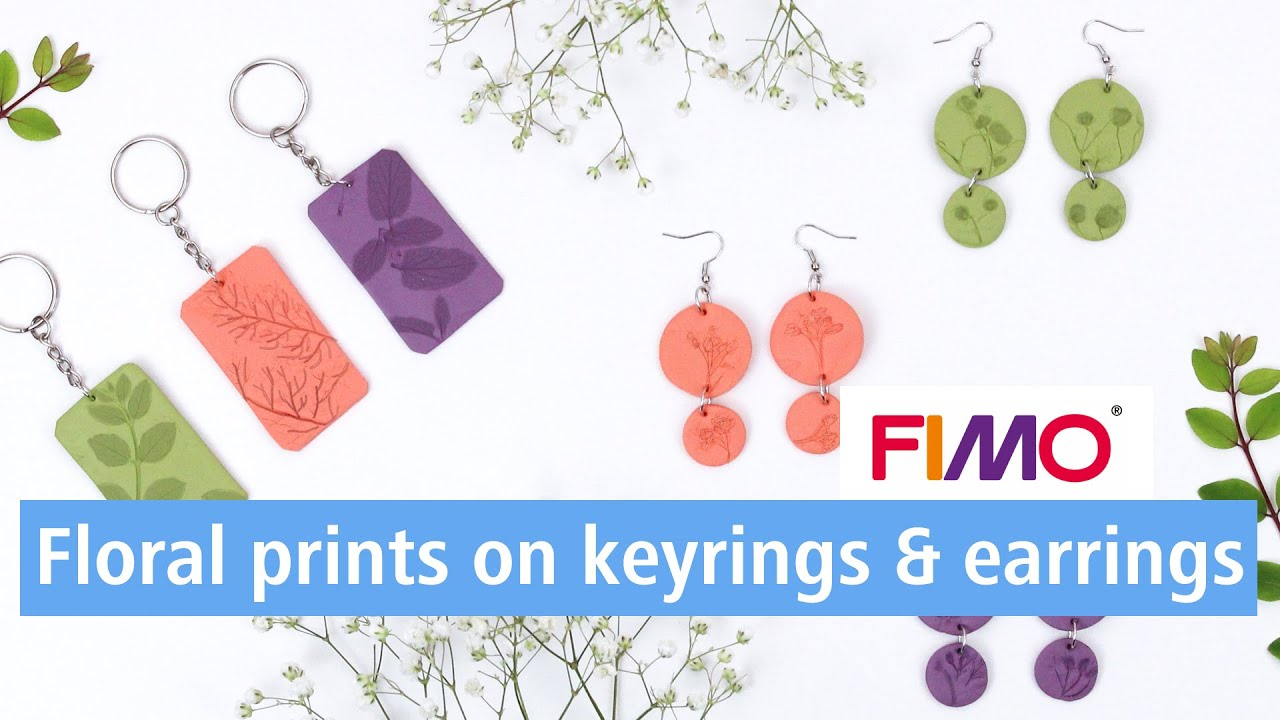
Step-by-step tutorial
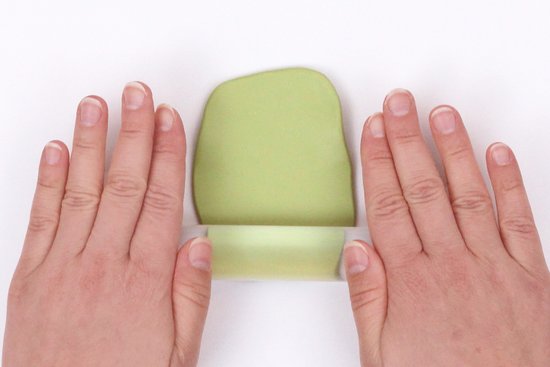
Roll out: Select one of the trend colours and roll out the FIMO evenly with the acrylic roller approx. 3 mm thick. Then place it on a piece of baking paper.
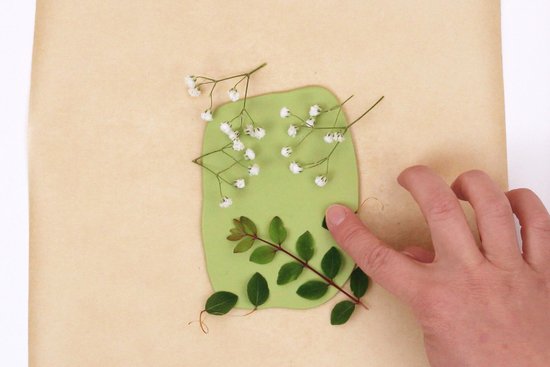
Arrange the flowers: Lay out the small leaves and fine petals flat and press them down a little. Leaves with a strong grain and small flowers with fixed heads are particularly well suited.
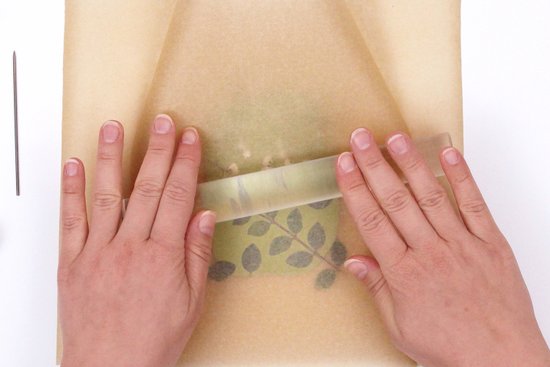
Press the flowers: Cover the plants with another sheet of baking paper and roll them over several times with the acrylic roller. Remove the baking paper again.
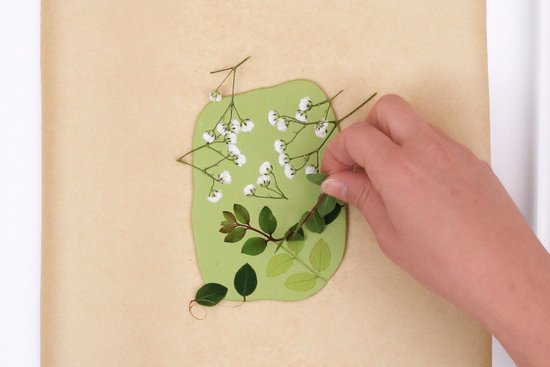
Remove flowers: Now you can remove the flowers and leaves. Carefully pull off the parts by hand or with the help of tweezers.
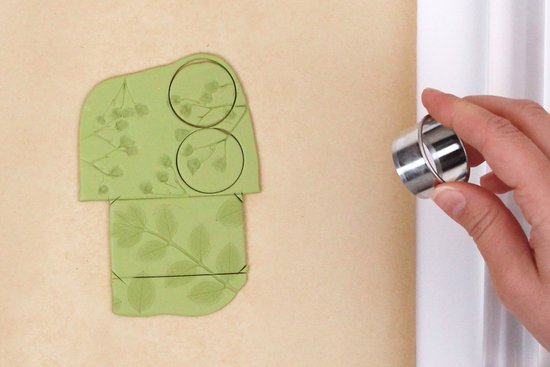
Cut out shapes: Now all you have to do is shape your floral relief. For the keyring, you can use the blade to create a rectangle (approx. 3.5 x 6 cm). The earrings each consist of a large (3 cm) and a small (2 cm) circle, it is best to use a round cutter.
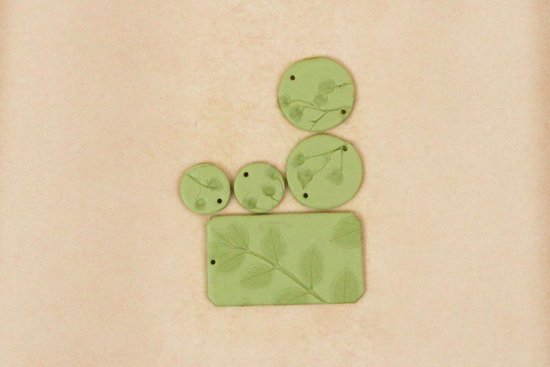
Punch holes: In order to be able to attach the connection rings later, you still have to make small holes with the needle. Then place all the elements in the oven on baking paper for 30 minutes at 110°C.
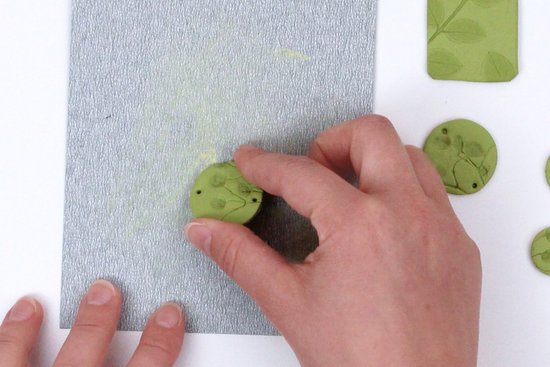
Sanding: Sand the edges of your small jewellery pieces with fine sandpaper after cooling.
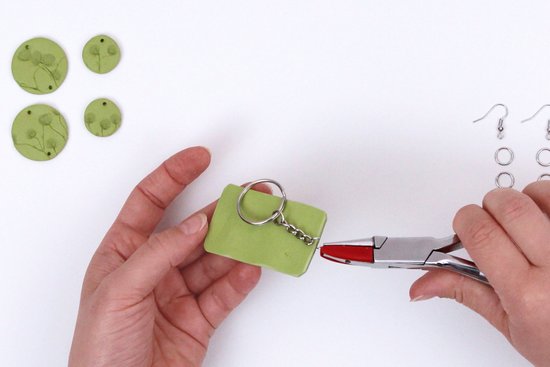
Assembly: Open a split ring with pliers, thread the rectangle and key ring on and then close it again. For the earrings, open the eyelet on the ear hanger and attach the large circle. Use another split ring to join small and large circles.
And now your floral prints are ready, and you can always carry the little mementos with you!
Material overview
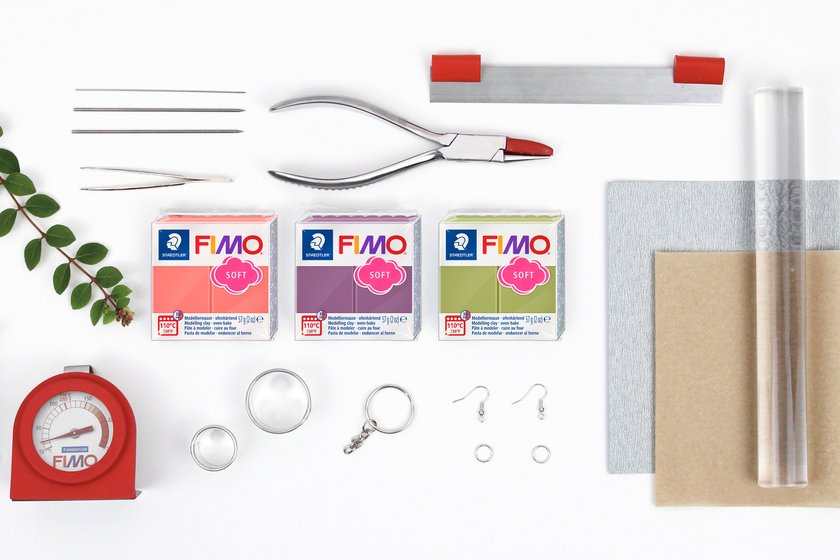
What you need
Additionally required:
Smooth working surface (glass or ceramic), Hanging earrings, Split rings, Keyrings, 2 round cutters (3 and 2 cm), Sandpaper, Small flowers and leaves, Pliers, Tweezers, Baking paper
No time right now?
Save this article as PDF!