FIMO Rainbows
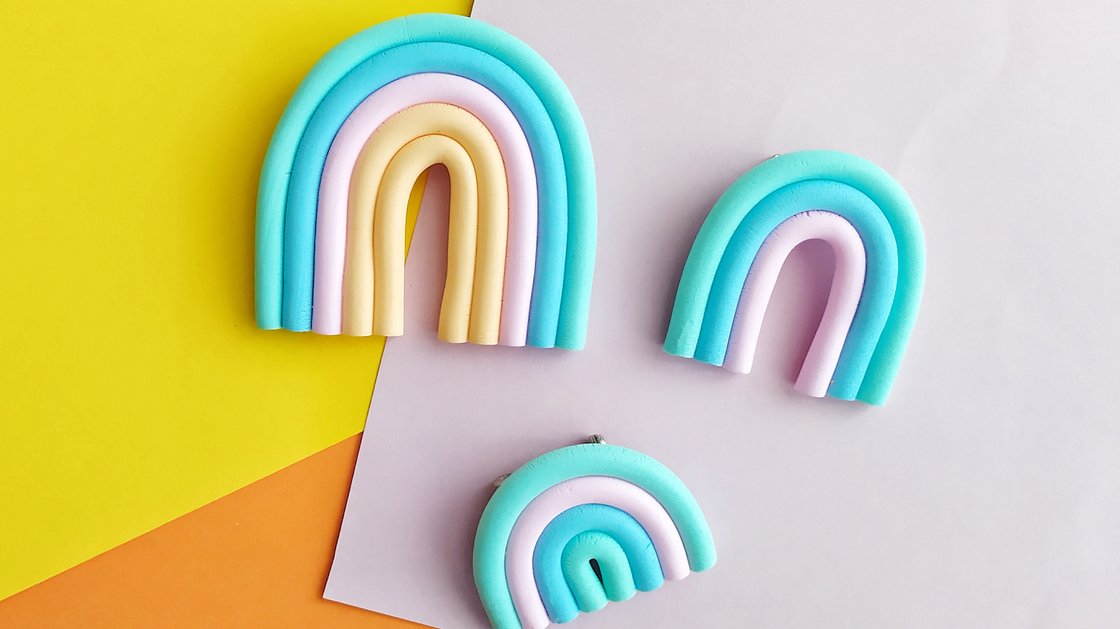
The rainbow has always been a magical symbol. In recent months in particular, it has become a positive sign of hope. Because every rain is followed by sunshine. The rainbow therefore captivates us with its luminosity and immediately puts us in high spirits with its colourful display.
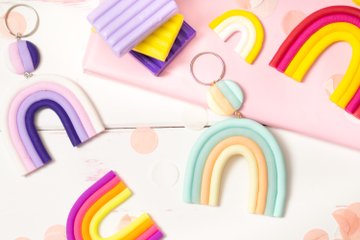
Home-made in the classic colour arrangement or in your very own favourite colours – whether neon, pastel or vibrant colours, the rainbow is always a beautiful eye-catcher.
Let‘s get started! Make your own FIMO rainbow „to go“ for your backpack and t-shirt or as a key ring that you can always keep with you. Or simply give it to a loved one – as a token to show that you‘re thinking about them.

An article by Karina
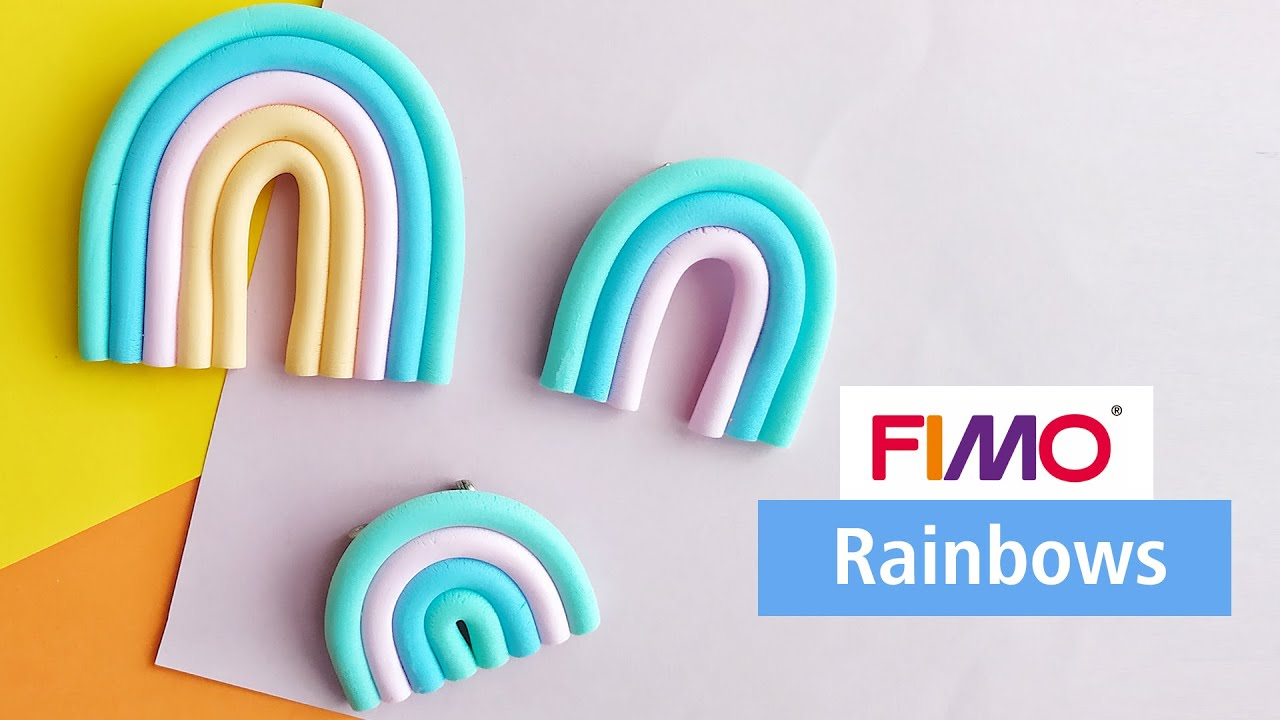
Step-by-step tutorial
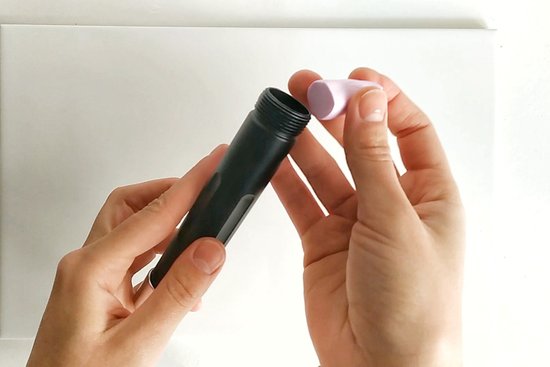
Pick the FIMO rainbow colours of your choice. You can use whatever you like: whether FIMO soft, FIMO effect or FIMO kids.
Form a sausage shape for each FIMO colour (3 portions per colour) and then a slightly thinner strand. Try to roll the strands as evenly as possible. This is especially easy with the FIMO professional clay extruder.
Use a motif disc with a large diameter. Turn each colour individually through the clay extruder. If you don‘t have one, of course you can also roll the strands by hand.
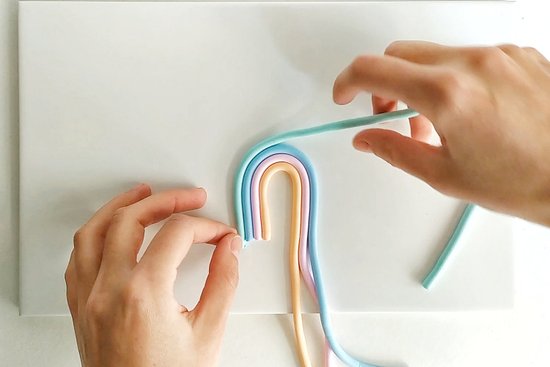
Now place your different coloured FIMO strands directly on baking paper and form a U shape. The first U should be more compact, and the other colours should always be placed on top of the one before.
Carefully press the FIMO strands together so that they stick well together.
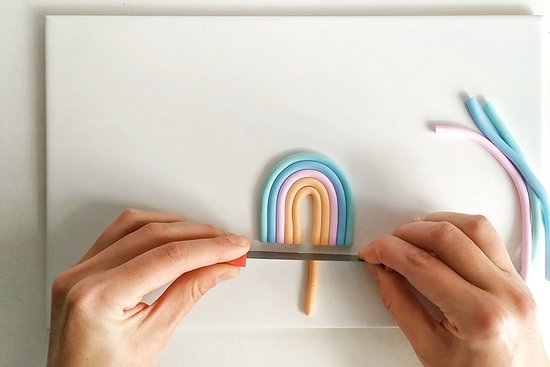
When you are satisfied with your rainbow, cut the ends evenly.
Now place the baking paper with your rainbow in the oven and let it harden at 110° C / 230° F for 30 minutes.
Tip: Work in progress and left-over material should be protected against sun and heat and can be stored in a screw-top jar or in cling film to protect it from dust and dirt.
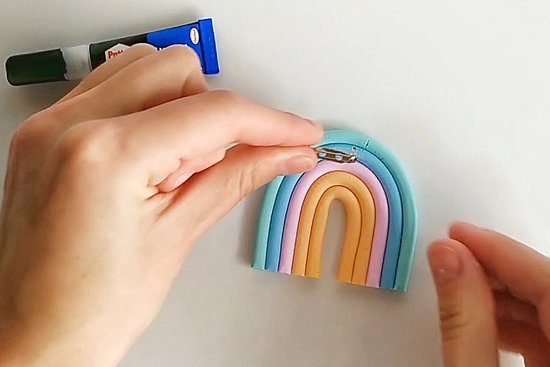
After you have let your rainbow cool down, glue your pin on the back using superglue.
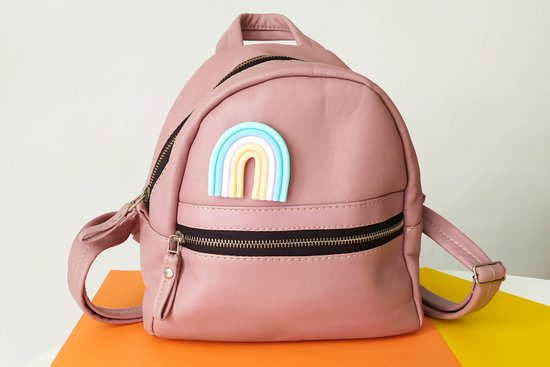
Now your rainbow brooch is finished, and you can wear it on your jacket, on your t-shirt or pin it on your backpack.
Alternative: If you want to make a magnet, just glue a crafting magnet on the back.
Material overview
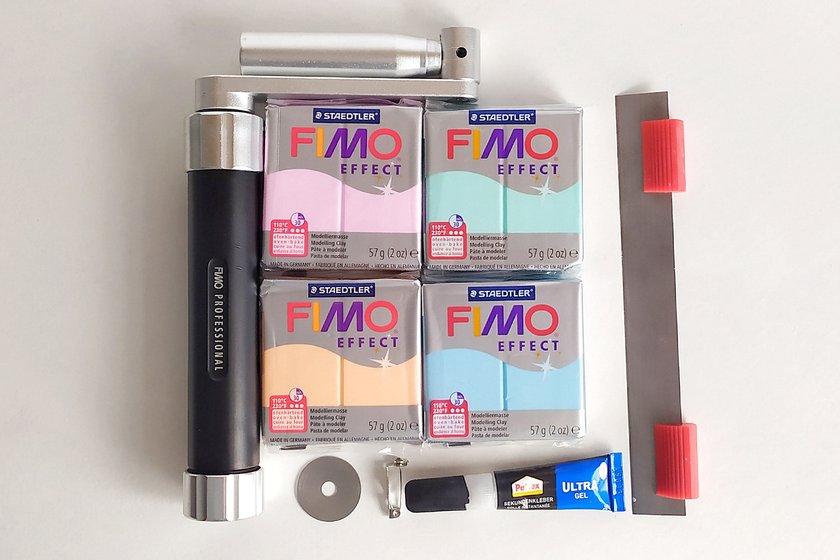
What you need
| Product | Article no. | Quantity |
|---|---|---|
| FIMO® soft 8020 Oven-bake modelling clay - Single product light pink | 8020-205 | 1 |
| FIMO® soft 8020 Oven-bake modelling clay - Single product mint | 8020-505 | 1 |
| FIMO® soft 8020 Oven-bake modelling clay - Single product aqua | 8020-305 | 1 |
| FIMO® soft 8020 Oven-bake modelling clay - Single product peach | 8020-405 | 1 |
Additionally required:
smooth working surface (glass or ceramic), baking paper, superglue, brooch clip or magnet
No time right now?
Save this article as PDF!