DIY loop earrings from FIMO effect botanical colours
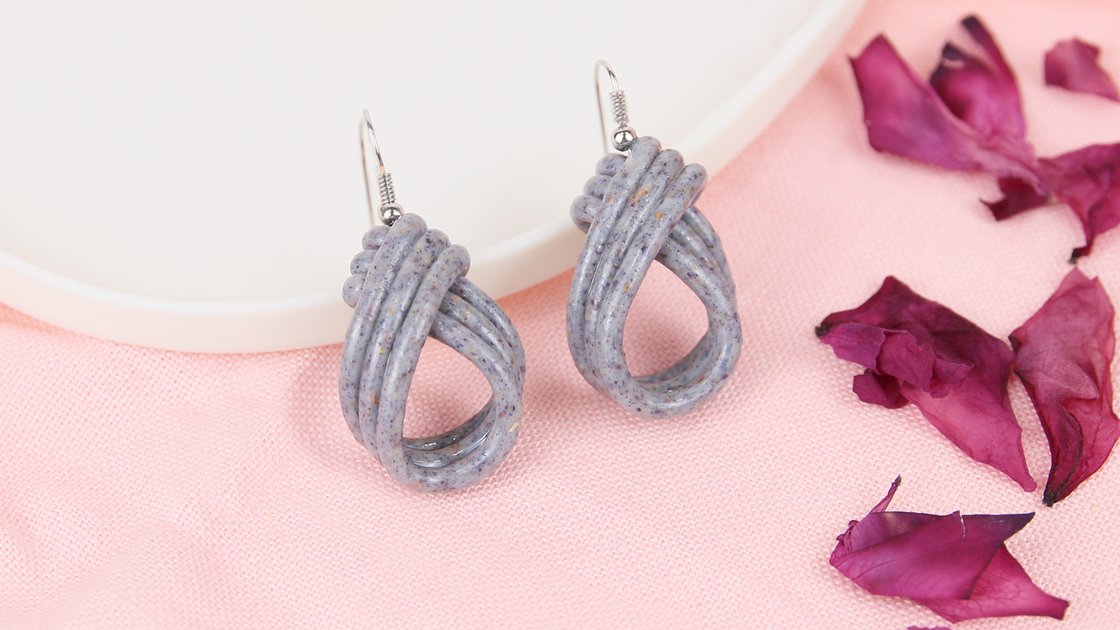
Fancy an easy DIY project with an wow effect? Then we have these chic loop earrings for you, which you can make in a short time and with just a few accessories. With the new FIMO botanical colours and its fine plant parts, you can create wonderfully natural-looking pieces of jewellery. Get started right away and in an hour you will have beautiful earrings dangling from your ears!
- Direct to:
- Tutorial video
- Material overview
- Step-by-step tutorial
Tutorial video
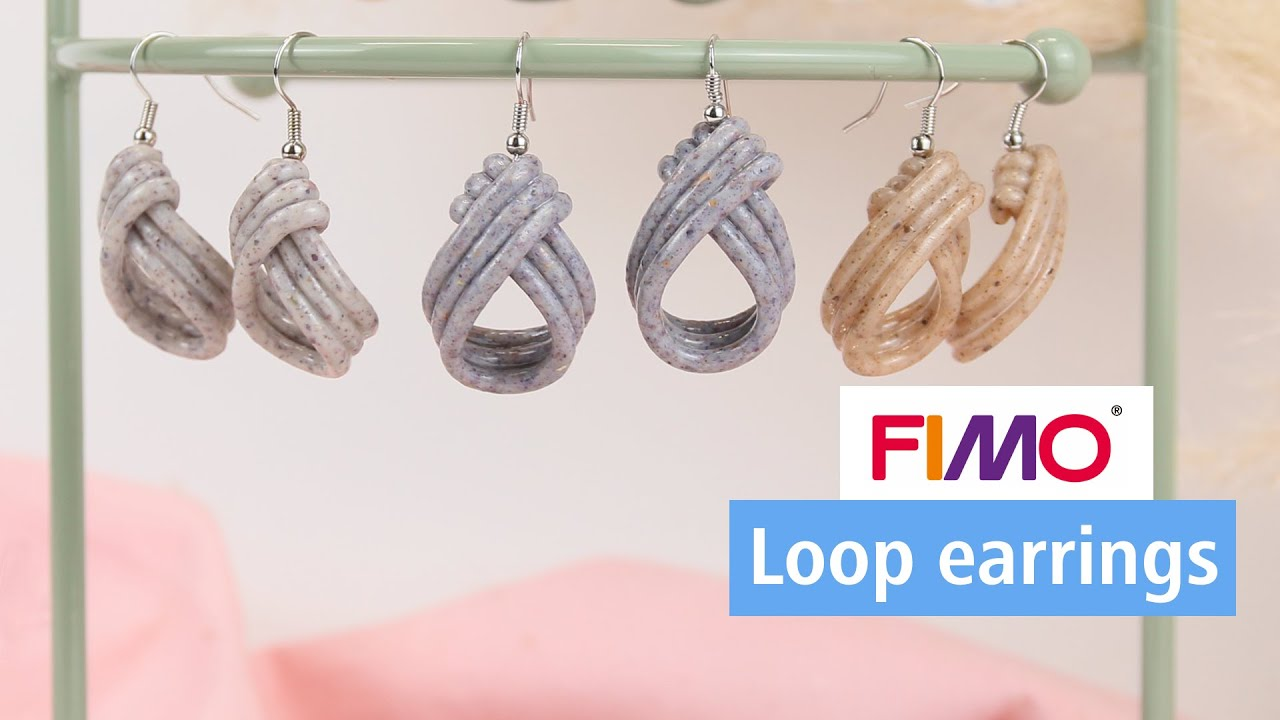
Material overview
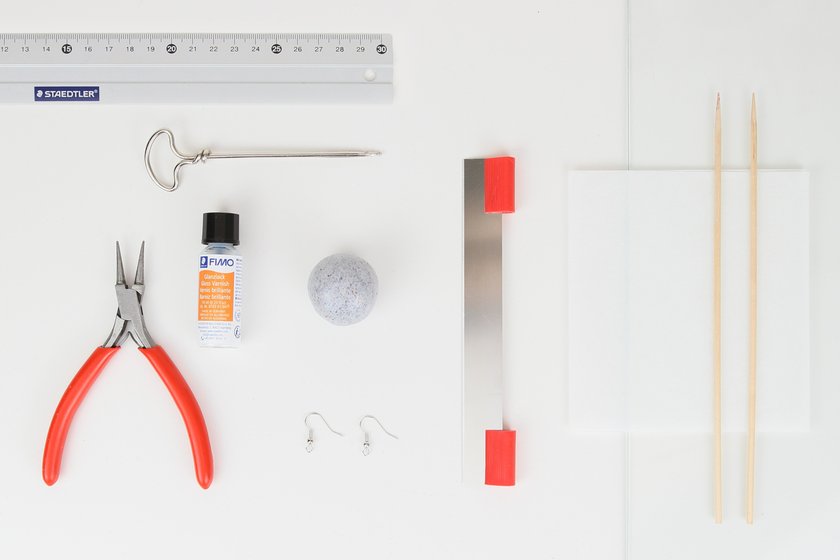
What you need
| Product | Article no. | Quantity |
|---|---|---|
| FIMO® effect 8010 Botanical Oven-bake modelling clay - | M8010 BOTANICAL | 1 |
Additionally required:
- earrings, spacer (e.g. wooden sticks)
- glass plate
- baking paper
- pliers
- hand drill
Step-by-step tutorial
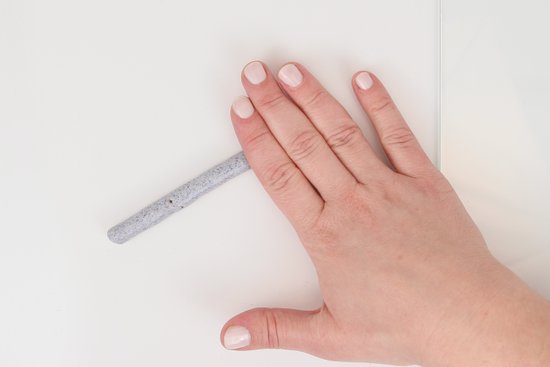
Roll the string
Take half of the FIMO botanical half-block and roll it into a string.
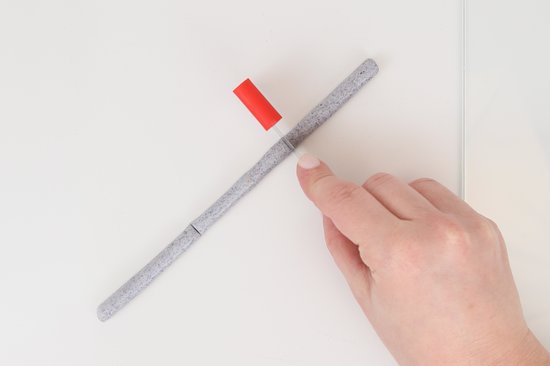
Cut into thirds
Then use the blade to divide it into three equal parts.
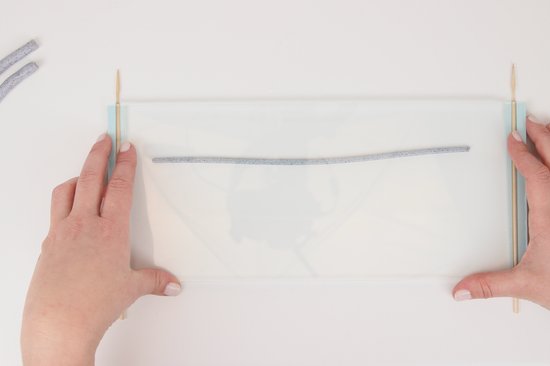
Fine cords
Roll out the string further. To achieve an even thickness, stick spacer (e.g. wooden sticks) under a glass plate and use them to roll out the cords.
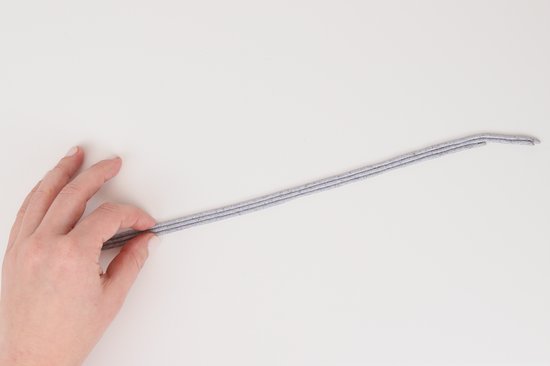
Assemble the ribbon
Lay the three cords together and press them together evenly.
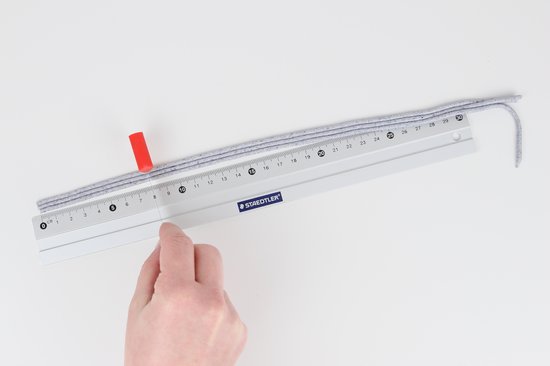
Cut off pieces
You will need two pieces of 8 cm each for the earrings. Cut them off using the blades.
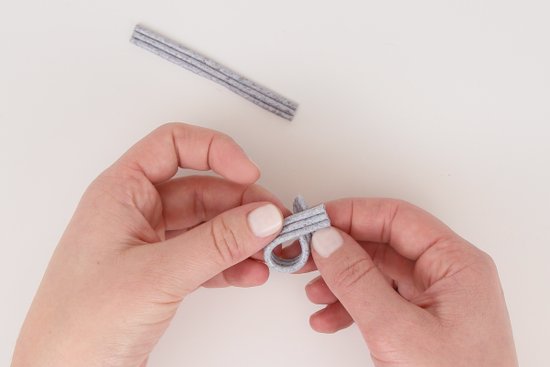
Shape the loop
Lay the two ends of the ribbon on top of each other to create a drop shape inside the loop. Let the ends protrude slightly and bend them backwards.
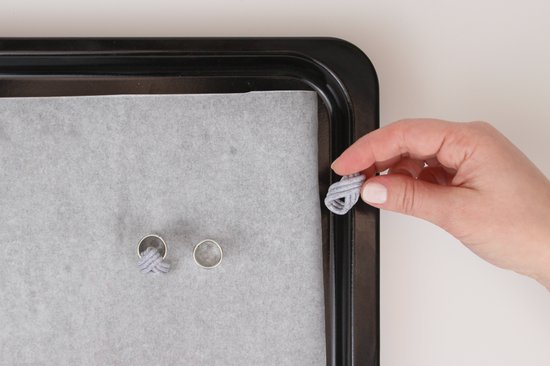
Hardening
You can place two ovenproof supports under the hangers to stabilise them. Place all the elements in the oven at 110 °C for 30 minutes. Leave them to cool down afterwards.
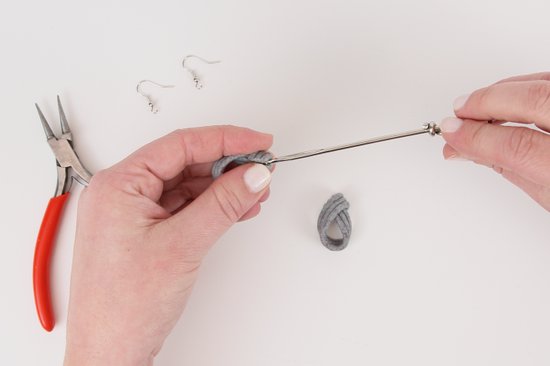
Drill holes
To be able to connect your moulds to the earrings after hardening, you need to drill small holes in them with the hand drill
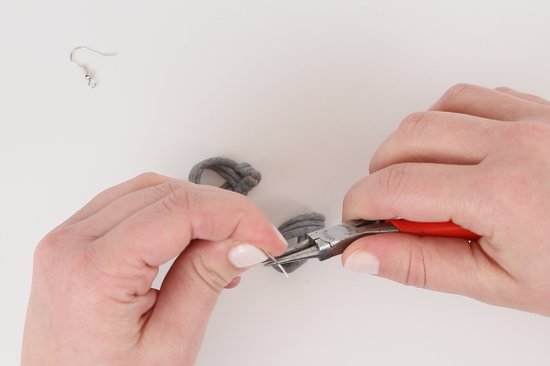
Assemble
Use pliers to blend the metal earrings open and push them through the hole. Then close them again.
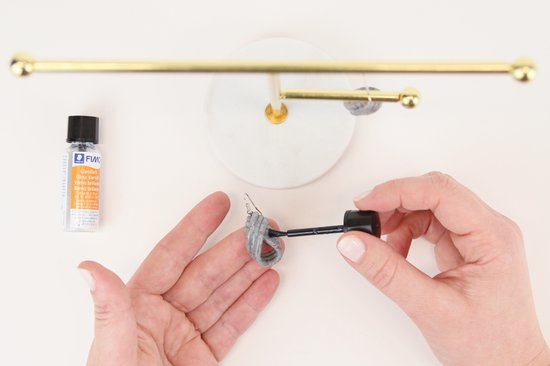
Varnish
Your earrings will be particularly shiny if you coat them with gloss varnish. Allow the coat to dry thoroughly afterwards.
No time right now?
Save this article as PDF!