Drawing depth effects: Four steps to add depth to your pictures with watercolour pencils
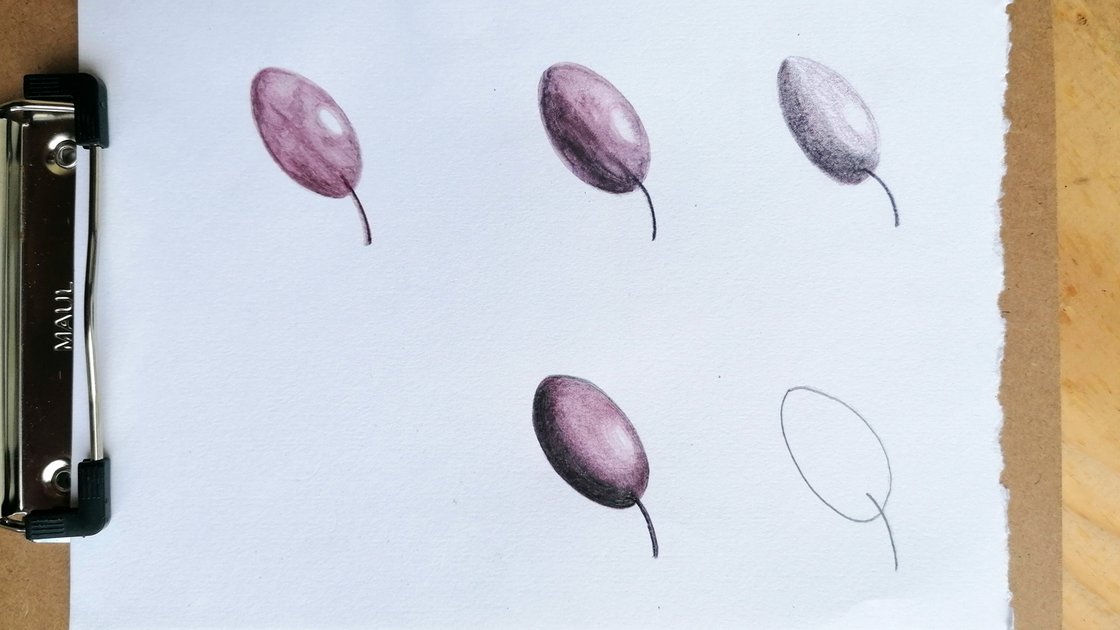
In the following four steps, we will show you how to create a three-dimensional effect and therefore a depth effect in drawings using watercolour pencils.
Depth effect through colour - what does this mean?
The term depth effect refers to the appearance of spatial depth. An image with depth effect therefore has a three-dimensional effect. The depth effect suggests that the viewer can grasp all objects and image elements. The use of specific colours, line thicknesses, textures and basic principles creates an illusion of three-dimensionality, space and distance.
How can beginners draw depth and create spatial depth? Below we show you how to transform a two-dimensional olive into an object with depth and perspective in just a few steps.
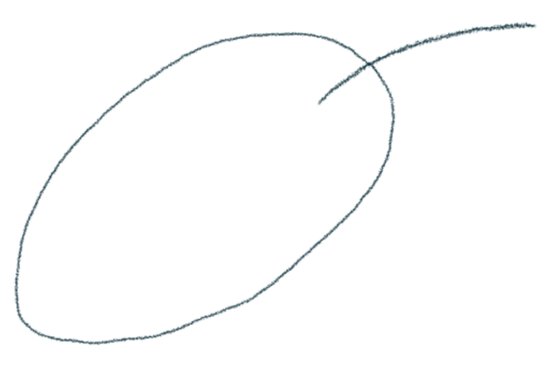
Create the preliminary drawing with either a pencil or a grey-tone, water-soluble coloured pencil. If you are tracing a template, then a pencil is a more sensible choice. If you are drawing freely on the paper, you should use a coloured pencil because the contours can be dissolved with water.
You will find suitable products HERE.
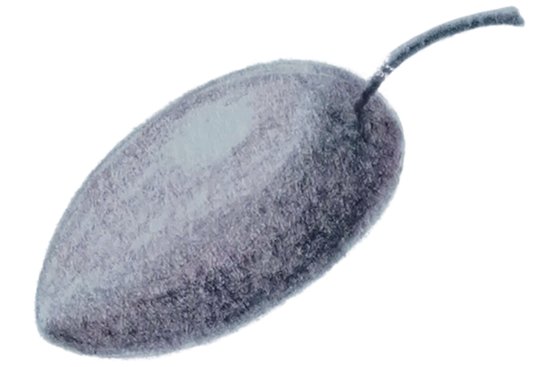
For the first dry paint application, we used two paints. Pay special attention to highlights and shadows. First, use the tinted, watercolour pencil in colour "G2" (you can find the colour number on the shank of your coloured pencil). Start by lightly depicting the full surface of the olives. Even, very light application is important. If too many pigments are applied in the first layer, no depth effect can be achieved. The highlight is omitted and not painted over with water later.
Now use the Tinted Watercolour Pencil in G20 to add a second layer to the shadow side. Try creating smooth transitions and adding a little more pigment. Often, beginners create too much saturation at the start, and apply too much pressure. So work very lightly in this step.
Tip:
Before you start painting with watercolours, we would like to give you some helpful tips:
- Too much water on the brush makes everything float, so it's impossible to control the pigments.
- Too much water on the paper? Clean and dry your brush - its hairs can absorb excess water.
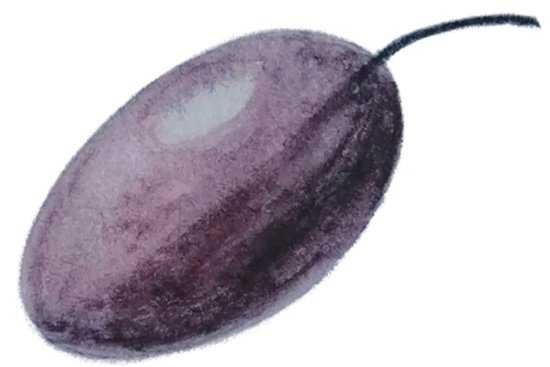
Now take the thin round brush. Start dissolving the pigments with water on the light surface. Do not touch the white area of the highlight. Then soften the edge around the highlight with a little water to create smooth transitions. After both surfaces are dissolved, rinse out the brush on the shadow side for further washing. Then use a little water on the brush to blend the transitions.
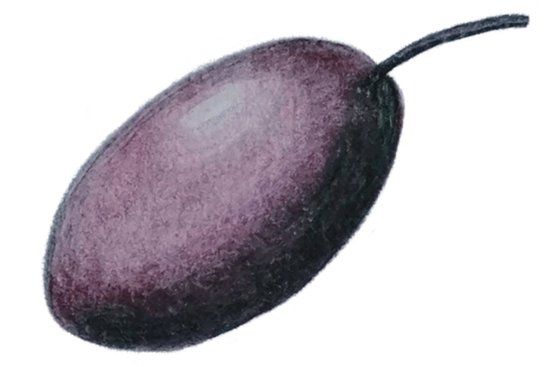
Wait for the paper to dry completely. Now work out the details using the drying technique only.
Use the colours from the previous steps again with more or less transparency and pressure. This will help you work out the details better.
The STAEDTLER coloured pencil 146 10C in black intensifies the shadow areas even more. But always remember not to use it too close to the highlight.
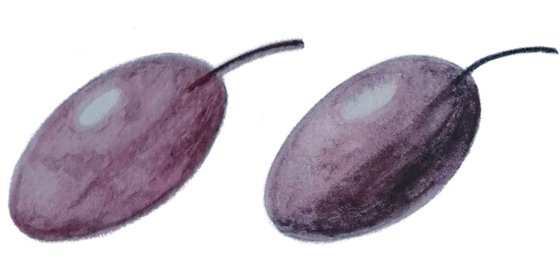
Here we show you the comparison, if the first layer was designed with only one colour - STAEDTLER tinted G2 - and the first watercolour layer is applied. You can immediately see the missing depth compared to Step 3:
Our 6 top tips
Drawing spatial depth requires a few tips and tricks. Below we explain how to draw and create depth using brightness differences, gradual colour application and the right colours:
- You can use different shades to paint images with depth. That's because: Warm, pure shades come to the front. These include shades such as orange, yellow or red. Broken, cold colours, on the other hand, seem to be in the back part of the image. To create this effect, go for shades of green, blue or grey. The radiance of the colours is also decisive. Accordingly, a bright, fresh blue comes more to the foreground than a darker dusty pink.
- To create more depth, you can play with contours and soft transitions. Image elements with sharp, precise edges appear closer to the viewer because their contours are easier to see. Objects with blurred edges, on the other hand, appear to be further away from the viewer. In some places, they can even merge with the image background or the contours can no longer be clearly defined.
- To create a sense of depth in your drawing, you can draw shapes and elements of different sizes. Larger image elements are drawn in the image foreground because they are closer to the viewer. As the distance increases, the image objects become smaller and smaller - as is the case in the real world.
- You can also draw depth by experimenting with textures and structures. In this case: The closer the object is to the viewer, the more clearly its surface textures can be seen. If the object is in the centre of the image or further back, it will have smoother and less textured surfaces.
- Transparencies create a greater depth effect. If all image details are painted with opaque colour, they appear eye-catching and two-dimensional. Add translucent paint applications to the eye-catching elements to reveal the layers of paint underneath. This adds more depth to your image in no time!
- Diagonal lines also create a convincing depth effect. With this technique, you draw lines diagonally backwards and centre them in the centre of the image. This creates a certain plasticity. It also clarifies the arrangement of objects in the room. If you add the tricks above to this technique, your picture will look three-dimensional.
Suitable products:


