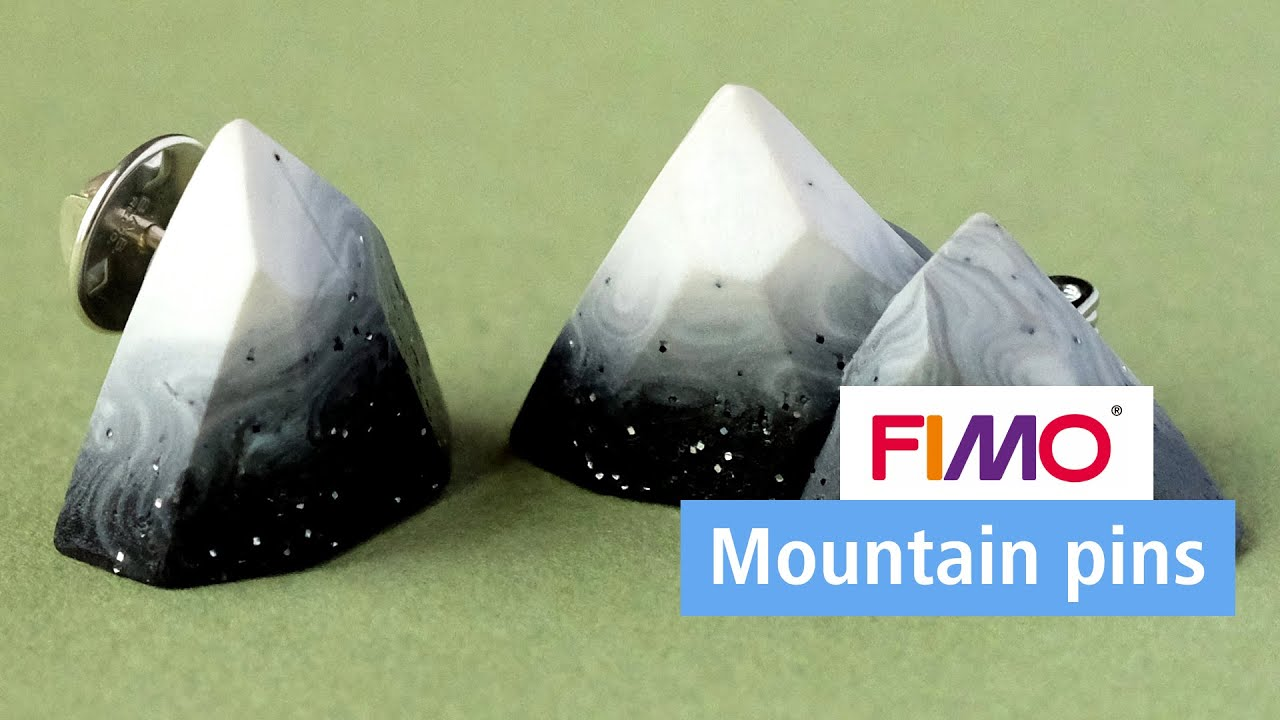
DIY FIMO Mountain pin

")
An article by Kamilla (@minischmidtblog)
Step-by-step tutorial
Knead about 1cm of a white FIMO soft half block until it is soft. Mix approx. 1 cm of the FIMO effect granite half-block and approx. 0.3 cm of the black FIMO soft half-block.
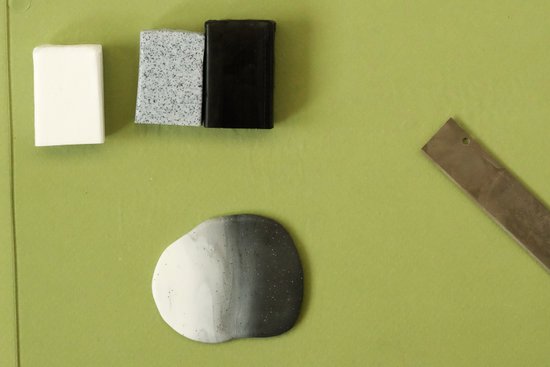
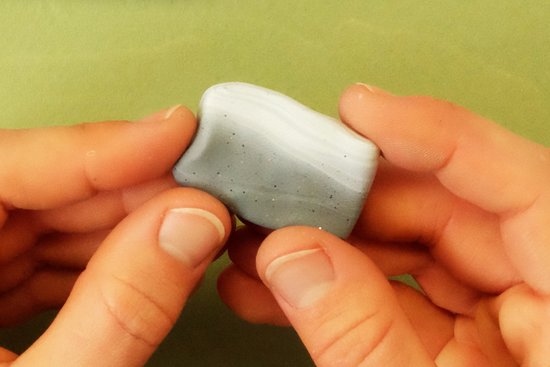
Roll both colors into short strands, press together, and roll out. Fold the surface in the middle, slightly offset from the colors the first 2-3 times. Squeeze the sides straight and roll them out again. Repeat this process approx. 30 times until you have a nice gradient.
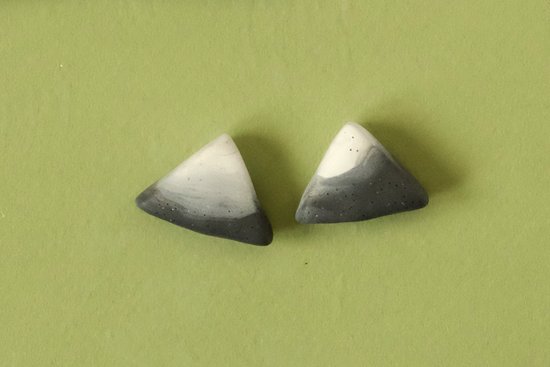
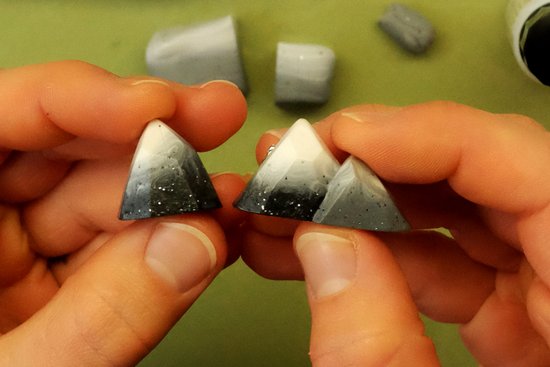
Shape the FIMO into a rectangle by carefully pressing and cut it in half. Form a mountain-like triangle out of these two blocks.
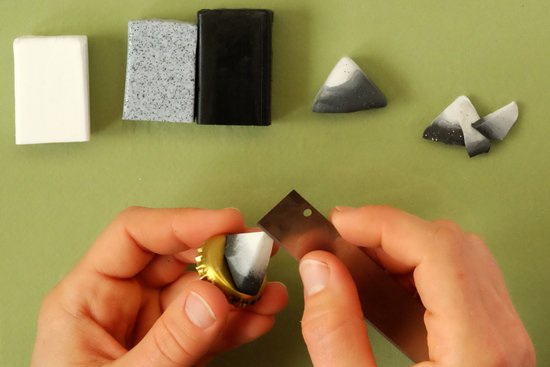
Place the triangles on the crown caps so that you can hold them while working without crushing details again.
First cut straight off the back wall of the mountain with the blade, then carefully cut off any surfaces from the triangle until a beautiful polyhedron mountain is created. For the second triangle, do the same again and put both mountains for 10 minutes on the crown cap in the oven at 110 °C.
Mix a lighter gray from the remains of the first two mountains and form a color gradient rectangle again together with white FIMO, as in step 2-3.
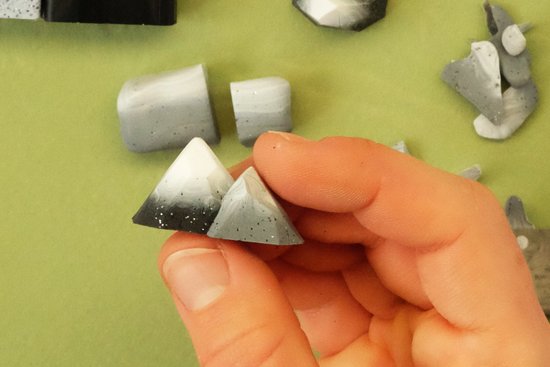
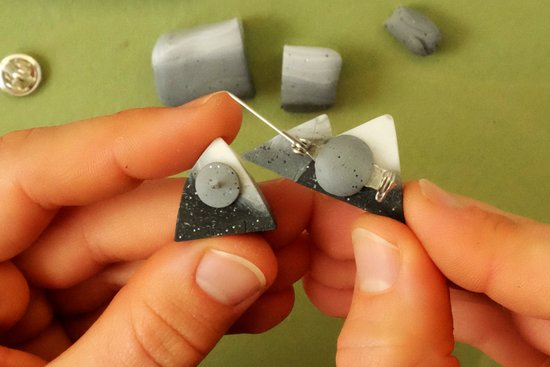
Loosen the mountains from the bottle caps. Press the triangle from step 5 onto one of the mountains. Straighten the back wall and the floor with the blade and again carefully cut off any surfaces. Heat in the oven at 110 ° C for 10 minutes.
Then use the sanding sponge to smooth and round the surfaces and edges of the first mountain a little.
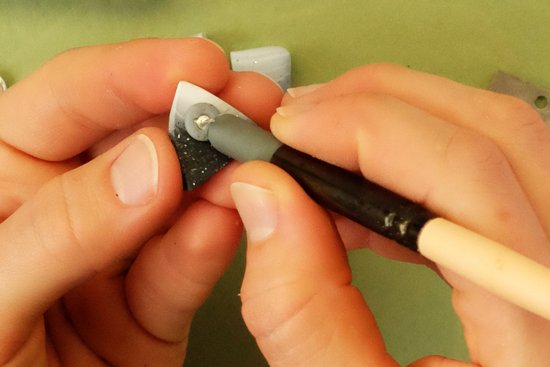
To attach the pin to the first mountain, form a small ball with FIMO and press it onto the back. Press the pin in and use the flat tool to carefully press the edges towards the center of the pin so that it is completely surrounded by the FIMO.
Also work on the mountain pair with the sanding sponge.
To attach the pin here, form two balls out of FIMO. Press the first on the back of the mountains and press the pin in the center of the circle. Form a circle with the second ball and press it onto the first. Work the edges with the flat tool until it looks nice and round. Put the mountains in the preheated oven at 110 ° C for 30 minutes.
When the mountains have cooled down, apply gloss varnish. Finished!
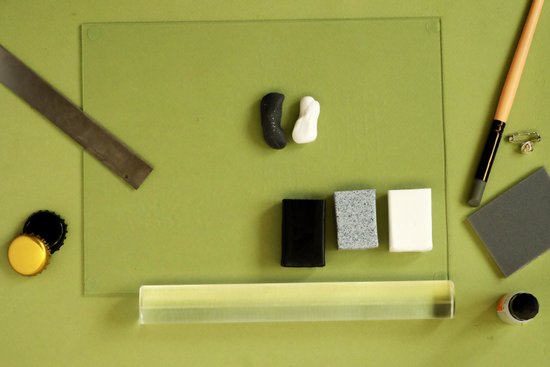
Material overview
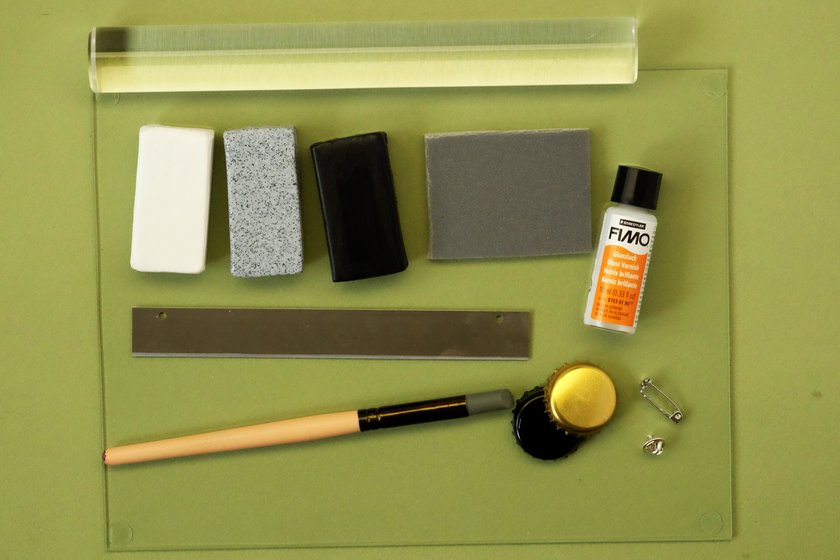
What you need
Additionally required:
Modelling tool with flat (rubber) head, 2 bottle caps, Pin
No time right now?
Save this article as PDF!