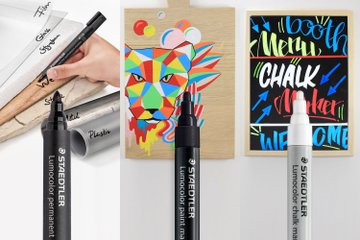
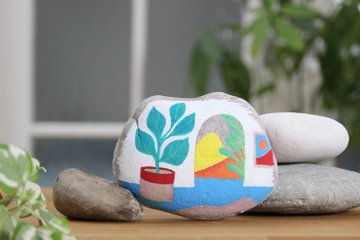
Colourful blackboard art with chalk markers
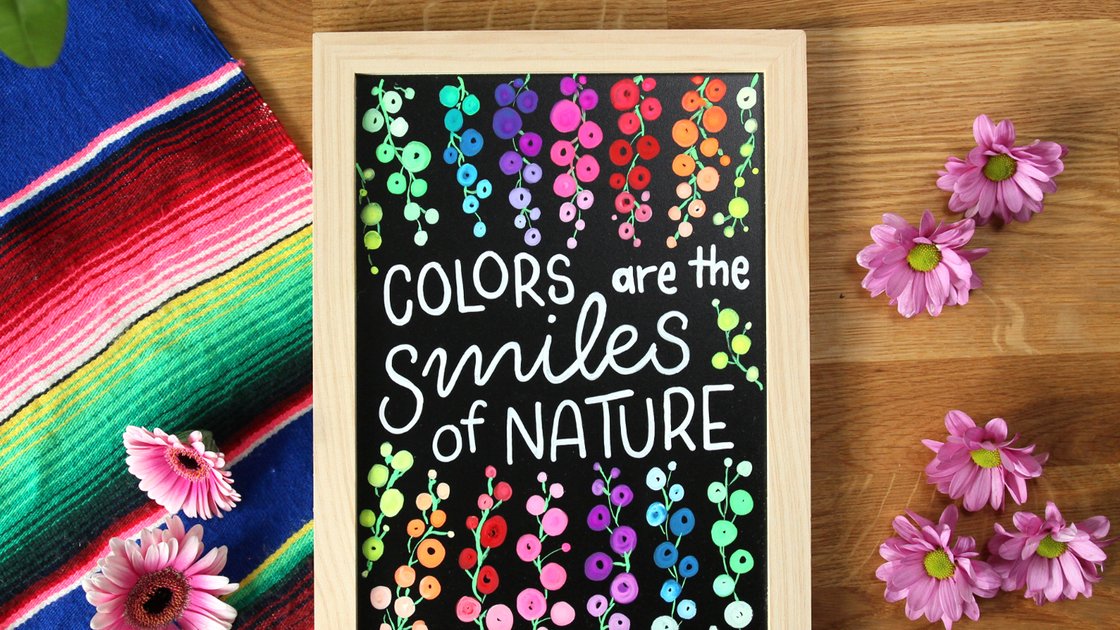
Add a little colour to your grey everyday life and showcase a beautiful quote! You can place the colourful board in the window and observe how the colours of nature change throughout the year. From vibrant greens in spring, bright pink flowers in summer, the red tones of autumn leaves, and the frosty blue of winter. The entire colour palette of the chalk markers can be expanded almost infinitely by skillfully mixing and creating your chalk image in a wide gradient. Mix it, baby!
Video tutorial
List of materials
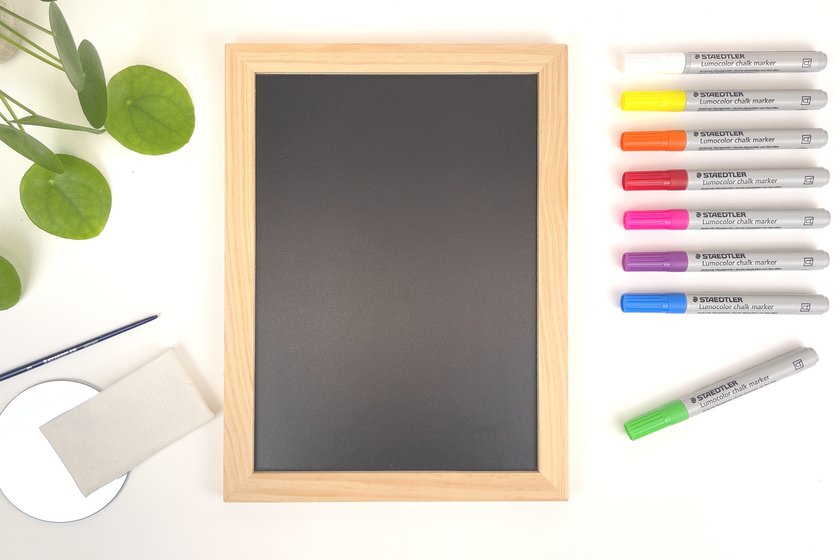
What you need
| Product | Article no. | Quantity |
|---|---|---|
| STAEDTLER® 989 Synthetic brush - Blistercard containing 3 brushes: #2 round, #8 round, #8 flat | 989-SBK3-3 | 1 |
Additionally required:
- Chalkboard
- Non-absorbent base as a pallet
- Damp cloth for any corrections
Step-by-step instructions
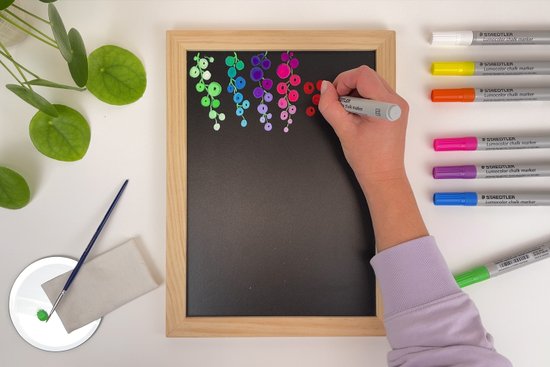
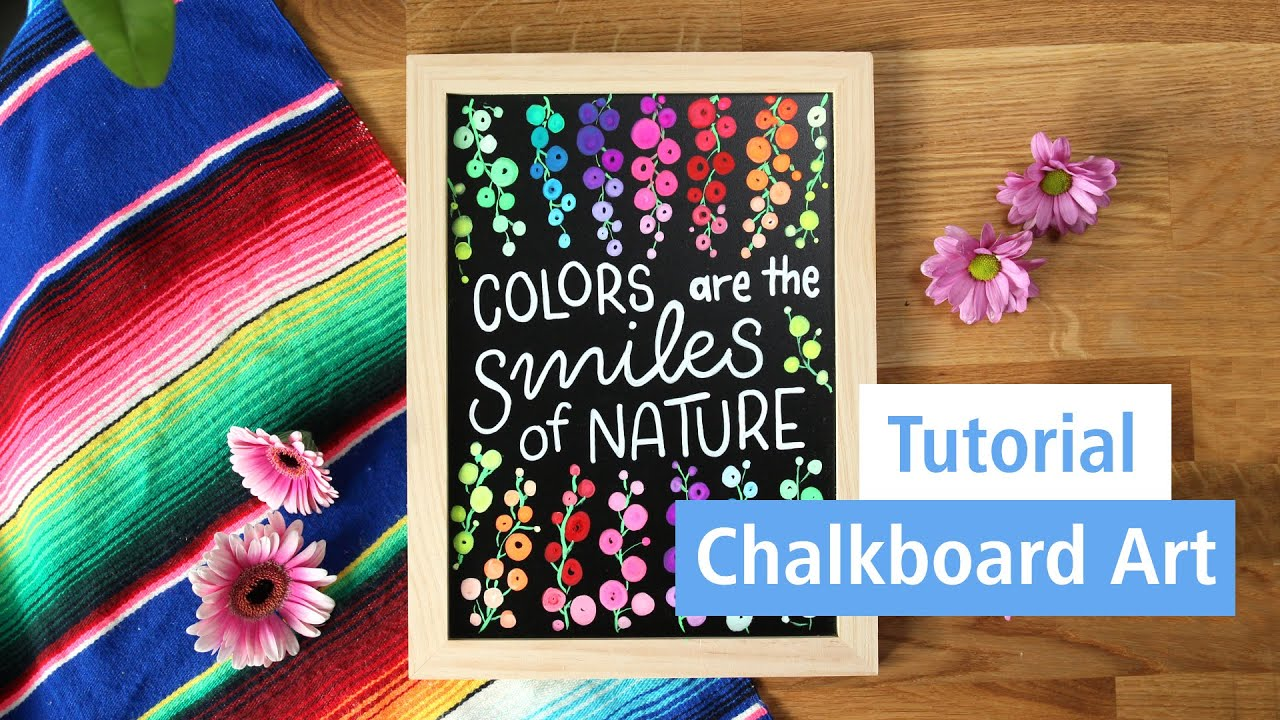
Activate the Lumocolor Chalk Markers by shaking them with the cap closed and then pumping 3-4 times. Wait until the tip is soaked with paint. Then start your design. Start with green circles, then blue, purple and so on.
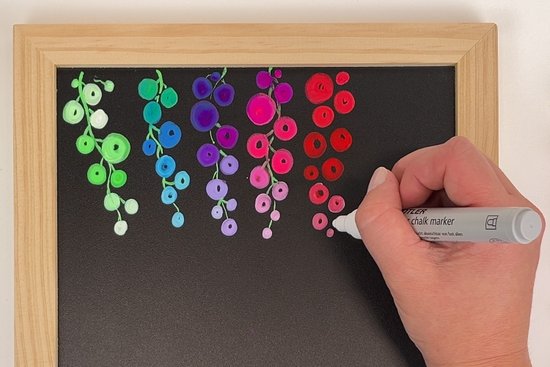
To create lighter shades of colour, use the white chalk marker to pick up the still damp green colour and draw new dots that become lighter over time. You can also mix in the colours of the previous flower string in the upper part to achieve darker colour gradations.
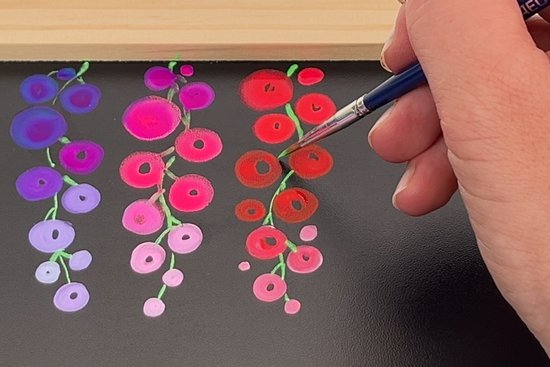
Draw the delicate stalks with a brush. To do this, pump some green paint onto a non-absorbent surface (e.g. foil or a saucer) and pick it up with the brush. Each circle has a fine connection to the stalk.
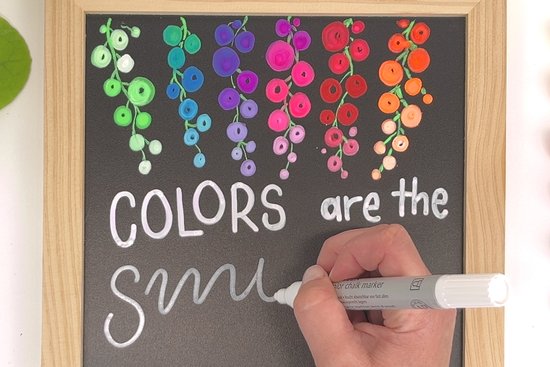
Now place your lettering under the first row of flowers. We have put the two important words “Nature” and “Colors” in block capitals. “are the” and “of” are only filler words and are written relatively small. The most important word is “smiles”, which is presented in curved handwriting throughout the entire format. This creates a coherent overall picture.
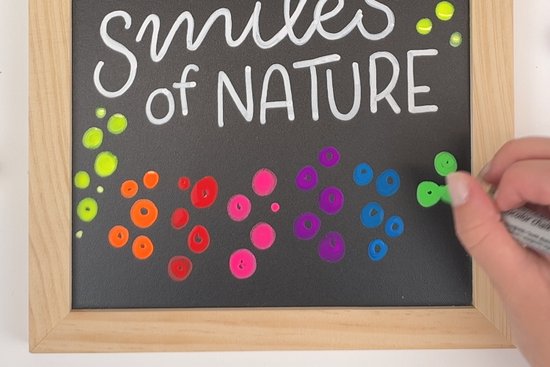
After a few yellow flowers around the letters, paint the lower circles in a range of rainbow colours. Repeat the mixing of the colour gradations.
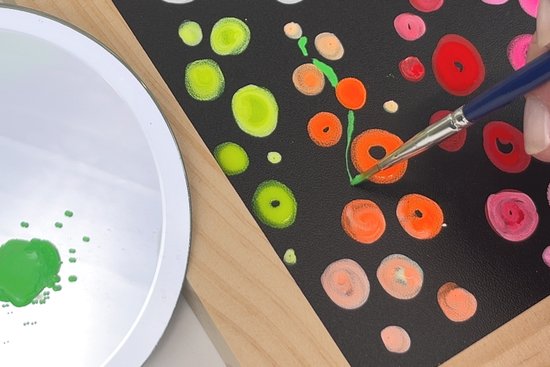
Then each cluster of flowers gets a stem. Grab the brush and draw the fine lines between the circles. And then you are finished painting, and brought colour to your grey everyday life!
No time right now?
Save this article as PDF!