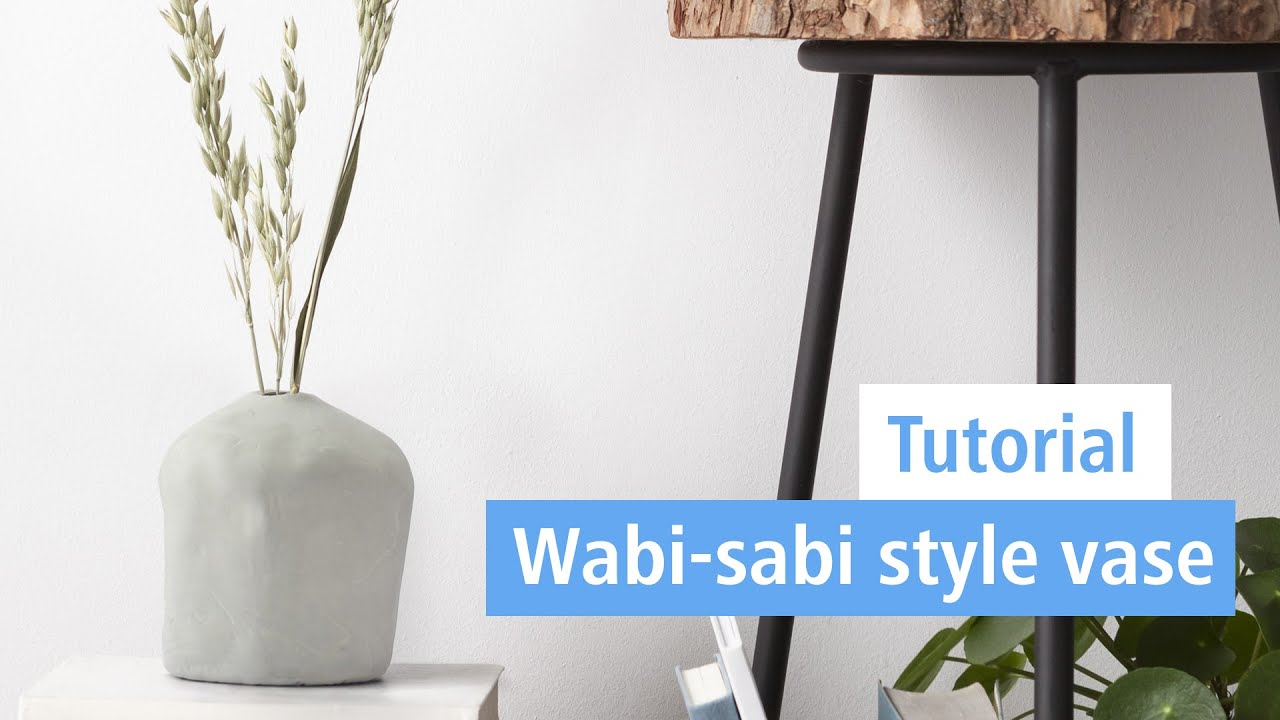
Wabi-sabi style vase for dried flowers made of FIMOair

We show you how to easily create a wabi-sabi style vase using FIMOair. But what does wabi-sabi actually mean when it comes to interior design? Wabi-sabi is a Japanese philosophy where beauty is found in every aspect of imperfection. Reduction to the essentials plays an important part in this. The design is characterised by imperfect shapes and raw materials, to recognise beauty in its most natural and raw form. Let’s get started and create your own individual vase in the wabi-sabi look. It’s not only fun, it’s also wonderfully relaxing.

An article by Mone
- Direct to:
- Tutorial video
- Material overview
- Step-by-step tutorial
Tutorial video
Material overview
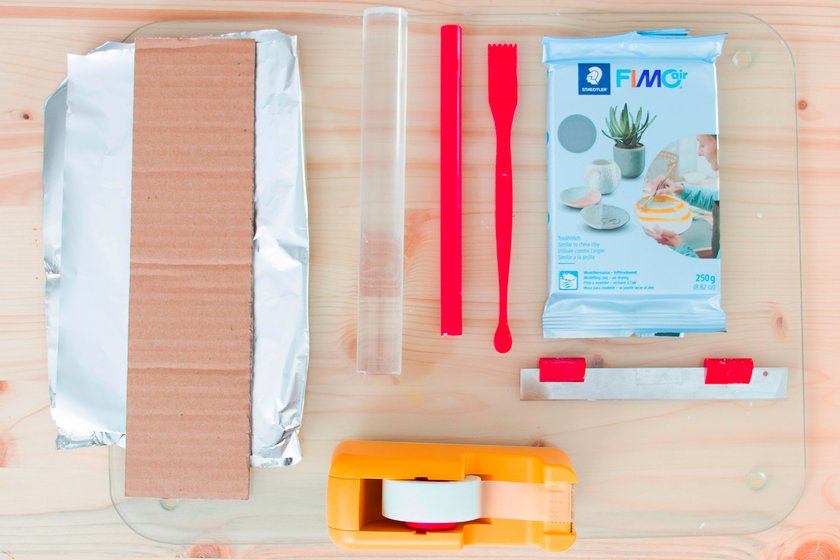
What you need
| Product | Article no. | Quantity |
|---|---|---|
| FIMO® 8711 Modelling tools - Wallet containing 4 different modelling tools | 8711 | 1 |
Additionally required:
Cardboard, adhesive tape, aluminium foil
Step-by-step tutorial
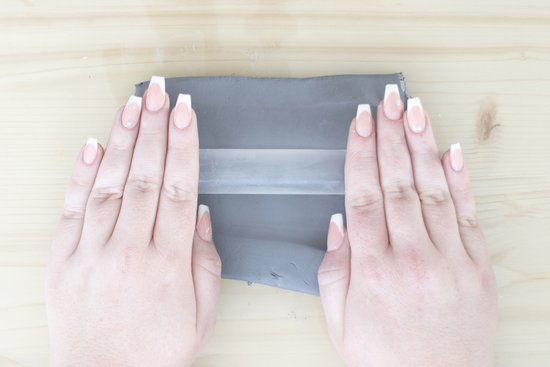
Roll out 1.5 blocks of grey FIMOair with the acrylic roller to form an approx. 0.5 cm thick sheet. The sheet should be about 20 cm x 20 cm.
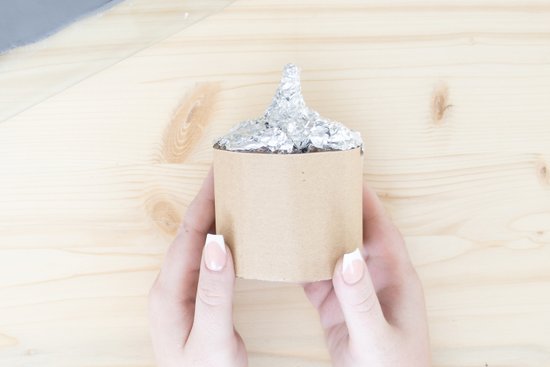
Place the rolled out FIMOair sheet aside briefly and shape the piece of cardboard into a ring. Glue the ends together with adhesive tape. Using a 30 cm length of aluminium foil, shape a round, tapered funnel that is the size of the cardboard ring and put the two together.
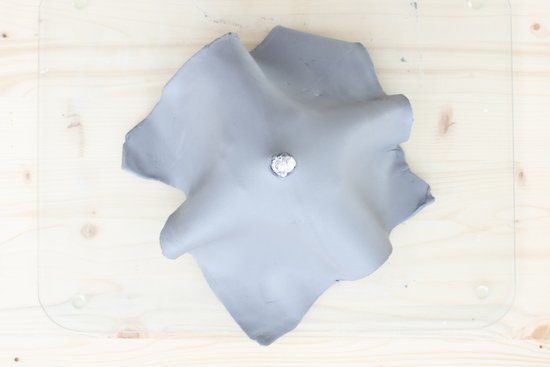
Position the FIMOair sheet in front of you and cut out a small circle in the middle with the modelling tool. Lay the FIMOair sheet over your cardboard and aluminium foil framework. Place the hole over the tip of the funnel.
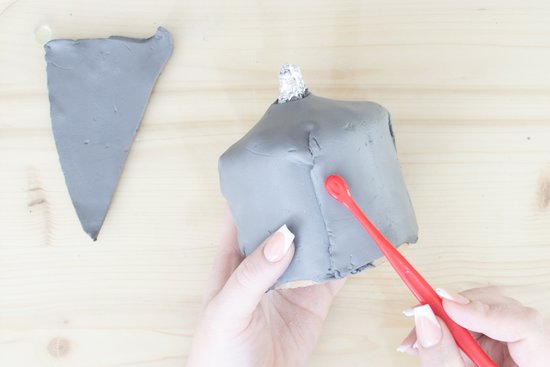
Now cut the sheet four times and use the blade to remove the protruding parts so that the cut sides are flush with each other. Use the modelling tool and a little water to smooth the transitions and connect the cut sides with each other.
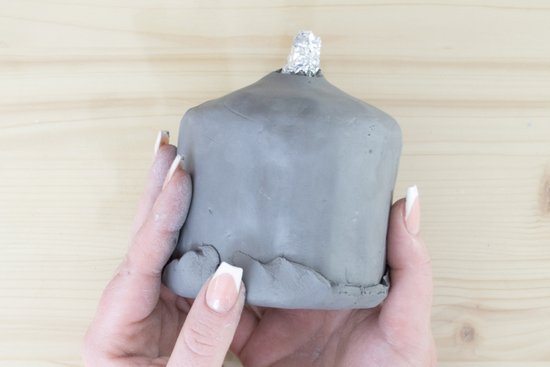
Roll out another 0.5 cm thick sheet of FIMOair from the cut sections and place your almost finished vase on top. Cut a circle all the way around, a few millimetres from the vase. Then shape the circle as a base for your vase. Press the edges together with your thumb and a little water, then use the modelling tool again for a smooth transition. Now smooth the vase from the outside with your hands and a little water so that the material is nice and smooth.
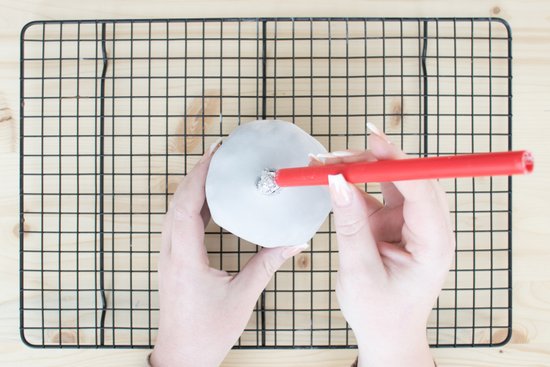
Place the vase on a cooling rack to dry at room temperature for 24 hours. Once your vase has dried, you can carefully push the aluminium foil down into the vase using the modelling tool. Be careful not to break the opening of the vase. Your vase is now ready for a beautiful arrangement of dried flowers.
No time right now?
Save this article as PDF!