Tropical Party – Colourful signpost
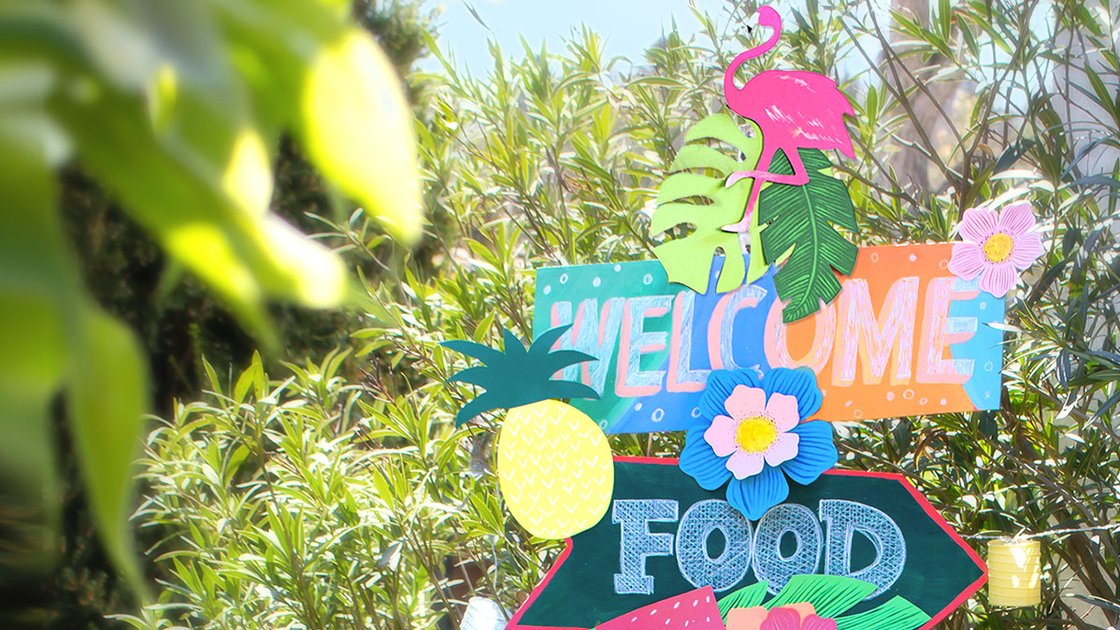
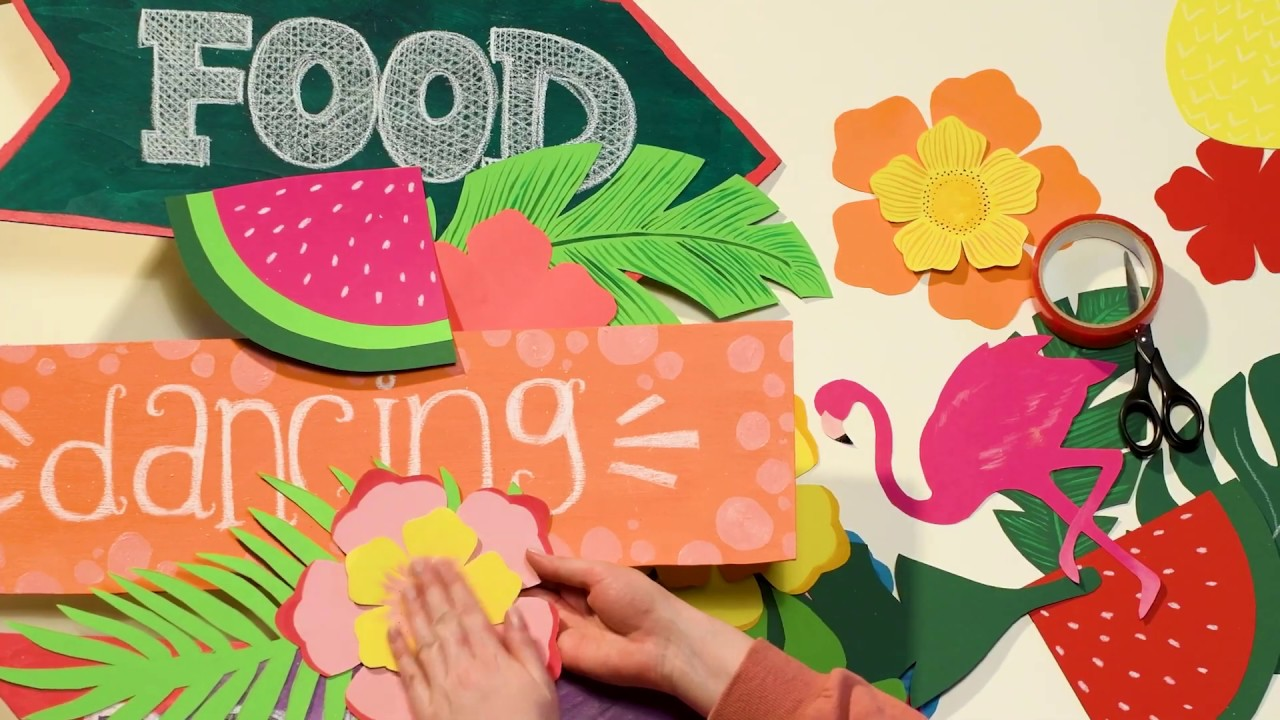
This way to the party! Where are the drinks? Where is the food and where is the dancefloor? Create your own “Tropical Party” signpost in no time! It is not only the absolute eye-catcher of every party, but also avoids unnecessary searching and asking around. All you need are acrylic paints, a white permanent pencil, a brush and wood. So nothing will stand in the way of your celebration. And the best part? This practical signpost with its bright, cheerful colours will get you and your guests into a good mood just by looking at it!
Step-by-step tutorial
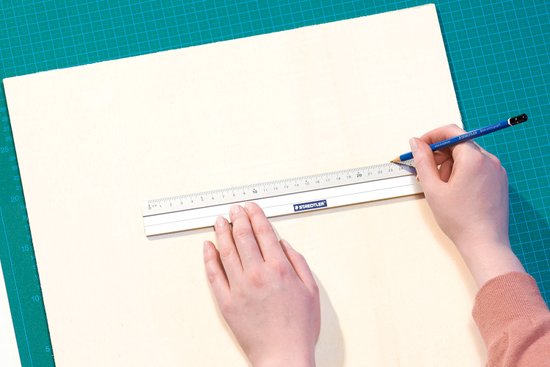
Using a pencil draw on the desired length and width of the signs onto the wood. Also sketch out the arrowheads.
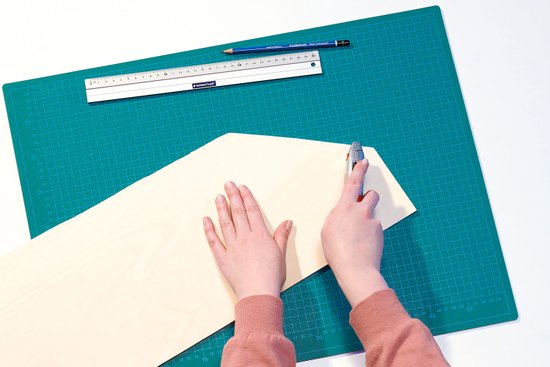
Then cut out the signs with a saw or cutter (depending on the thickness of the wood) and smooth down the edges with sandpaper.
Tip: Balsa wood can easily be cut with a cutter knife.
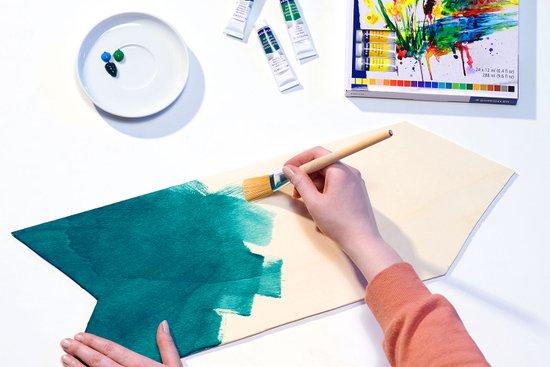
Now to the colours! Prime and decorate your wooden signs with the Design Journey acrylic paints.
The colours can be mixed and combined however you wish.
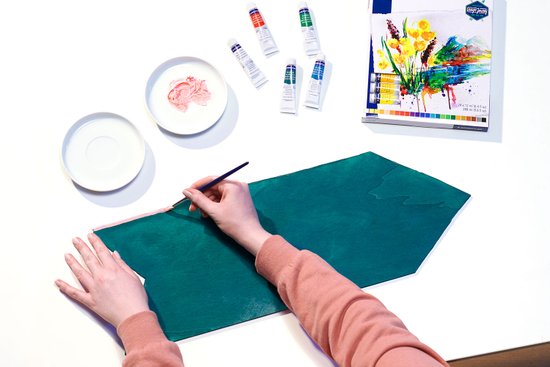
Make the signs more striking by adding decorative elements like a colourful frame.
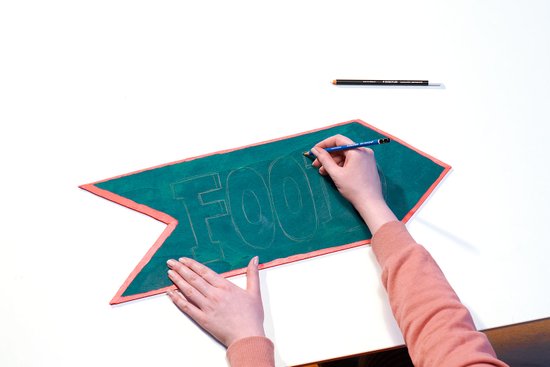
After the acrylic colours are completely dry, you can sketch out the lettering with a pencil.
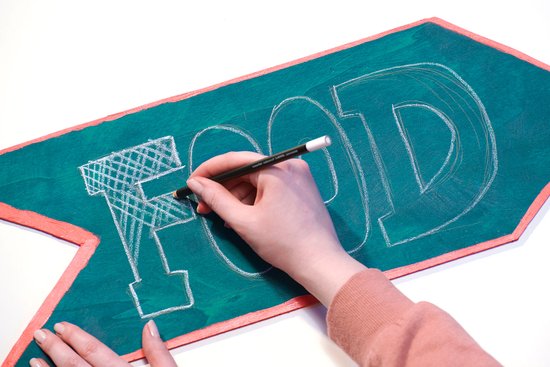
Use the white Lumocolor permanent dry marker to trace the contours and colour in the letters.
Different hatchings, shadings and patterns make the signs even more decorative!
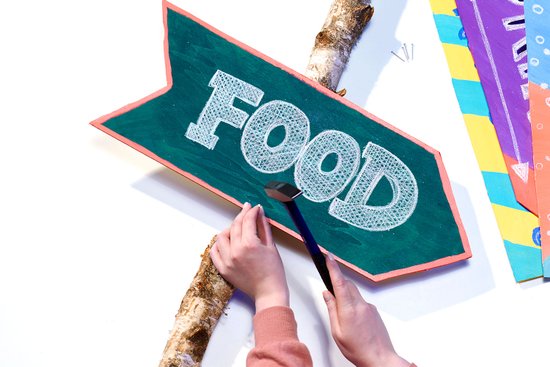
Now the signs can be attached to the wooden post at the desired places with a hammer and nails.
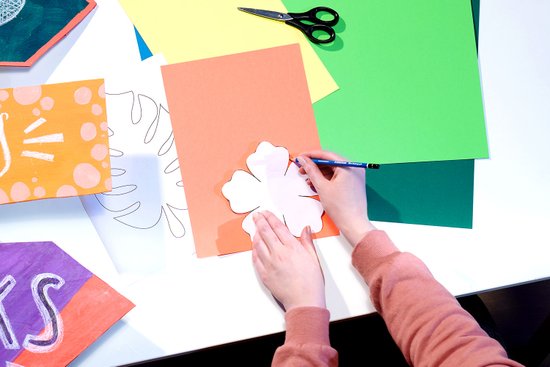
Tip: Add some tropical flair to your signpost and create some colourful flowers, fruits and leaves made out of coloured construction paper! Get inspired by the templates. Simply print them, cut them out, place them onto the coloured paper and trace the contours with a pencil.
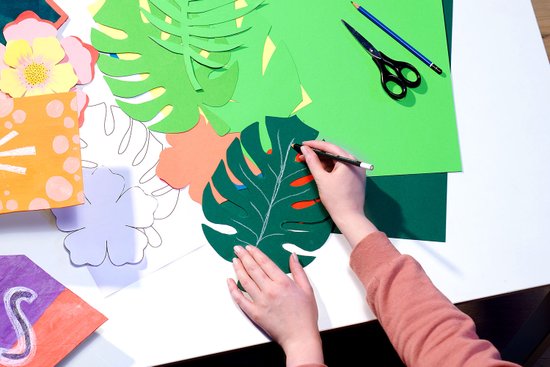
Then cut out the motifs with scissors and add decorative details using the acrylic paints and the white Lumocolor permanent dry marker.
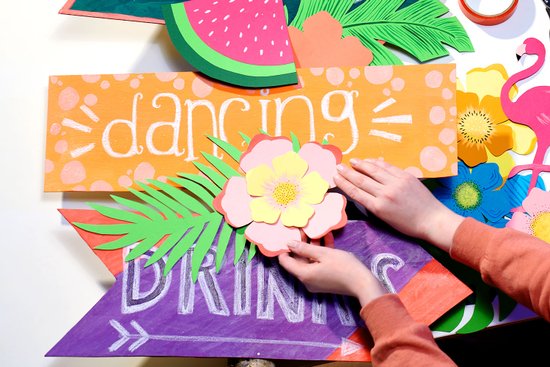
Then attach your decoration to your signpost with some adhesive strips or double sided adhesive tape. Individual wooden signs are ideal as table decoration or as an accessory for the party photo booth.
Material overview
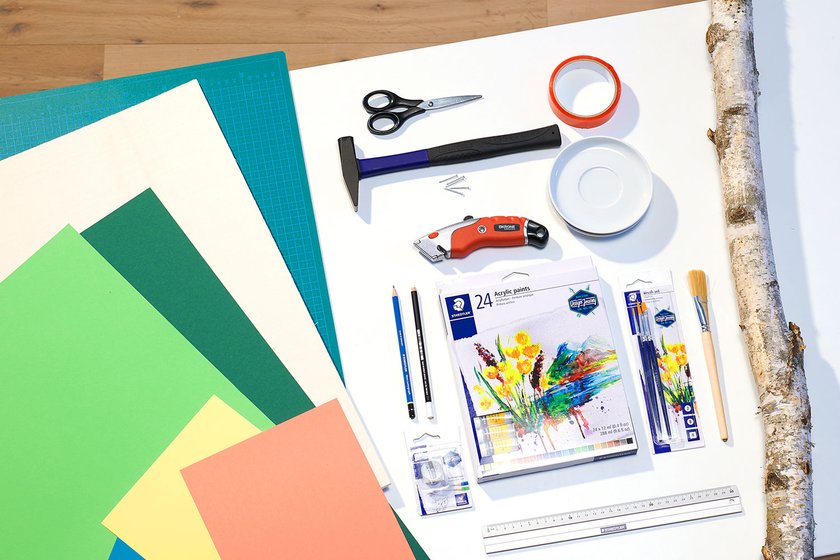
What you need
| Product | Article no. | Quantity |
|---|---|---|
| STAEDTLER® 989 Synthetic brush - Blistercard containing 3 brushes: #2 round, #8 round, #8 flat | 989-SBK3-3 | 1 |
| Mars® 510 25 Double-hole sharpener - Blistercard containing 1 magnesium double-hole sharpener | 510 25BK-C | 1 |
Additionally required:
balsa wood or wooden boards (e.g. from fruit boxes); wooden post or thin tree trunk; wide brush; plate (for mixing); coloured construction paper; ruler; masking tape or adhesive tape; glue; scissors; saw or cutter knife (depending on wood thickness); nails; hammer; flower pot; sand/stones
No time right now?
Save this article as PDF!