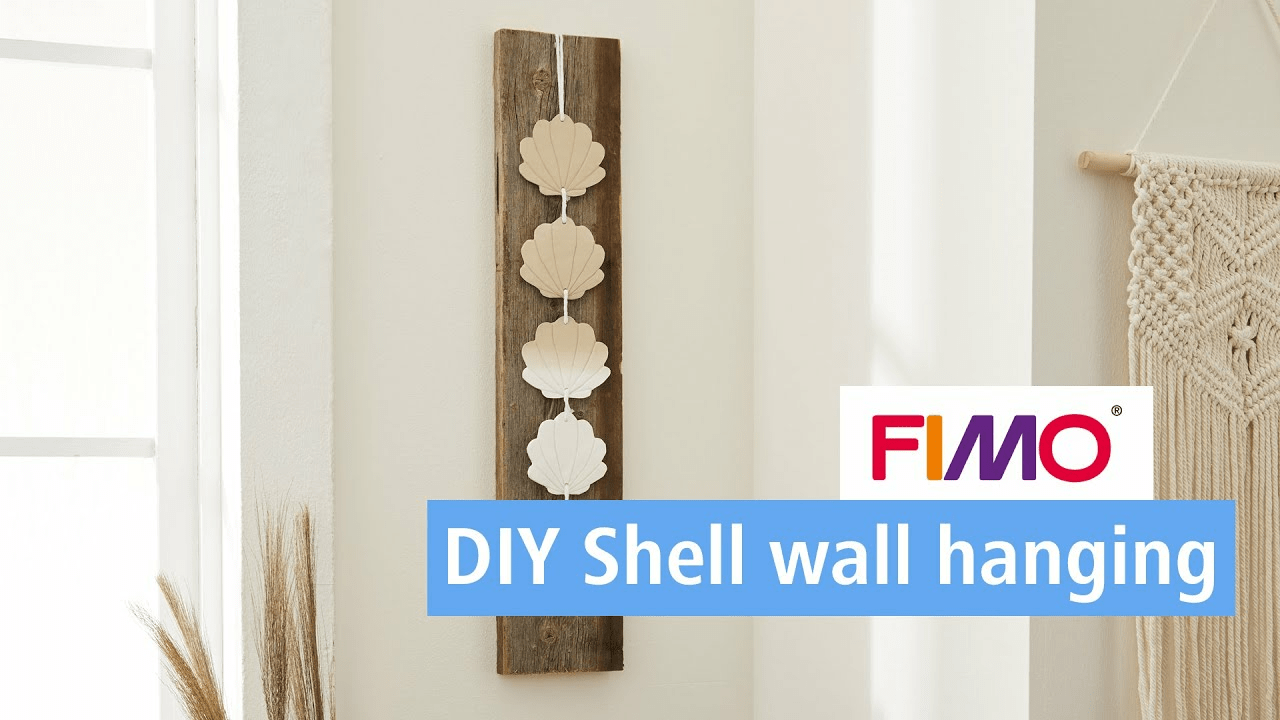
DIY Shell wall hanging

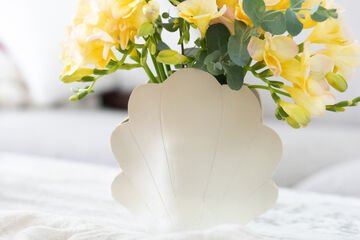
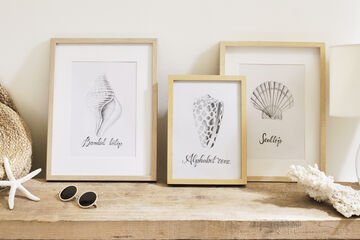
Summer, sun, the beach... and lots of shells. Today we will show you how to bring those beach vibes home, with this DIY idea. The shell wall hanging made of FIMO soft is quick to make at home and easy to hang up. It's the perfect way to bring the summer beach house flair into your home.

An article by Mone
Step-by-step tutorial
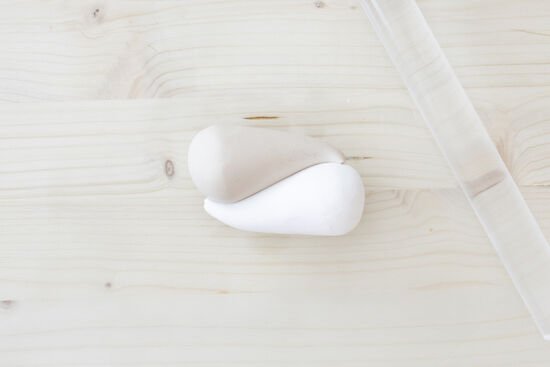
For the sand-coloured shell wall hanging, depending on its size, you will need one or two blocks of FIMO soft, in the colours white and sahara. If you want to create a shell with blended colours, cut half a block of white and half a block of sahara. Knead these two halves well, until they are soft, and shape each of them into a cone. Then place both cones opposite each other.
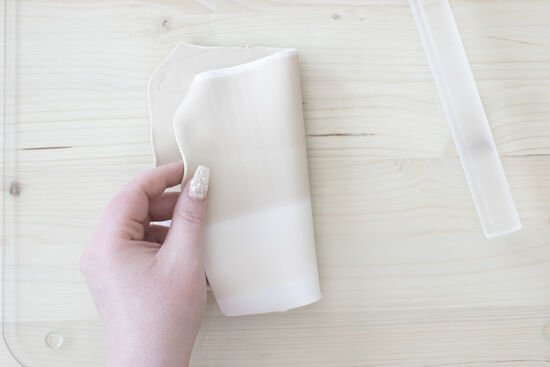
Now roll them with the acrylic roller. Fold over the FIMO sheet, white on white and sahara on sahara. Roll the FIMO soft flat again, using the acrylic roller, and fold it again as described. It is important that you always fold the FIMO sheet in the same direction. Repeat until you are satisfied with the colour mixture. Roll out the mixed colour FIMO sheet to about 2 mm thick.
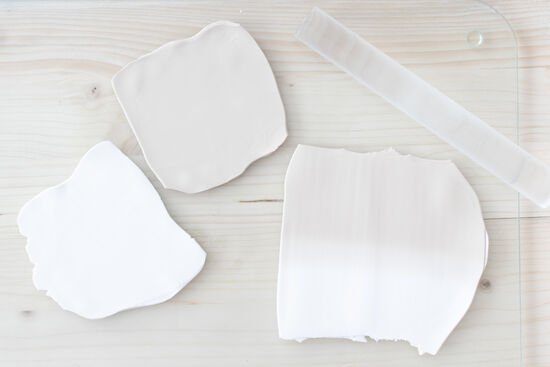
Now knead half a block of FIMO soft in sahara and white, until they are soft, and then roll them out with the acrylic roller to approx. 2 mm thick. You should now have a white sheet, a sahara-coloured sheet and a mixed colour sheet in front of you.

Print out the shell template at 60% print size and cut it out along the lines. From now on, work on the baking paper so that you don't have to lift the shells again and warp their shape. Place the template on the rolled out FIMO soft sheets and cut them out with the blade. Cut out 5 shapes in this way.
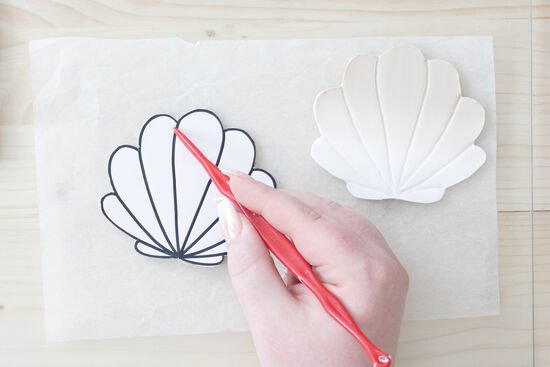
Use the pointed modelling tool to trace the lines on the template in order to transfer the lines to the FIMO shell.
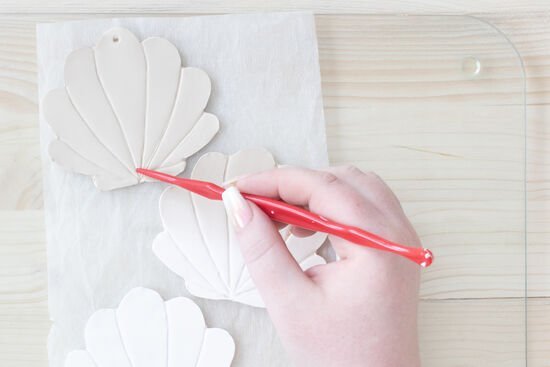
Now you can remove the template and use the modelling tool to make a hole in the top and bottom of the shell. For the shell that will hang at the bottom, you only need to make a hole in the top edge. Harden the shells by placing them flat on baking paper in the preheated oven at 110 degrees Celsius for 30 minutes. Then let everything cool down completely.
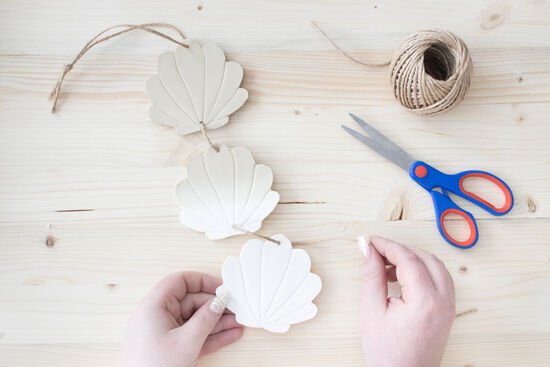
Cut off an approx. 40 cm long piece of the string and thread the first shell onto the string. Tie the ends together. Cut off more pieces of string measuring 20 cm each and thread the string from front to back through the lower hole of the first shell. Now make a knot in the end of the string on the back. The other end of the string is now pulled through the second shell and also knotted at the back.
Repeat this process until all the shells are attached to the string. You can now hang your shells on the wall.
Material overview

What you need
Additionally required:
1x jute cord, 1x shell template
No time right now?
Save this article as PDF!