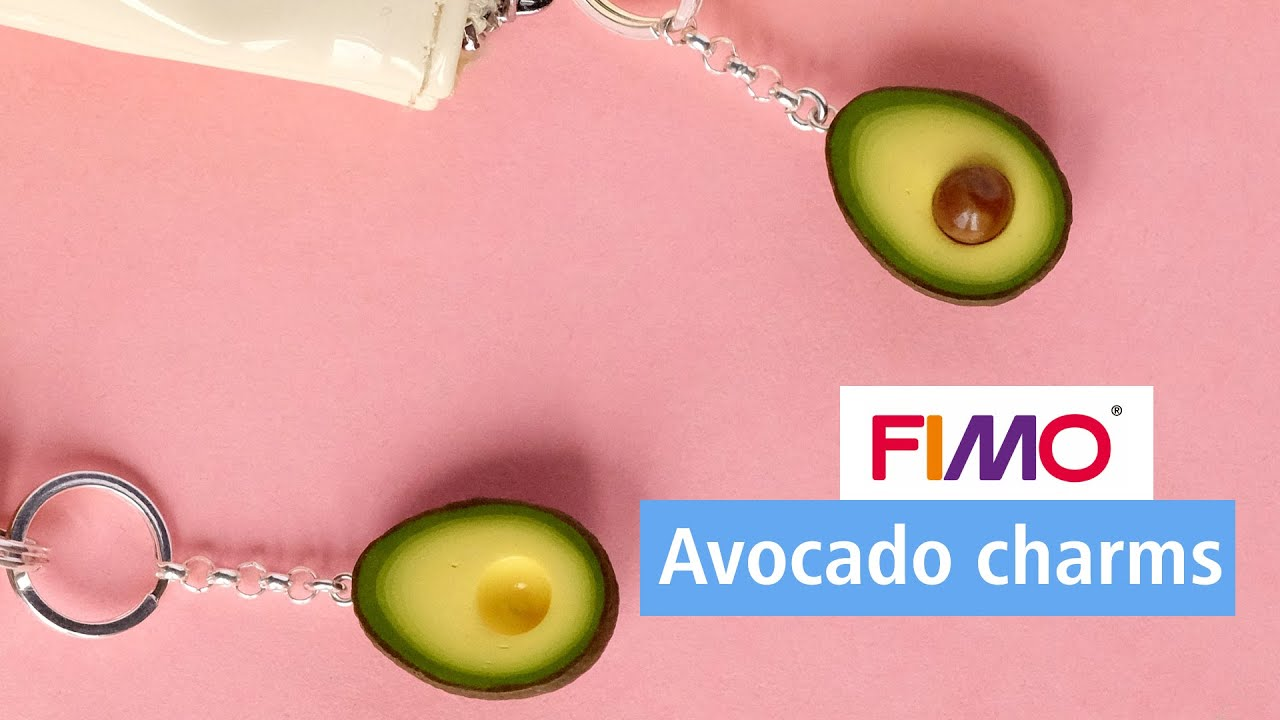
DIY FIMO Avocado charms

")
An article by Kamilla (@minischmidtblog)
Step-by-step tutorial
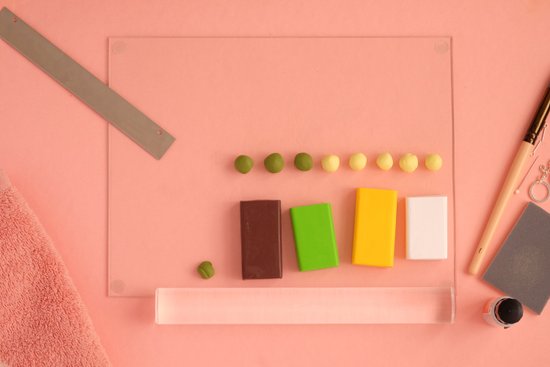
Cut an approx. 1 cm wide piece of a white FIMO half block and an approx. 0.2 cm wide piece of the yellow FIMO half block. Mix the colours together and form about five balls of the same size. Then take a 1 cm wide piece of the green FIMO half block and a 0.1 cm wide piece of the brown FIMO, mix them and form three balls of the same size.
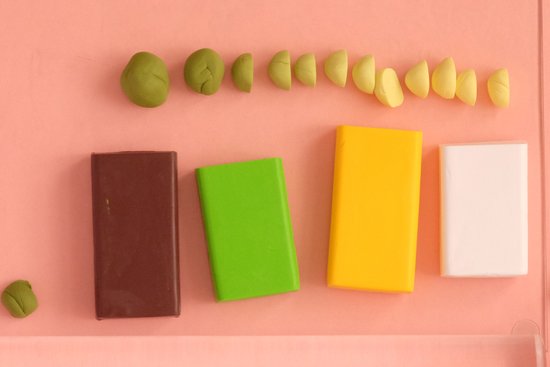
Halve all balls and mix half green and half yellow ball, halve this ball, and mix with the next half yellow ball.
Then halve these again, etc. until the end - also halve this ball and mix with two halves green, i.e. one green ball. Halve this ball, mix with half a green ball, cut in half and mix the last whole ball green - this creates a nice colour gradation for later.
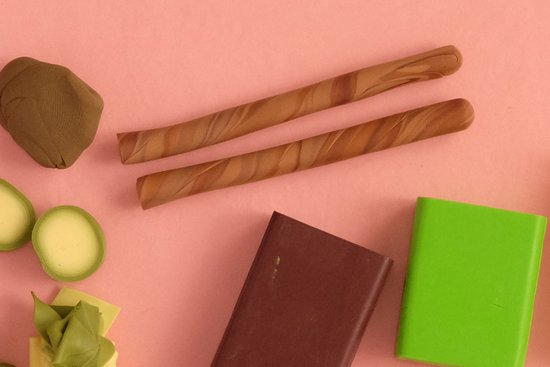
Form a small cylinder out of the first yellow half of the ball, around which the paints can then be wrapped layer by layer.
Starting from the lightest yellow to the darkest green, each colour is rolled out thinly, about 1mm or thinner, and wrapped around the cylinder. When all the colours are wrapped around the cylinder, roll it a little thinner, depending on how big you want the avocado later - here it's about 2cm.
Cut about 2cm from the avocado roll and carefully press the ends together towards the center until a green ball is formed. Form a round point between the pressed sides until you find a nice avocado shape.
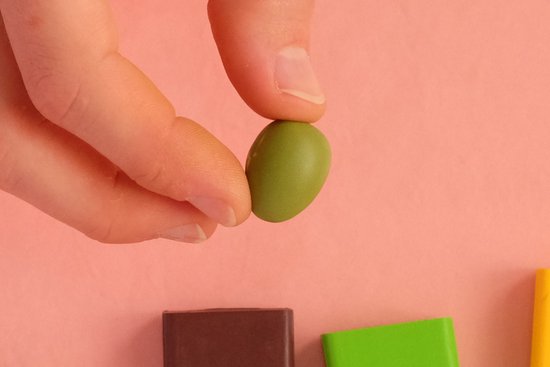
Then put the avocado aside for a short time so that it can "cool down" a little from the warmth of the hand, so that it is not compressed so much when cutting through. You can also put them in the freezer for a moment to be on the safe side.
As long as the avocado is put aside, mix the colour for the avocado peel from 1 cm green and approx. 0.2 cm brown.
For the avocado core, mix approx. 2mm brown and approx. 2mm yellow and divide into 3 parts. Mix one part with approx. 2mm yellow, another part with approx. 2mm yellow and approx. 2mm white. Roll these three colours into strands of the same length and twist and roll together until you get a nice grain for the avocado core.
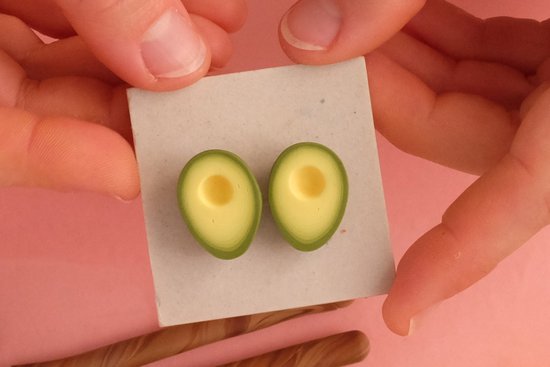
Halve the avocado with the blade in the middle, straighten the shape a little and carefully press the hole for the avocado core with a round object. To make the surface level again, lay it on the work surface and press down a little, if necessary, correct the hole for the core again. Do the halves fit together well? Then put it in the oven for 10 minutes at 110 °C.
Roll out the brown for the avocado peel thinly and press it around the avocado halves. Cut off any excess FIMO with the blade. Now take the towel and press it firmly around the avocado until it has a nice structure. Cut off the protruding FIMO again.
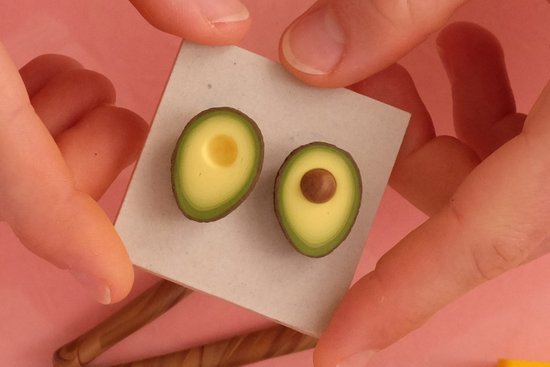
Then cut off a small part of the avocado seed roll and shape it into a small ball. Carefully press this into one of the avocado halves and leave the avocado for 30 minutes in a preheated oven at 110 °C.
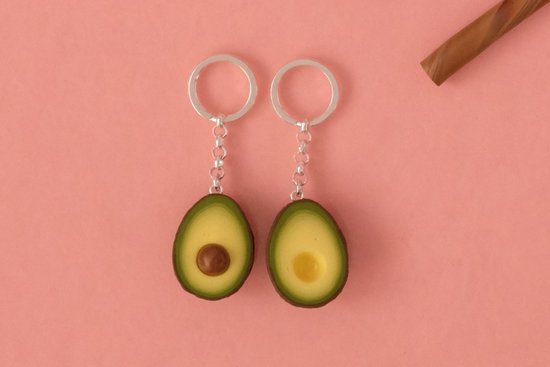
When everything has cooled down, use the sanding sponge to remove any unevenness from the surface and round off the cut edges of the shell. Apply gloss varnish, let it dry and attach the eyelet. Done!
Material overview
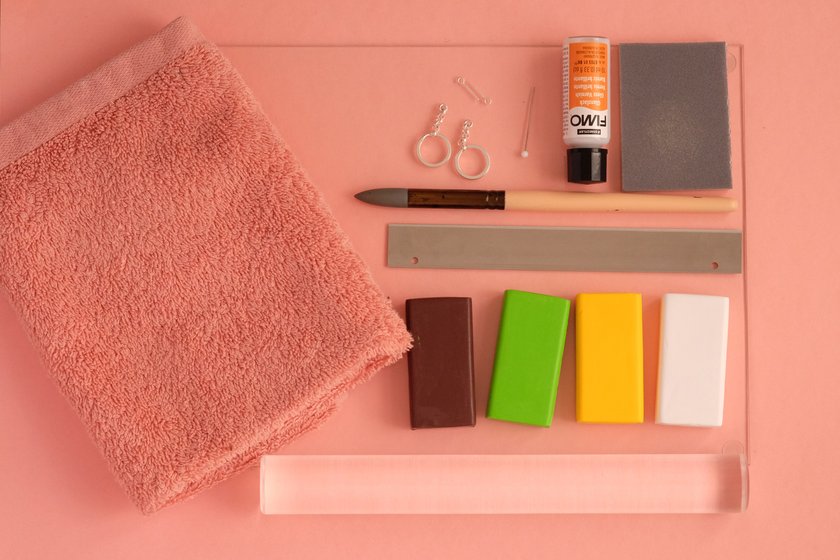
What you need
Additionally required:
Item with curving for avocado cores, Towel, Pin, Eyelets, Key rings
No time right now?
Save this article as PDF!