Selfmade chest piñata - DIY idea for an unforgettable children's birthday party
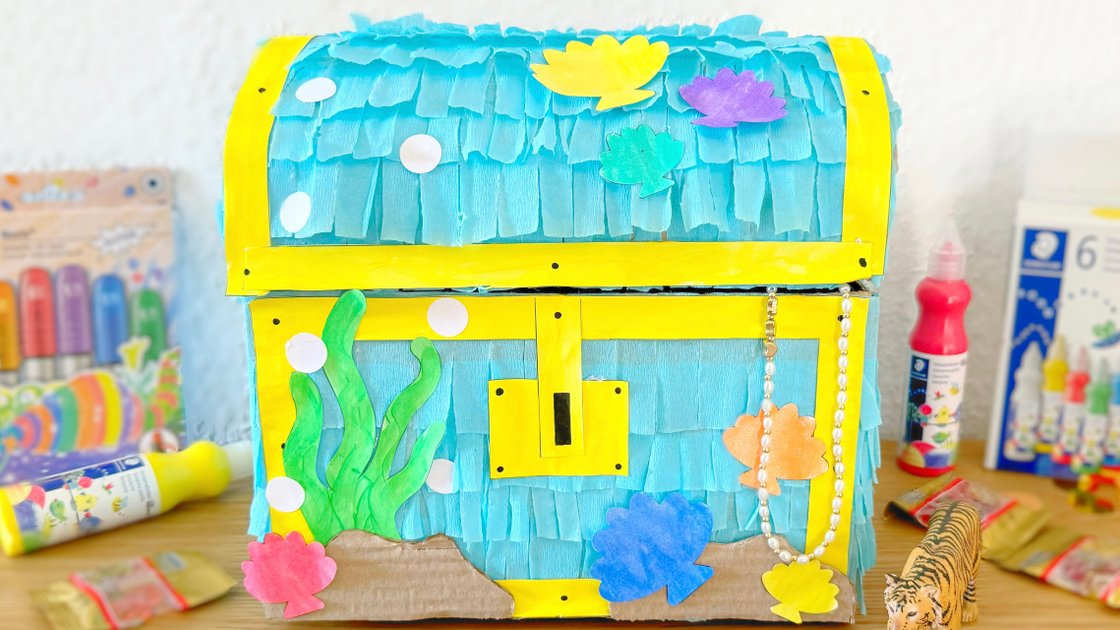
Make your birthday unforgettable with a cool treasure chest piñata! This idea is twice the fun: first when making it and then when trying to get the treasures out of the piñata. You can of course hang it up, but it also looks great in a hiding place on the floor. Discover how easy it is to create a unique piñata that will brighten up any children's birthday party.

An article by Maiken
- Direct to:
- Tutorial video
- Material overview
- Step-by-step tutorial
Tutorial video
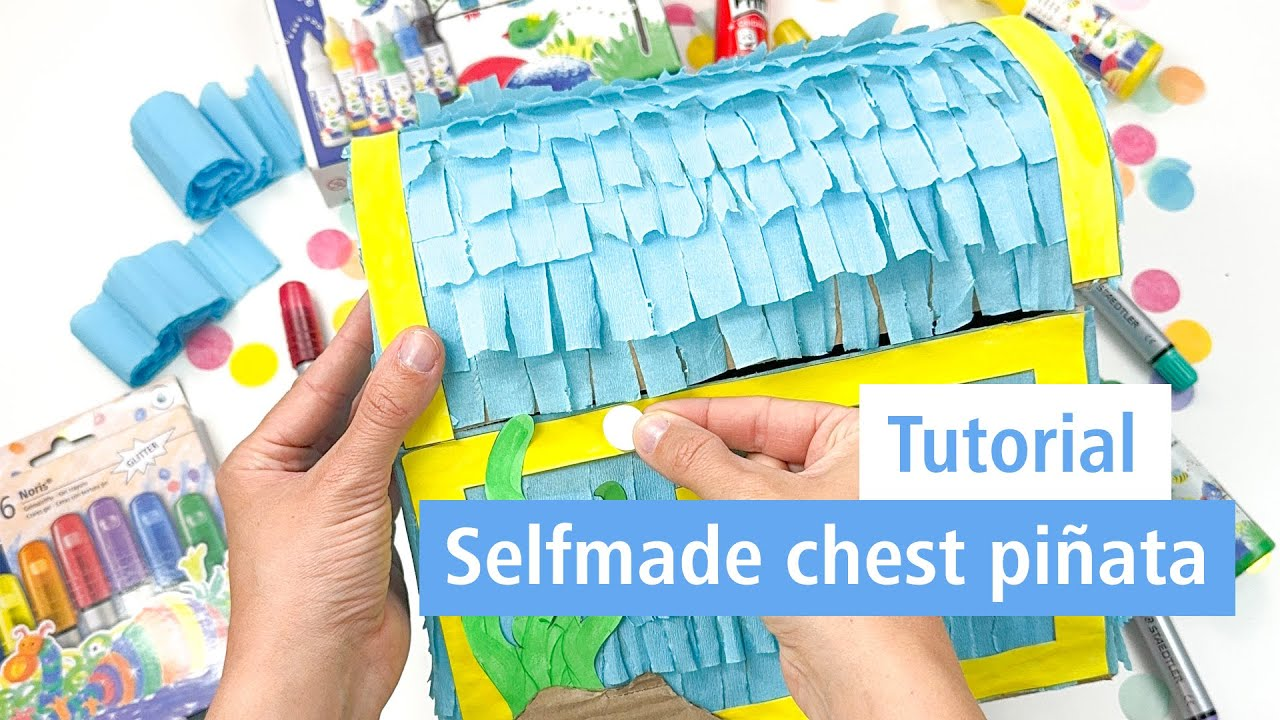
Material overview
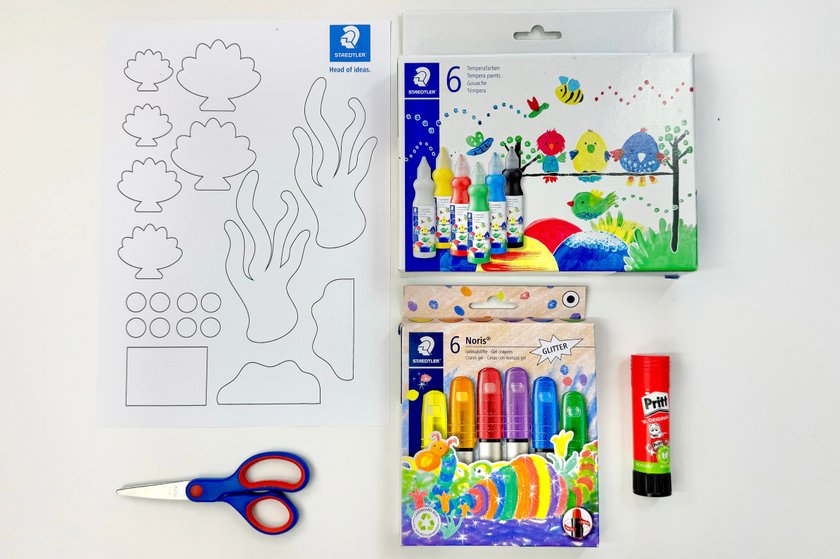
What you need
| Product | Article no. | Quantity |
|---|---|---|
| Noris® 965 Hobby scissors - Cardboard card containing 1 craft scissors 21 cm | 965 21 NBK | 1 |
Step-by-step tutorial
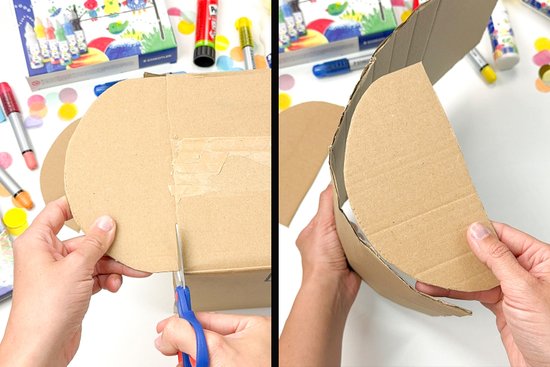
Round off the short sides of the shipping box and then glue them onto a longer piece of cardboard that will later act as a lid. You can also see this in the pictures.
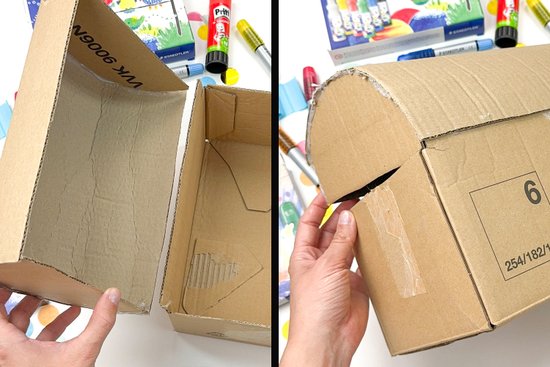
When you prepare the rest of the cardboard, leave a 3cm wide strip on the long sides of the cardboard. Glue the lid to this strip.
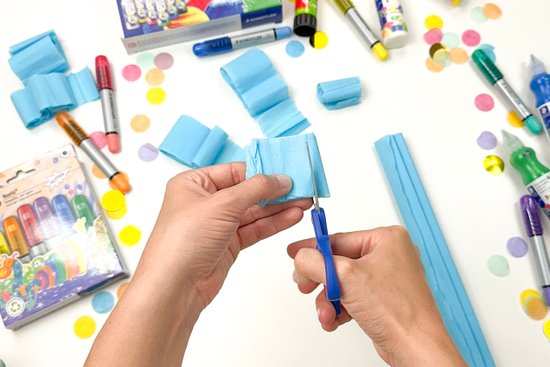
Now grab the crepe paper and roll it up a little to make it easier to cut the slits into it. This creates the typical piñata effect.
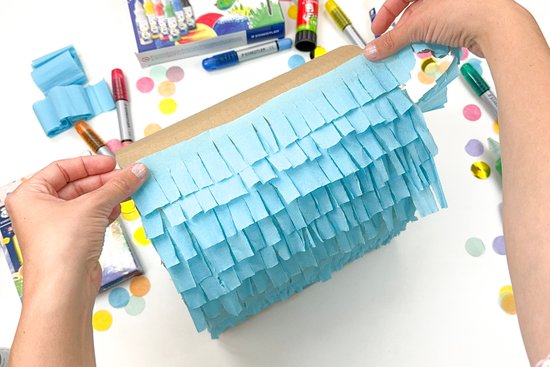
Now stick the crepe paper down horizontally until the whole piñata is covered.
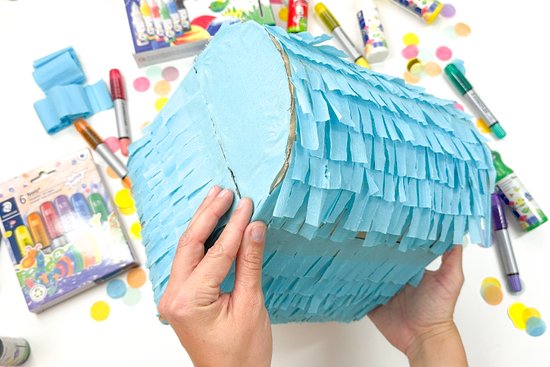
Then stick another piece of crepe paper to the sides of the lid.
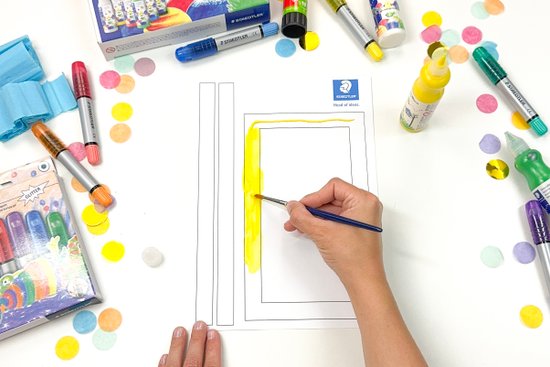
Now you have the basic structure for the treasure chest ready and can start with the creative and colourful part. Paint all the yellow parts with the tempera colours.
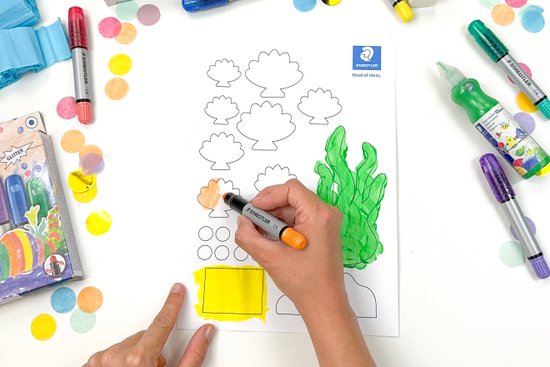
You can give the shells a great effect with the gel paint pens.
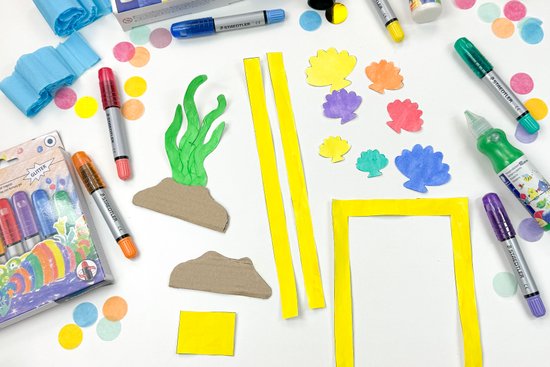
Now cut everything out.
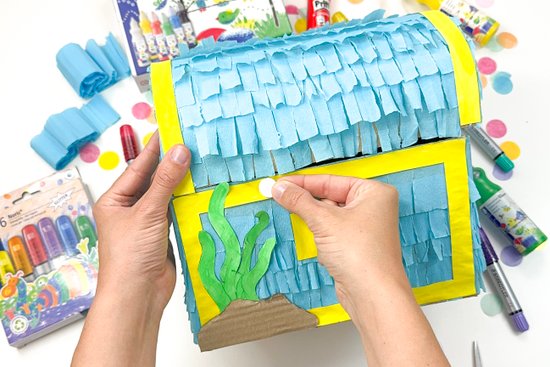
First stick on the golden parts and then the shells and corals. You can also make small bubbles, which you can also find on the template.
We wish you a wonderful birthday with unforgettable moments.
No time right now?
Save this article as PDF!