FIMO effect - DIY Retro pastel hair slide

Today more than ever, the vintage trend gives you the opportunity to develop your very own personal style.
Get inspired by the enduring trend for all things retro. Design your own retro hair slide, which is not only highly stylish, it’s also totally individual.
Step-by-step instructions
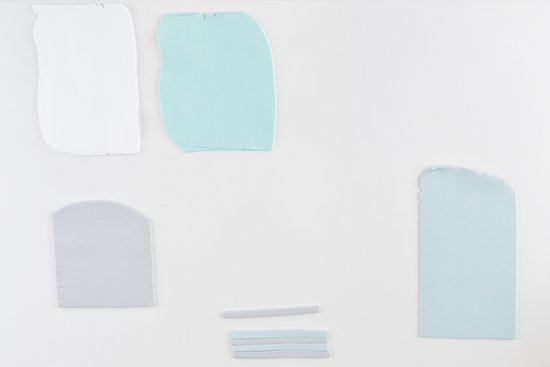
Cut off 3 portions of FIMO soft white and roll out using the clay machine on setting 2. Repeat this step with 3 portions each of FIMO soft dolphin grey and FIMO effect mint, to create 3 sheets of FIMO in different colours.
The 4th colour is a mixture. To make this, cut off two portions each of FIMO effect mint and FIMO soft dolphin grey and knead them together. Keep folding and rolling the mixture through the clay machine on setting 2, for as long as it takes to create a sheet in a uniform shade.
Tip: Keep the fold at the bottom when you feed the mixture through the clay machine: this will allow air to escape through the top instead of being kneaded into the FIMO.
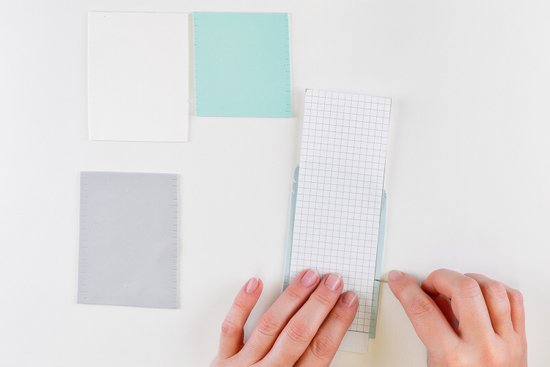
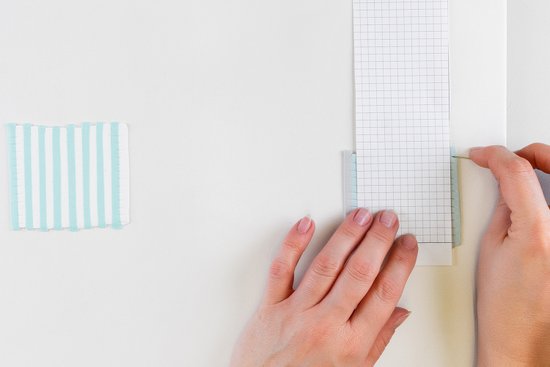
Now take some squared paper and place on top of the FIMO sheet. Make notches with a needle at regular intervals on the left and right sides, using the lines on the paper as a guide. Make one notch for every square.
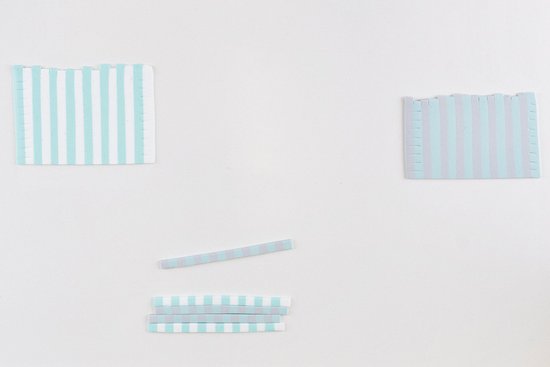
Now cut into even-sized strips. Place them next to each other, alternating the colours: first a strip of FIMO soft dolphin grey, then a strip of the mixture, gradually creating a striped sheet of FIMO. Repeat this step with the FIMO effect mint and FIMO soft white.
Tip: Work in progress and left-over material should be protected against sun and heat and can be stored in a screw-top jar or in cling film to protect it from dust and dirt.
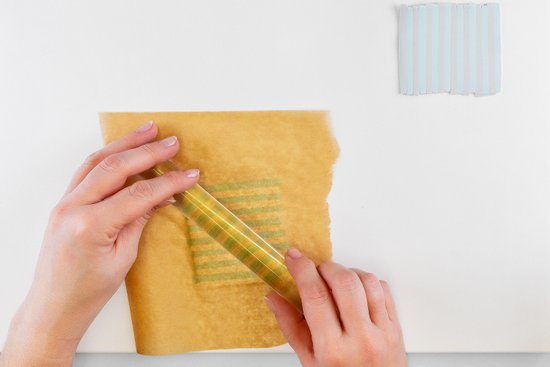
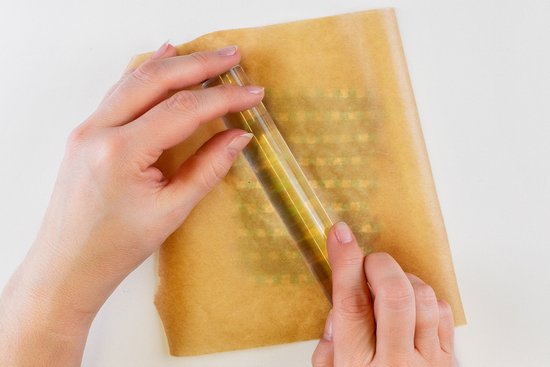
Place a piece of baking paper on the striped sheet and roll over carefully using the acrylic roller to bind the strips together and close any gaps.
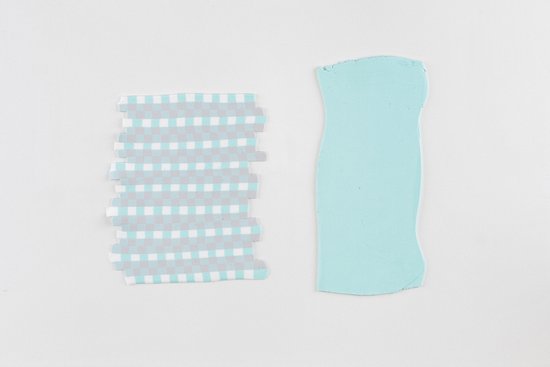
Now lay both striped sheets on the working surface with the stripes running vertically. Once again, press notches into the clay at regular intervals, using squared paper as a guide.
Now cut into strips again and lay them alternately next to each other. We chose this sequence: 1 strip of the light sheet, 2 strips of the dark sheet, then a light strip again etc. This gradually creates a FIMO sheet with a checked design.
Tip: Make sure that you position the strips exactly next to each other and that the squares align perfectly.
Next roll out two portions of FIMO effect mint using the clay machine. Place your checked sheet of FIMO on top of it.
Place baking paper on top and roll over with the acrylic roller, applying gentle pressure to bind the two sheets together.
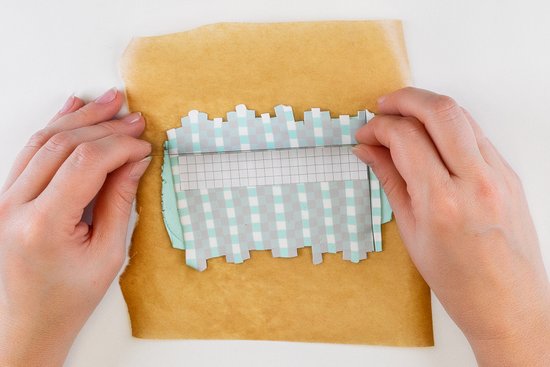
Now cut out a template from squared paper. This should be slightly bigger than your hair slide.
Place the checked FIMO sheet on baking paper, position the template on it and cut it out of the FIMO sheet.

Then place your trimmed FIMO sheet on your hair slide and press down gently. Now harden the hair slide in the oven for 30 minutes at 110 C / 230° F. Once it has cooled, attach the FIMO sheet to the slide again using superglue.
And you‘re done!
Material overview
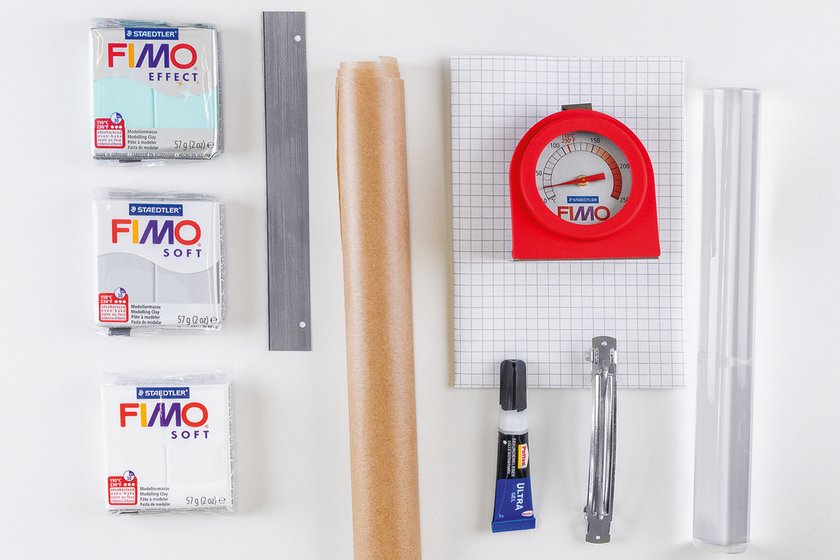
What you need
Additionally required:
metal hair slide, superglue, tile or smooth working surface, baking paper, squared paper, pin
No time right now?
Save this article as PDF!